



How to Put a Fidget Cube Back Together: Step-by-Step Repair for 6-Sided, Infinity, and Popped Cubes
If you are searching for how to put a fidget cube back together, the single most important rule before you push any plastic parts or apply glue is to identify which of the 3 distinct “fidget cube” architectures is sitting on your desk. In everyday sensory toy terminology, people use the exact same phrase—“fidget cube”—to describe three completely different mechanical structures:
- The 6-Sided Mechanical Busy Fidget Cube: A pocket-sized ABS plastic block with 6 tactile sides (such as clicker buttons, side sliders, a metal rolling ball, a top joystick, a toggle switch, or a spin dial) held together around an internal multi-part plastic core.
- The Hinged Infinity Cube (or Star / Yoshimoto Cube): Eight small sub-cubes connected in a continuous folding ring by 8 two-pin link hinges or flexible tape creases.
- The 3×3 Twisty Puzzle Speed Cube: A classic rotating puzzle cube with 6 center caps, 12 edge pieces, and 8 corner pieces riding on a spring-loaded central spider core.
Trying to force a popped 3×3 edge piece straight into a flat face can snap its plastic foot, and clipping an infinity cube link on the wrong pair of edges will lock the folding chain halfway through its rotation. Below is the complete, non-destructive reassembly walkthrough for all three cube types—plus how to tell when a cracked internal post means it is time to switch to a fresh 6-sided ABS unit or a one-piece, zero-disassembly cube squishy.
Step 1: Diagnose Which Fidget Cube You Have Before Touching the Parts
Take ten seconds to match the loose pieces in front of you against this diagnostic checklist:
| Cube Type | What the Loose Pieces Look Like | Common Cause of Disassembly | Tools Needed for Reassembly |
|---|---|---|---|
| 6-Sided Busy Fidget Cube | Two hollow outer shell halves, an inner cube frame, tiny tactile button caps, a metal rolling ball, side sliders or gears, and a top joystick cap | Hard drop onto tile or concrete splitting the outer shell seam | Tweezers (optional), clean tray, zero superglue near moving parts |
| Infinity / Folding Star Cube | 8 individual mini-cubes (2 × 2 × 2 layout) and small figure-eight plastic link pins or separated hinge flaps | Pulling two folding halves in opposite directions against the hinge axis | Flat tabletop to lay out the 8-cube orientation grid |
| 3×3 Twisty Puzzle Cube | Cubies with three-color corners and two-color edges around a 6-axis center spindle | Fast corner-cutting twist or loose tension causing an edge or corner pop | Fingers only (plus a small screwdriver if tension is too tight) |
Method 1: How to Put a 6-Sided Mechanical Fidget Cube Back Together
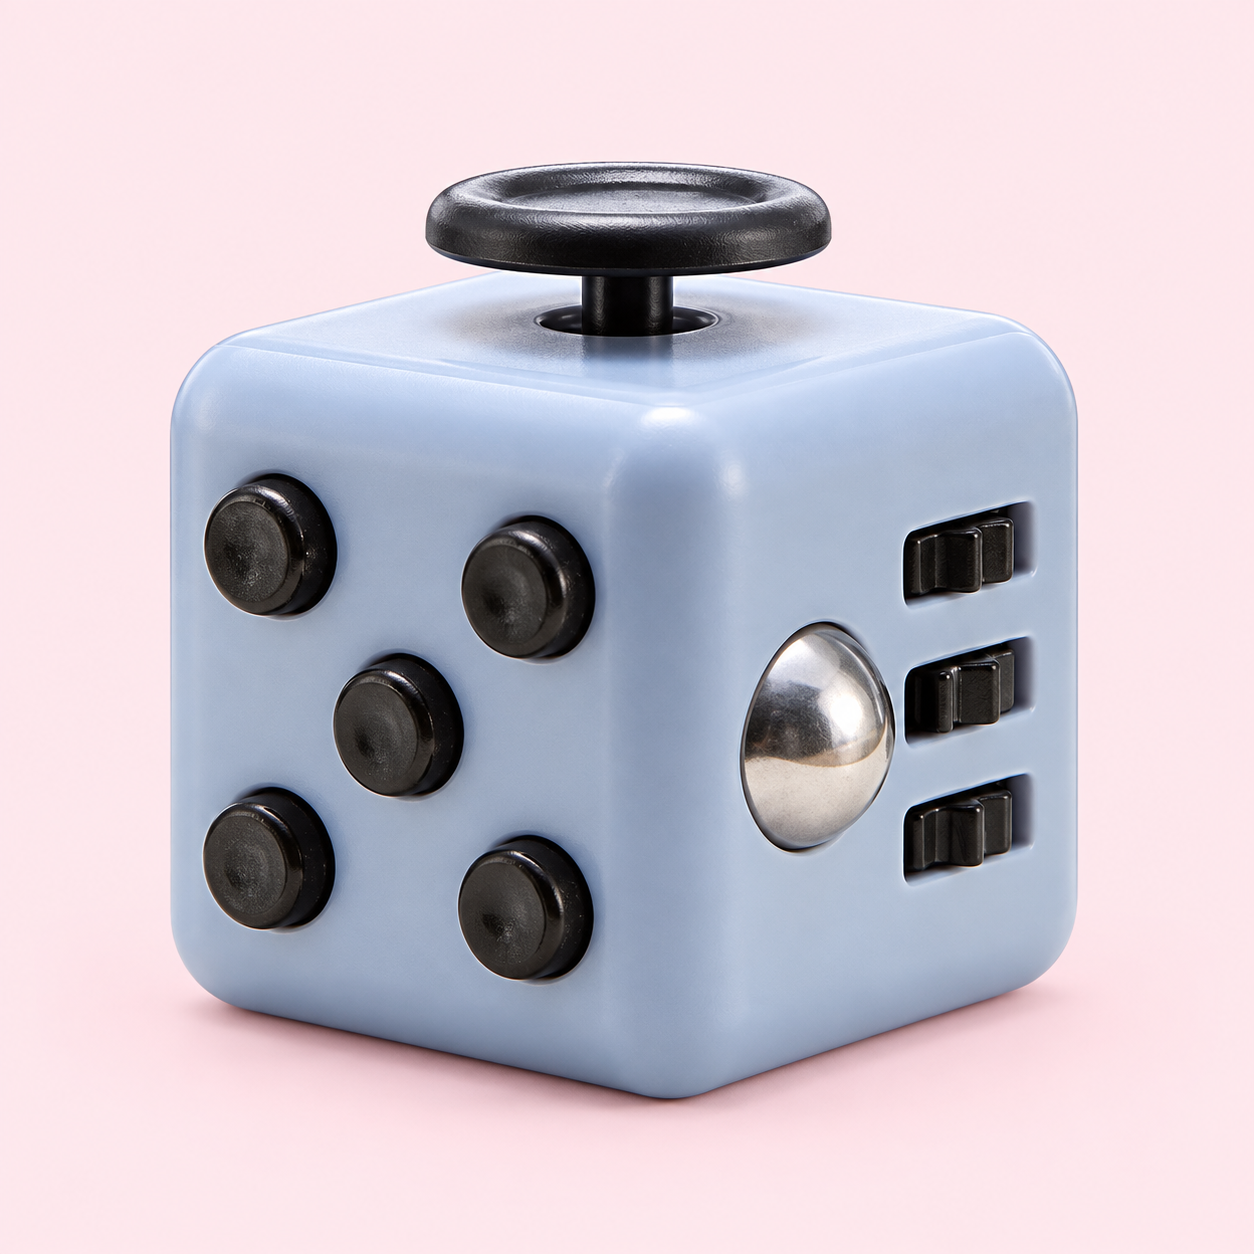
Standard 6-sided busy fidget cubes—such as the Blue Gray ABS 6-Sided Busy Fidget Cube (3.3 × 3.3 × 4.0 cm, 32 g)—pack multiple tactile controls into a compact ABS housing. As hobbyists on r/fidgettoys note when inspecting opened units (090c1b71-5a86-43a6-a971-199b8b232934), modern 6-sided cubes are constructed with two end caps and a center section sandwiched between them so the switches, buttons, and sliders sit in their respective pockets before the outer shell locks together.
1. Gather Every Internal Component on a Tray
Before snapping any shell piece shut, organize your sub-assemblies on a flat tray so nothing gets trapped loose inside the cavity:
- 5 Clicker Button Caps + Inner Pad: The five press buttons (
3audible clickers and2silent buttons on standard 6-sided models) and their flexible backing pad. - Metal Rolling Ball + Internal Support: The silver rolling ball that sits in a circular bezel opening so it can roll smoothly and press down.
- 3 Side Sliders or Gears: The three side sliders or gears that ride along notched slots on the side of the inner frame.
- Top Joystick + Stem Cap: The thumb joystick cap that mounts onto the central post protruding through the top aperture.
- Switch / Dial Controls (Model Dependent): Any two-way toggle switch or rotary dial disc fitted to the remaining faces of the inner cube.
2. Rebuild the Inner Core Sub-Assemblies First
Never try to balance parts inside both outer shell halves at the same time. Instead, build around the inner cube frame from the base half upward:
- Seat the 3 Side Sliders or Gears: Place the three side sliders (or gears on their axle) into their notched slots on the side of the inner frame and slide them with your fingertip to confirm smooth travel.
- Position the Metal Rolling Ball: Set the silver rolling ball into its circular bezel opening from the inside and seat its backing support plate directly behind it.
- Set Remaining Side Controls: Drop any toggle switch or rotary dial disc into its recessed pocket on the inner frame with the actuator facing outward.
- Align the 5 Press Buttons: Place the five button caps into their five holes first, keeping their inner flanges flat, and seat the backing pad flush behind them.
3. Press the Top Joystick Cap and Snap the Outer Shell Straight Down
- Push the top joystick cap straight onto its central stem until it sits level.
- Hold the loaded lower shell half level in your palm so gravity keeps the five press buttons and metal rolling ball seated in their openings.
- Align the outer shell faces over the inner cube frame and press straight down until the seam snaps shut.
- Test every control immediately before pocketing the cube: press all five clicker buttons, move the three side sliders, roll the metal rolling ball, and circle the top joystick.
Important Repair Warning: If the internal plastic retention posts snapped off during a hard drop, do not flood the seam with cyanoacrylate (superglue). Glue runoff easily wicks into adjacent sliders, buttons, or the rolling ball socket, permanently locking the moving parts. If the internal posts are sheared off, replacing the unit is cleaner than gluing it shut.
Method 2: How to Put an Infinity Cube (or Folding Star Cube) Back Together
If your cube consists of 8 mini-cubes that fold endlessly into a 2 × 4 × 1 rectangle and a 2 × 2 × 2 cube, reassembly comes down to hinge geometry. As folders on r/fidgettoys and r/FixMyPrint point out (e2aba061-7bc8-4449-87ea-e0bba1c48975, 34aa8331-c64d-43ce-b747-8ceb793bb9c4), opening a folding cube against its hinge axis rips the hinges apart, and putting a link on the wrong seam will cause the folding chain to bind.
1. Arrange the 8 Sub-Cubes in a 2 × 4 Flat Grid
Lay all 8 individual mini-cubes flat on your desk in two rows of four (4 across the top row, 4 across the bottom row), with the link-pin holes aligned along the folding seams.
2. Follow the Alternating Horizontal-and-Vertical Hinge Pattern
An infinity cube folds continuously because its 8 hinges alternate between two perpendicular axes around the 8-cube ring:
- Top Face Horizontal Links (2 Links): Connect the top-left pair of cubes horizontally across their top seam, and connect the top-right pair of cubes horizontally across their top seam.
- Bottom Face End Links (2 Vertical Links): Connect the far-left top-and-bottom cubes vertically on the underside, and connect the far-right top-and-bottom cubes vertically on the underside.
- Remaining 4 Alternating Links: Complete the closed ring by snapping the remaining 4 link clips into the alternating seams so that every sub-cube connects to two neighbors along perpendicular 90-degree hinge axes.
3. Press Hinge Pins Flush and Test the Fold Cycle
Push each connector link straight into its pinhole sockets until flush. Fold the cube inward along the middle seam, open it horizontally, and repeat through a full cycle. If one corner resists folding, pop out that link pin and move it to the perpendicular edge of the same sub-cube pair.
Method 3: How to Put a Popped 3×3 Puzzle Cube Back Together (45-Degree Rule)
If your “fidget cube” is a 3×3 twisty puzzle cube that popped an edge or corner piece (or burst into 20 loose cubies), follow the classic speedcubing assembly sequence documented by cubing repair guides such as The Rubik Zone (a6549567-e38f-4bea-a3f6-52aba4127ec8):
Case A: Only 1 or 2 Pieces Popped Out
- Never push a popped edge piece straight into a flat face. When the top layer is aligned flat with the middle layer, the gap between the two corners is narrower than the internal plastic foot of the edge piece.
- Insert the corner piece first (if both a corner and an edge popped out) by angling its base under the center caps.
- Turn the top layer 45 degrees (
1/8of a full turn) so the empty edge slot sits diagonally over the corner below it. - Pinch the two flanking top corners slightly apart, slide one side of the edge piece’s internal foot under the center cap, and press the edge piece inward at a 45-degree angle until it clicks into the track.
Case B: Full 20-Piece Disassembly Rebuild
If the entire cube popped apart, always reassemble your cube in the solved position around the central frame:
- Bottom Four Edge Pieces: Slide four edge pieces that share a sticker color into position around the bottom center and place the cube on a flat surface with those four edge pieces at the bottom.
- Bottom Four Corner Pieces & Middle Layer: Drop the four corner pieces on the bottom layer into place, then slide three of the edge pieces in the middle layer down into their places, leaving one empty gap in the middle layer to help slot in the first top-layer pieces before pushing the last middle-layer edge piece down.
- Top Layer & Final 45-Degree Edge: Insert the last two corner pieces of the top layer into their proper places; finally, with the top layer twisted 45 degrees, push the final edge piece in place until you hear a satisfying click.
Tired of Popped Pieces and Snapped Hinges? Durable Fidget Cube Options Compared
If your 6-sided fidget cube split because its internal plastic tabs sheared off—or if you want a cube-shaped desk fidget for school, travel, or office calls that has no hinges or loose caps to pop apart—choosing a one-piece cube squishy or a clip-on pop-bean fidget eliminates reassembly headaches altogether.
Here is how FunnySquishy’s mechanical 6-sided cube compares with three low-maintenance sensory alternatives in our catalog:
| Product | Structure & Features | Listed Dimensions & Weight | Price | Disassembly / Pop Risk | Best Sensory Use Case |
|---|---|---|---|---|---|
| Blue Gray ABS 6-Sided Busy Fidget Cube | ABS six-sided fidget cube with 5 press buttons, 3 side sliders, silver rolling ball, and top joystick | 3.3 × 3.3 × 4.0 cm (32 g) | $14.99 | Multi-part mechanical shell | Clicking, sliding, rolling, and thumb-joystick movement |
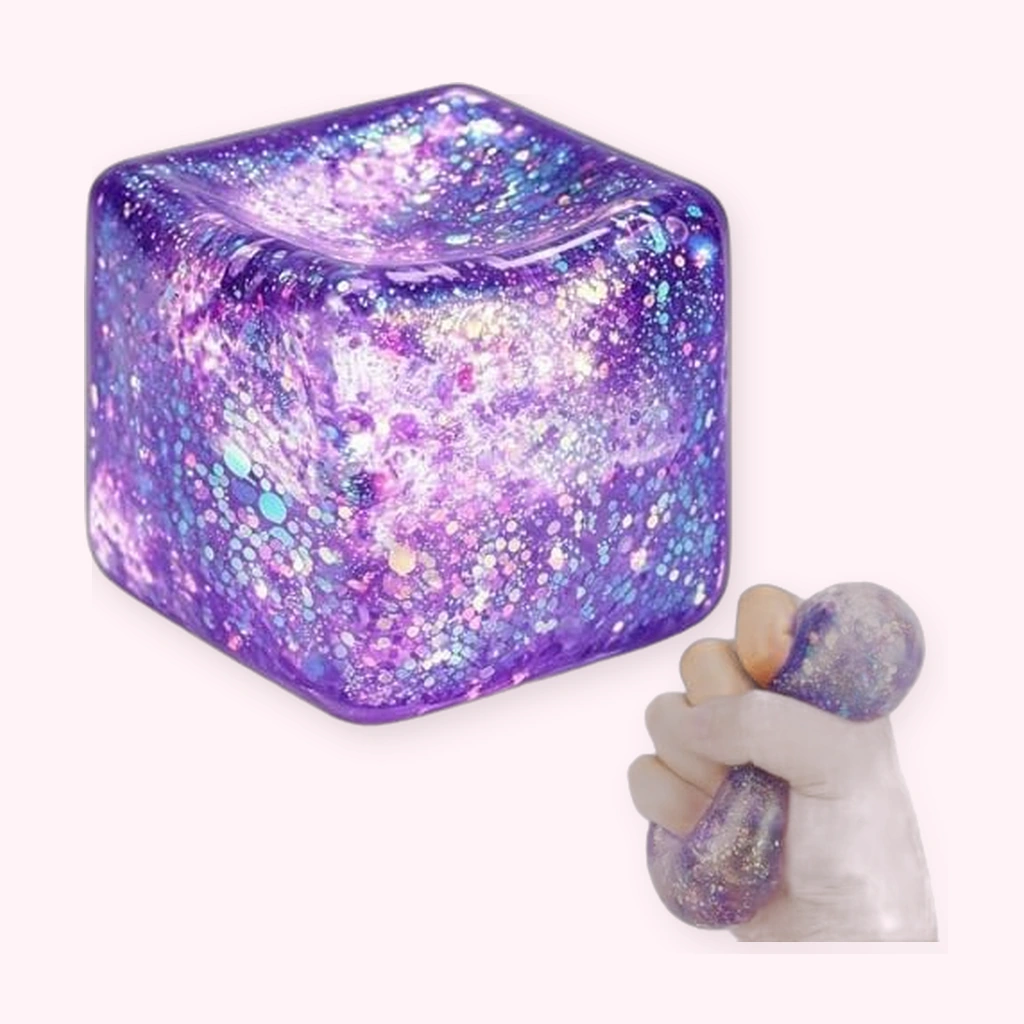
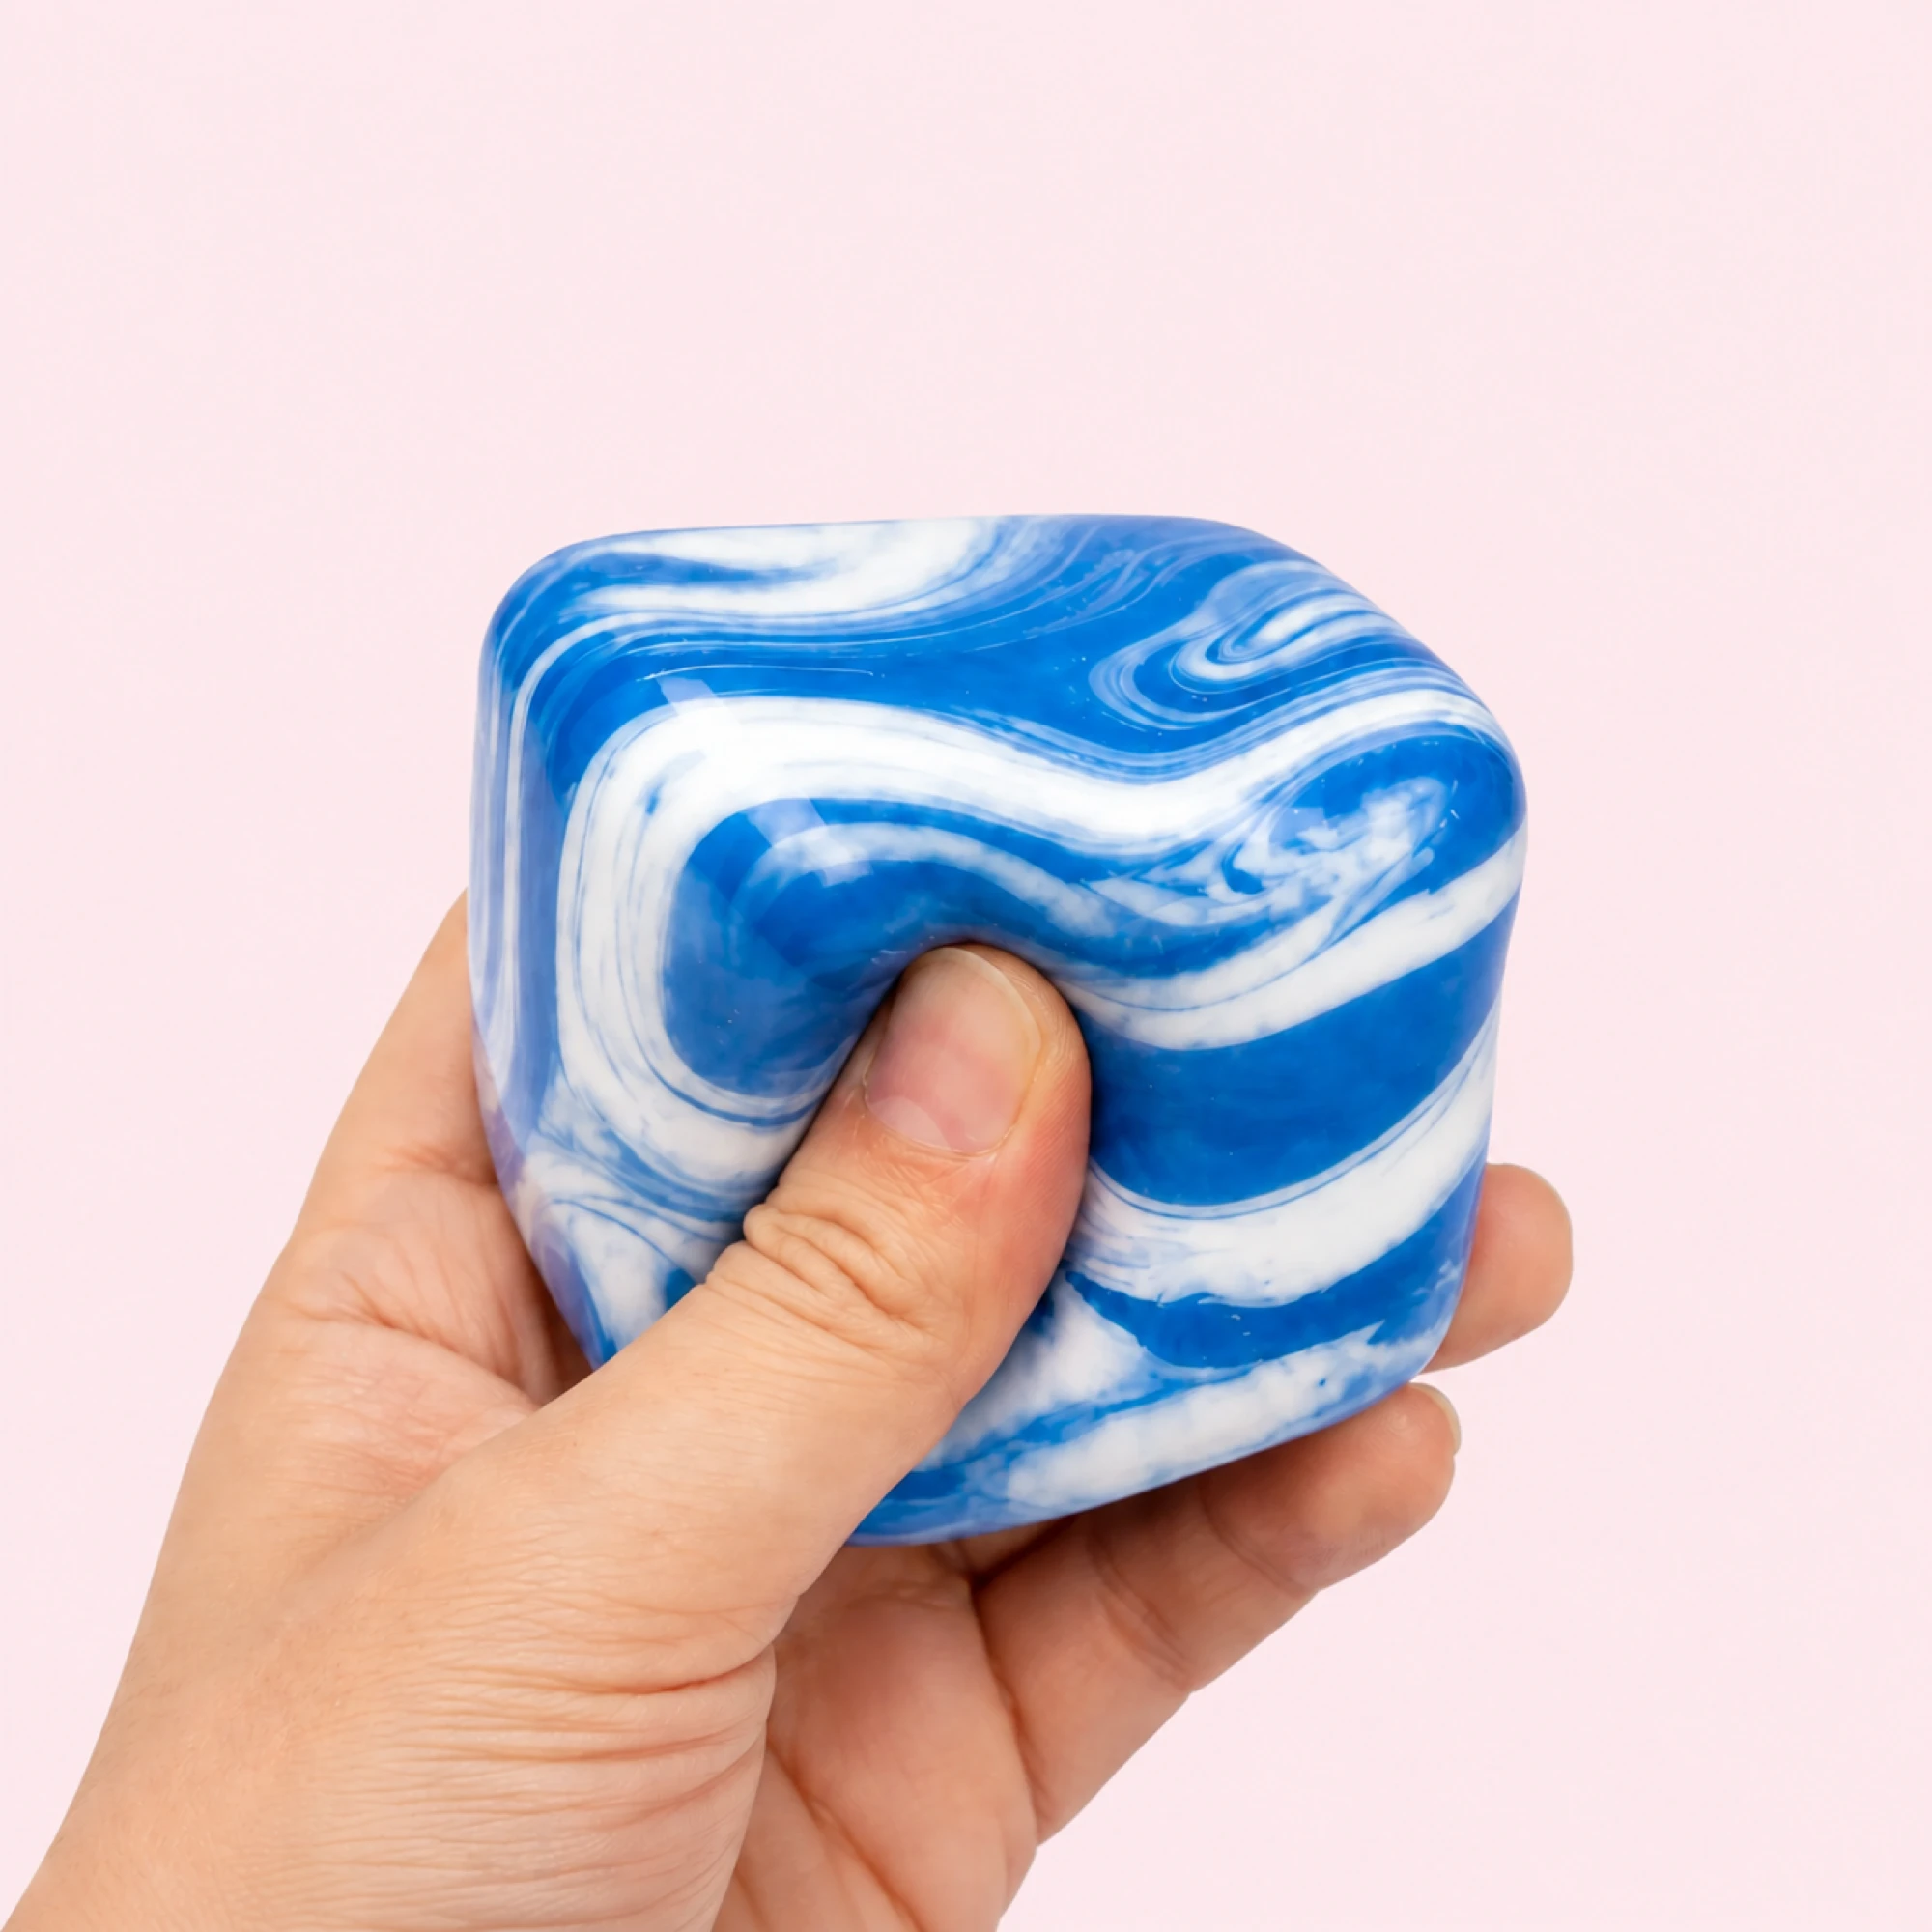
| Fluid Swirl Cube Squishy | Compact marbled squishy cube sold in Blue, Pink, Orange, and Green with a slow-rising squeeze | Approx. 4.5 × 4.5 cm (approx. 250 g) | $12.99 | Zero (rounded cube block) | Quiet visual marbling and slow-rising palm squeezes |
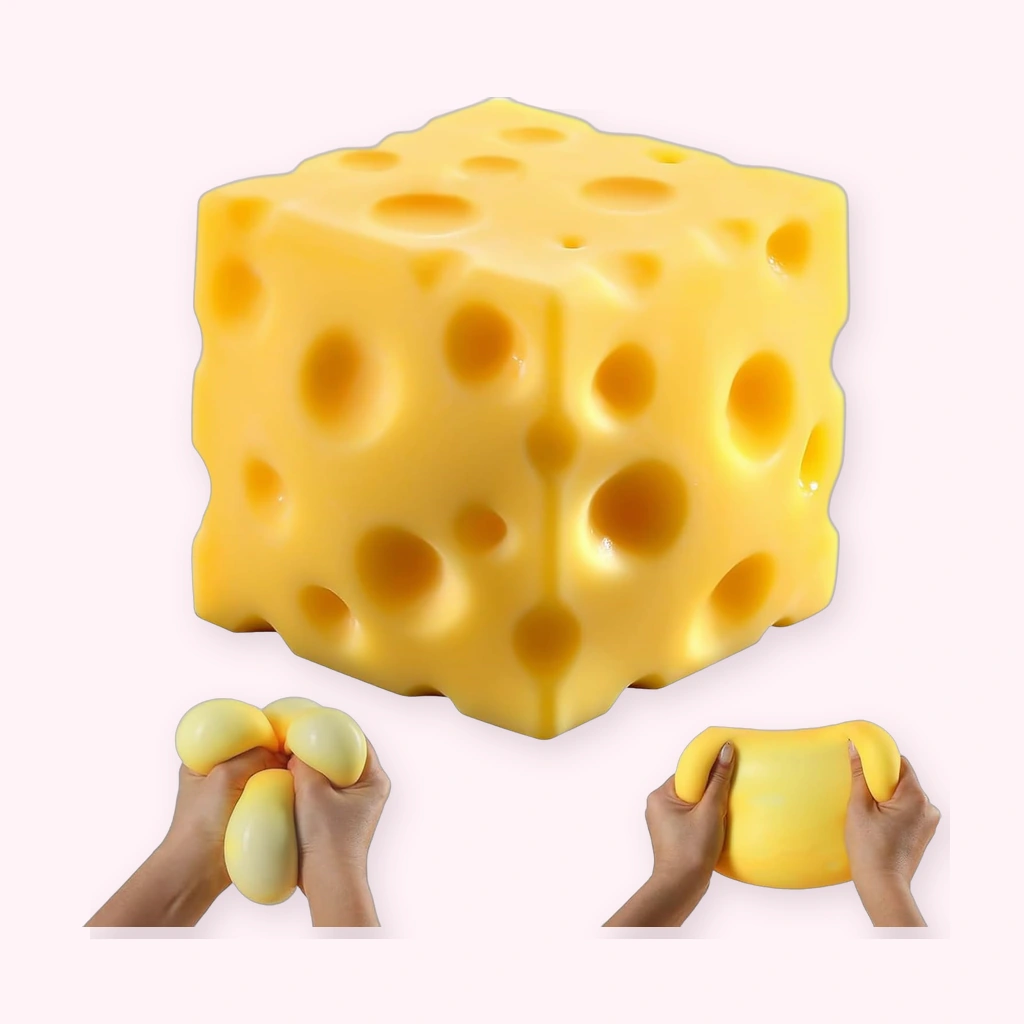
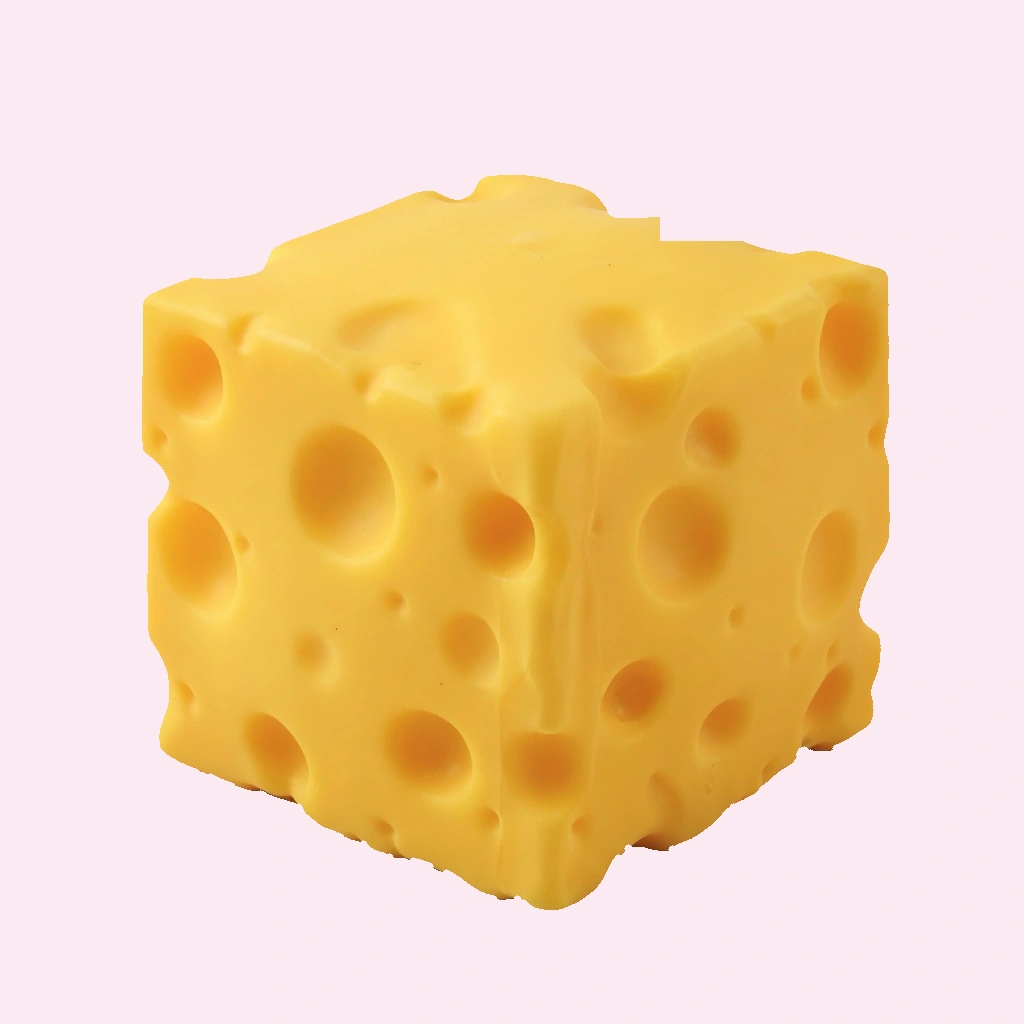
| Golden Holey Cheese Cube TPR Flour-Filled Squishy Toy | Soft TPR outer skin packed with dense flour fill in a holey Swiss-cheese block | 5 × 5 × 5 cm (approx. 200 g) | $14.99 | Zero (stretchy TPR skin) | Heavy, dense, dough-like kneading and molding resistance |
| Kawaii Edamame Squishy Fidget Toy - Pop a Bean 3 Pack | Set of 3 quiet pocket-sized pea pods on clip-on cords where beans slide out and tuck back | Pocket-sized 3-pack set | $22.99 | Zero loose parts (beans stay inside pods) | Repetitive “pop and repeat” thumb motion on keys or backpacks |
1. Direct Mechanical Replacement: Blue Gray ABS 6-Sided Busy Fidget Cube ($14.99)
The Blue Gray ABS 6-Sided Busy Fidget Cube ($14.99, SKU FS-BLUEGRAYCUBE-20260917) is a compact 3.3 × 3.3 × 4.0 cm (1.30 × 1.30 × 1.57 in), 32 g ABS six-sided fidget cube with five press buttons, three side sliders, a silver rolling ball, and a top joystick for hands-on movement.
2. Rounded Marbled Cube Alternative: Fluid Swirl Cube Squishy ($12.99)
The Fluid Swirl Cube Squishy — Marbled Glitter Slow-Rising Cube ($12.99, SKU FS-CZ8490) is a compact marbled squishy cube sold in four exact color SKUs: Blue, Pink, Orange, and Green. The visible fluid swirl pattern wraps around a rounded cube shape with a slow-rising squeeze, and its listed face measurement is approximately 4.5 × 4.5 cm with a listed weight of approximately 250 g.
3. Heavy Resistance Cube Alternative: Golden Holey Cheese Cube TPR Flour-Filled Squishy Toy ($14.99)
The Golden Holey Cheese Cube TPR Flour-Filled Squishy Toy ($14.99, SKU FS-CHEESE-016) is a holey Swiss-cheese block crafted from a soft TPR outer skin packed with dense flour fill (5 × 5 × 5 cm, approx. 200 g) that compresses with a firm, dough-like resistance that you can knead and mold between your fingers.
4. Tethered Pop-and-Repeat Alternative: Kawaii Edamame Squishy Fidget Toy - Pop a Bean 3 Pack ($22.99)
As one r/calmhands user shared after finding that their original fidget cube felt too bulky yet fragile on their fingers (c083757c-81a0-4f93-8011-78c9ce8a804d), their favorite alternative is a plastic edamame pea pod containing three peas that are attached to the inside of the pod and pop right back in when let go. Our Kawaii Edamame Squishy Fidget Toy - Pop a Bean 3 Pack ($22.99, SKU FS-EDAMAME-001) comes as a set of three quiet, pocket-sized pea pods on clip-on cords where the beans slide out and tuck back in over and over.