


Quick Blueprint Summary: To build a freestanding 3D paper squishy template that stands up like a miniature milk carton or stick of butter instead of puffing out like a flat pillow, our paper-engineering layout uses a 6-panel geometric net with dedicated side gussets, pre-scored 90-degree fold lines, mitered packing-tape hinges, and a 3 mm corner air-release vent. Below you will find our custom millimeter panel dimensions for both rectangular prism boxes and gable-top milk cartons, no-cotton stuffing options, and a comparison against molded slow-rising foam squishies.
Why 2-Layer Printable Cutouts Bulge (and How 6-Panel 3D Box Nets Fix It)
As described in eParenting’s Paper Squishy Printable Templates PDF guide, a homemade paper squishy is made by coloring, decorating, and taping or gluing paper shapes together and then filling them with soft material like pillow stuffing (Poly-fil), cotton balls, or by recycling plastic grocery bags. When crafters use a basic two-layer flat paper squishy template, packing stuffing between two flat cutouts makes the center swell outward while the taped perimeter pulls inward.
To keep crisp boxy corners on a printable 3D paper squishy template, you can draft a 6-panel geometric net instead of a two-piece sandwich:
- Front and Back Main Faces: Two equal rectangles that carry your main wrapper or carton art.
- Left and Right Side Gussets: Dedicated depth panels that separate the front and back faces so the box has true wall thickness.
- Top and Bottom Closure Panels (or Gable Roof Flaps): Structural end caps that lock the four vertical walls at 90-degree angles.
- 10 mm Glue/Tape Tabs: Angled 45-degree mitered tabs along the open edges so clear packing tape wraps around corners cleanly.
| Structural Feature | 2-Layer Flat Paper Cutout | 6-Panel 3D Paper Squishy Net (DIY Blueprint) | Molded Slow-Rising Foam (FS-MILK-011 / FS-BUTTER-005) |
|---|---|---|---|
| Side Geometry | Taped perimeter seam | Dedicated left/right side gussets & 90° score lines | Molded one-piece 3D foam shape |
| Stuffing / Core | Poly-fil, cotton balls, tissues, or plastic grocery bags | Loose stuffing or sponge cubes inside taped paper net | Soft slow-rising squishy foam / dense premium PU foam |
| Air Flow | Depends on seam gaps | 3 mm bottom corner pinhole air vent | Self-rising slow-rebound foam |
| Surface Feel | Laminated paper & packing tape | Laminated paper faces with taped corner hinges | Soft, slow-rising foam skin |
Blueprint 1: Rectangular Prism Net Dimensions for Butter Blocks & Juice Boxes
If you are learning how to make a 3D paper squishy for the first time, our recommended starting layout is a six-face rectangular prism. A stick of butter or miniature juice brick uses straight 90-degree folds on all six faces, making it easy to draft with a ruler on a single sheet of A4 or US Letter paper.
Suggested Millimeter Panel Layout (Butter Block Net)
In our DIY design, you can draw a horizontal strip of four connected rectangles before adding the top and bottom end caps:
- Panel A (Left Gusset):
38 mmwide ×110 mmtall - Panel B (Front Wrapper Face):
55 mmwide ×110 mmtall - Panel C (Right Gusset):
38 mmwide ×110 mmtall - Panel D (Back Wrapper Face):
55 mmwide ×110 mmtall - Top & Bottom End Caps (attached to Panel B): Two rectangles measuring
55 mmwide ×38 mmdeep - Seam Allowance Tabs: Add
10 mmtrapezoids (chamfered at 45° on the corners) to the outer edge of Panel D and to the three unattached edges of the top and bottom caps.
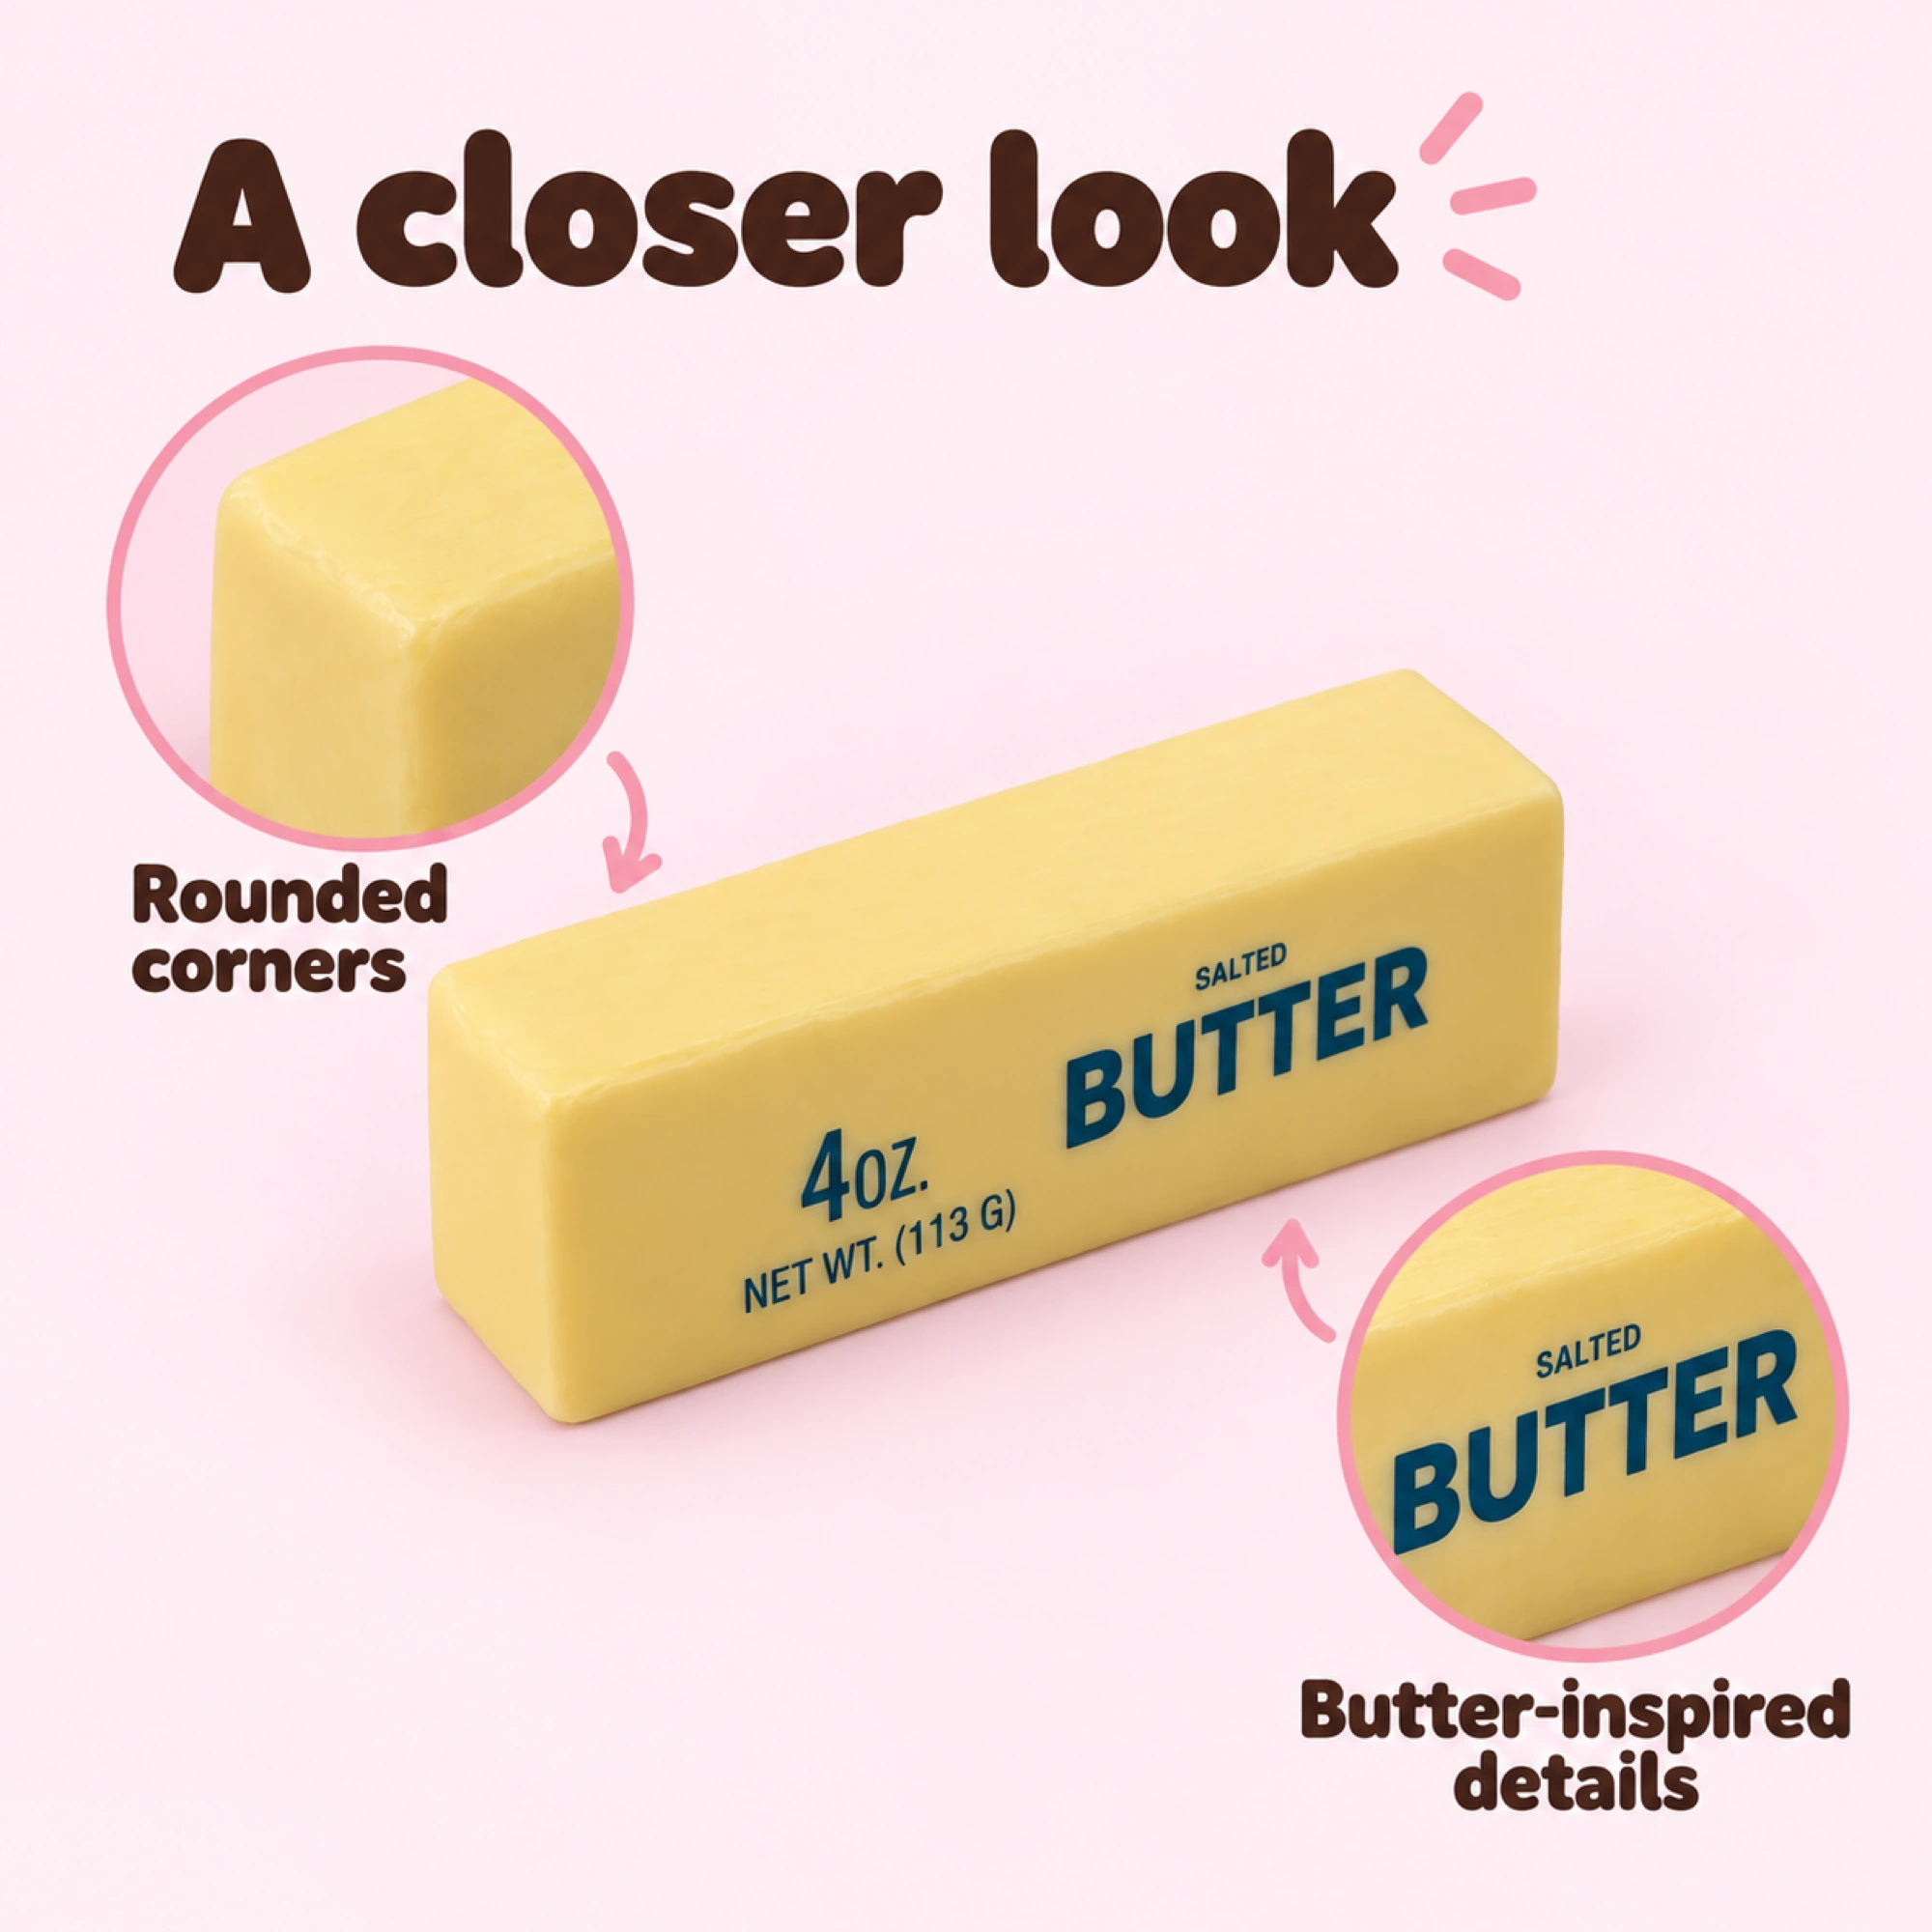
How Your Paper Prism Compares to a Molded Butter Block
On Reddit’s r/miniatures community, creator LauraDIY shared making 1-inch tiny butter squishies in salted and unsalted styles using a free printable on regular paper, packing tape, and a little stuffing. Scaling a rectangular box net up to palm size gives you a fun, crinkly paper craft.
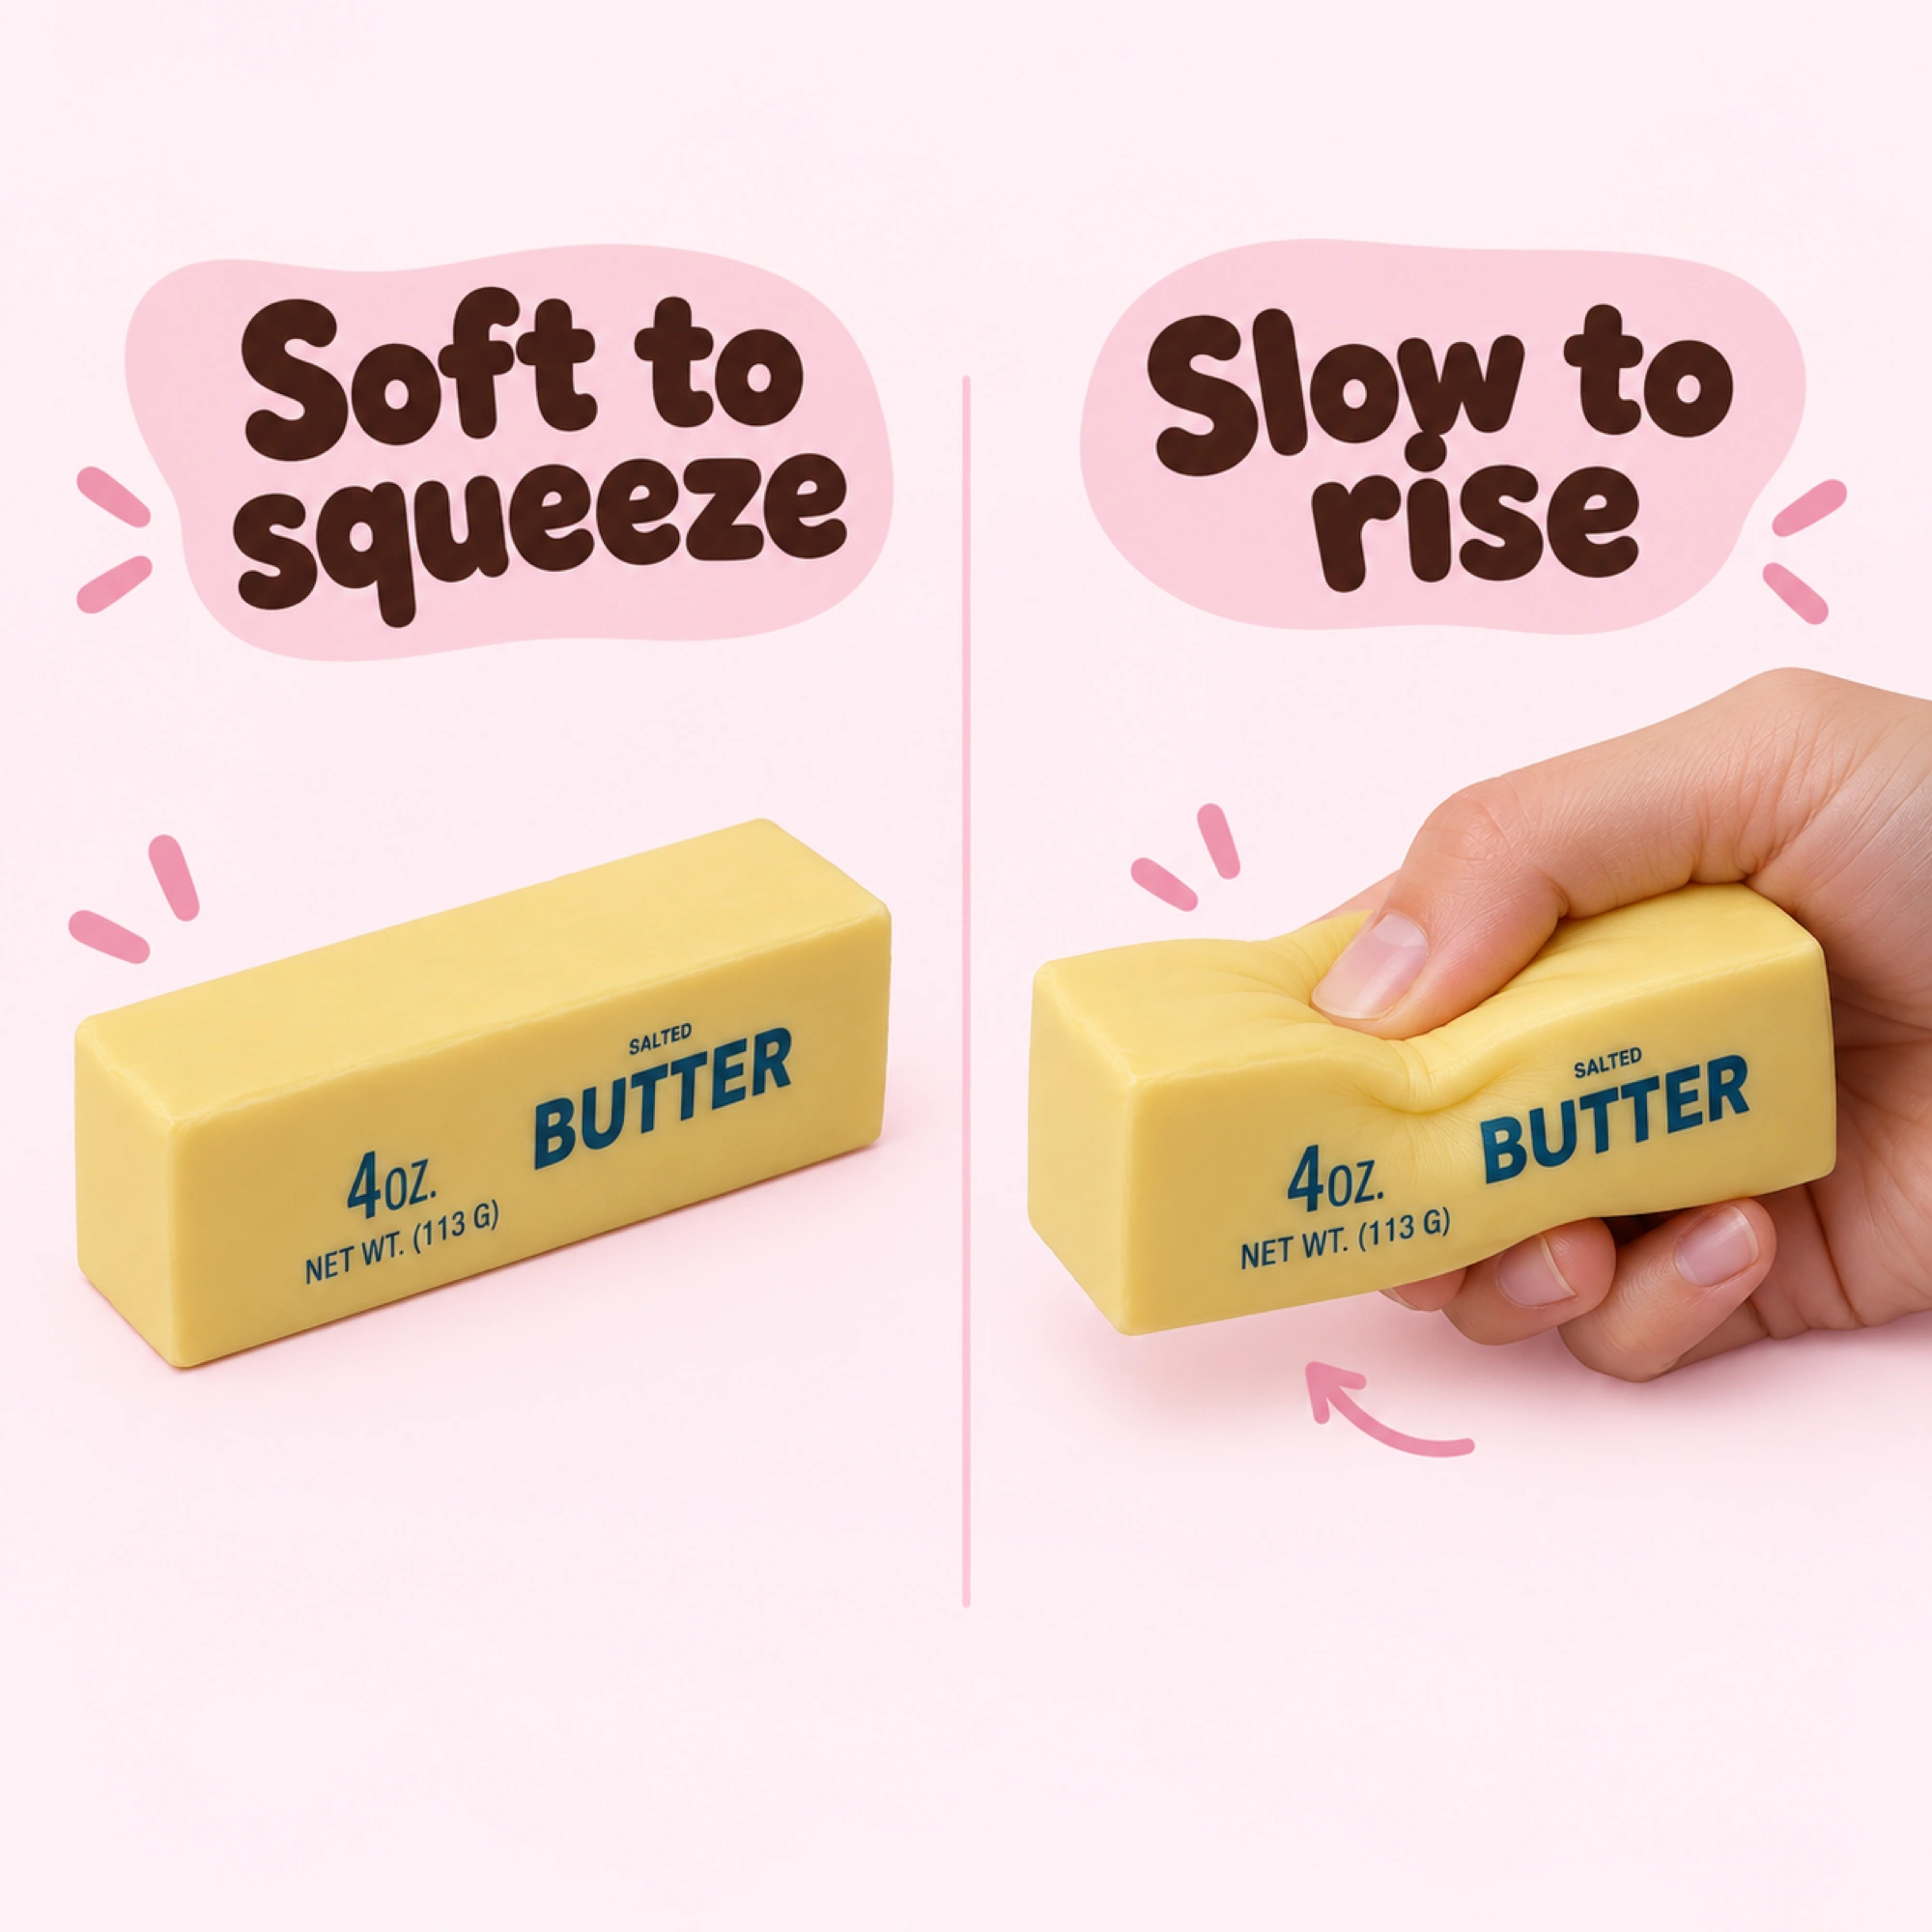
For a ready-made slow-rising foam block, the PU Foam Butter Squishy — That Buttery Slow Squeeze (SKU: FS-BUTTER-005) is priced at $12.99 USD (1299 cents) and has a supplier reference weight of approximately 45 g (weight may vary by version and packaging). The PU foam butter squishy is a soft, slow-rising stick-of-butter squishy toy made from dense premium PU foam squishy material that molds under your fingers and slowly springs back. (For wrapper artwork inspiration, see our tutorial on how to make a paper butter squishy.)
Blueprint 2: Gable-Top Milk Carton 3D Paper Squishy Template & Roof Gusset Angles
A milk carton paper squishy template adds a pitched gable roof with inward-folding triangular side gussets. If you tape four square walls together and pinch the top flat without diagonal roof gusset folds, the upper walls can twist when compressed.
Suggested Millimeter Panel Layout (Gable-Top Milk Carton Net)
To draft a palm-sized gable-top carton net across a landscape A4 sheet (297 mm × 210 mm), use these layout measurements:
- Four Main Carton Walls (Front, Left, Back, Right): Each panel is
55 mmwide ×75 mmtall (total strip width =220 mm, plus a12 mmside glue/tape tab on the far right). - Bottom Base Flaps: Extend four
28 mmtall flaps downward from the bottom of each55 mmwall so they fold into a flat square base. - Pitched Roof Panels (Front & Back): Extend a
26 mmtall rectangular roof panel upward above the Front and Back walls, topped by a12 mmhorizontal sealing lip. - Triangular Roof Gussets (Left & Right): Above the Left and Right walls, draw a
26 mmtall rectangle and score two diagonal lines from the bottom corners to the top center midpoint (27.5 mmmark) so the side roof panels tuck inward under the pitched roof.
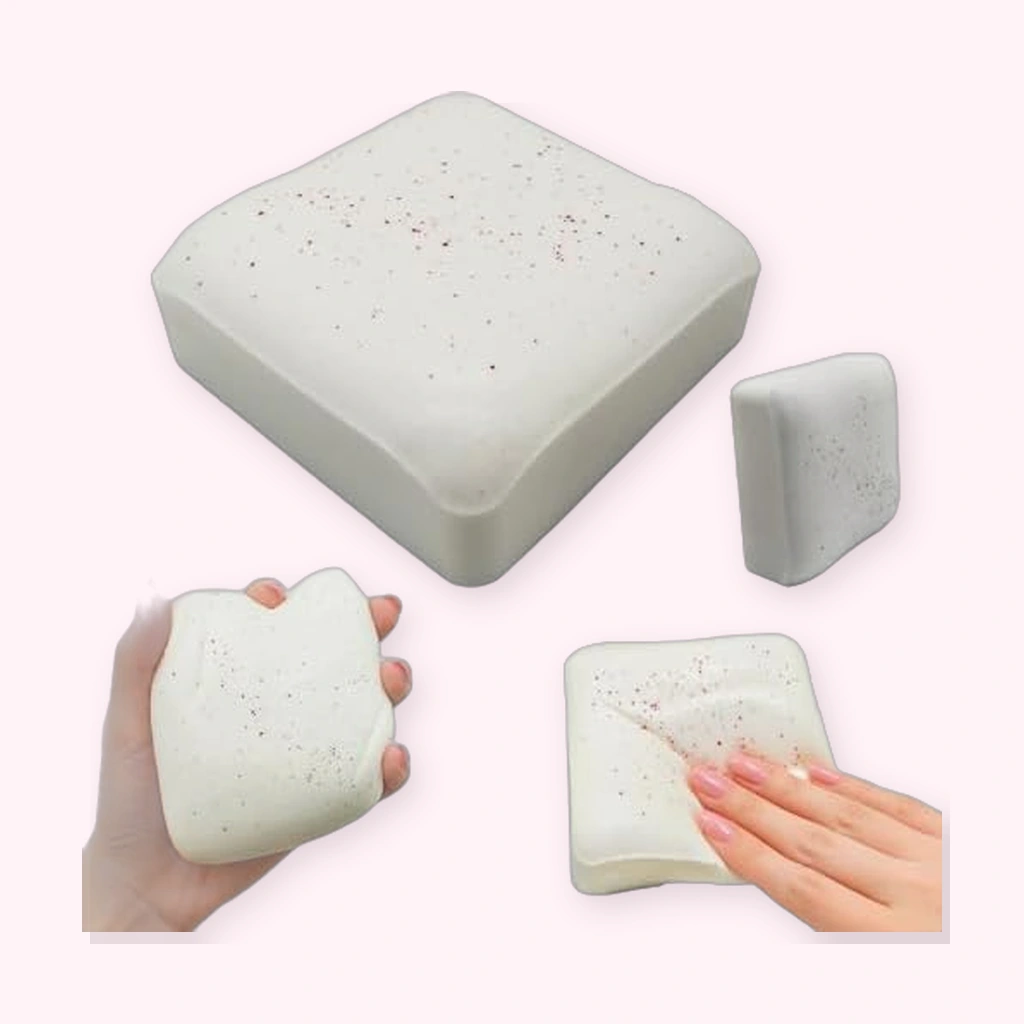
Comparing DIY Paper Cartons with a Molded Milk Carton Squishy
When assembling a paper milk carton net, keeping the top roof section lightly stuffed helps the top sealing lip stay neat when you press the middle walls.
Collectors who want a ready-made miniature carton can compare their paper craft with the Realistic Milk Carton Squishy Fake Food Slow Rise Toy (SKU: FS-MILK-011), priced at $12.99 USD (1299 cents). This realistic milk carton squishy is a soft, slow-rising foam squishy toy shaped like a miniature milk carton: press it and the foam sinks under your thumb, then slowly rises back to its full shape on its own, made for kids 3+ and adults alike (younger children should be supervised, as it is a novelty toy and not real food).
Scoring, Hinge-Taping, and the 3 mm Corner Air-Vent Rule
When folding any 3D paper squishy template, three practical craft techniques help prevent buckled walls or split seams:
1. Pre-Score Every Fold Line Before Lamination
Before applying clear packing tape, lay a ruler along every interior fold line (including the diagonal roof gussets on the milk carton) and trace with a dry ballpoint pen or bone folder so each wall bends cleanly at a 90-degree angle.
2. Laminate Faces First, Then Apply Mitered Tape Hinges
Color your template first, then lay strips of clear packing tape across the printed side of the flat net. When joining the 3D edges, bridge each corner seam with clear tape and snip small 45-degree V-notches at the ends so the tape lays flat without bunching.
3. Leave a 3 mm Bottom Corner Air Vent
If a laminated paper box is taped completely airtight, squeezing it traps air pressure against the seams. Leaving a small 3 mm unsealed pinhole gap at one bottom corner hinge lets air escape during a squeeze and draw back in as the stuffing expands.
No-Cotton Stuffing Recipes: Memory Foam Cubes vs. Shredded Grocery Bags
One of the top Google People Also Ask questions from crafters is: “How to make a squishy with paper and no cotton?” If you do not have pillow stuffing (Poly-fil) or cotton balls on hand, several household materials work inside a 3D box net:
- Recycled Plastic Grocery Bags: As documented in eParenting’s printable paper squishy guide, makers fill homemade paper squishies with soft material like pillow stuffing (Poly-fil), cotton balls, or by recycling plastic grocery bags. Cutting clean grocery bags into narrow strips and scrunching them loosely inside a paper box net gives a light, crinkly rebound.
- Scented Facial Tissues:
On Reddit’s
r/yumeshippingcommunity, creator StarPostingStuff6619 shared making a handmade paper squishy using a Pinterest standee template and chamomile-scented tissues as stuffing. Wrapping soft tissues around a small core of bubble wrap or crumpled paper helps the center spring back after compression. - Cut-Up Foam Sponge Cubes (Craft Tip): For a boxier feel, trimming a clean craft sponge into small cubes helps support flat rectangular walls from the inside.
3D Paper Net vs. Molded Slow-Rise PU Foam: Side-by-Side Rebound & Durability Comparison
When should you print and fold a 3D paper squishy template at home, and when is a molded slow-rising foam squishy the better choice?
- Choose a DIY 3D Paper Squishy Net when: You want a hands-on coloring and paper-folding project using regular paper, packing tape, and household stuffing like Poly-fil, cotton balls, tissues, or recycled plastic grocery bags. (If you prefer simpler shapes before trying 6-panel nets, browse our beginner paper squishy templates & ideas guide.)
- Choose a Molded Slow-Rising Foam Squishy when: You want a quiet fidget toy for stress relief and calming sensory play that slowly rises back to its shape on its own without paper creases. Both the Realistic Milk Carton Squishy Fake Food Slow Rise Toy ($12.99 USD) and the PU Foam Butter Squishy — That Buttery Slow Squeeze ($12.99 USD, supplier reference weight approx. 45 g) are designed for kids 3+ and adults.
Frequently Asked Questions
How do you make a 3D paper squishy without cotton stuffing?
As noted in eParenting’s paper squishy guide and Reddit crafting communities, you can fill a paper squishy without cotton balls by recycling plastic grocery bags, using pillow stuffing (Poly-fil), or packing chamomile-scented facial tissues (or cut-up craft sponge cubes) inside your taped paper net, leaving a small corner air vent for rebound.
How do you fold and tape a 3D box or milk carton paper squishy so the corners do not burst?
Pre-score all 90-degree wall fold lines and diagonal roof gusset lines before laminating with packing tape, miter your 10 mm glue/tape tabs at 45 degrees so corners fold flat, avoid overpacking the roof section, and leave a 3 mm pinhole air vent at one bottom corner seam so air can escape when squeezed.