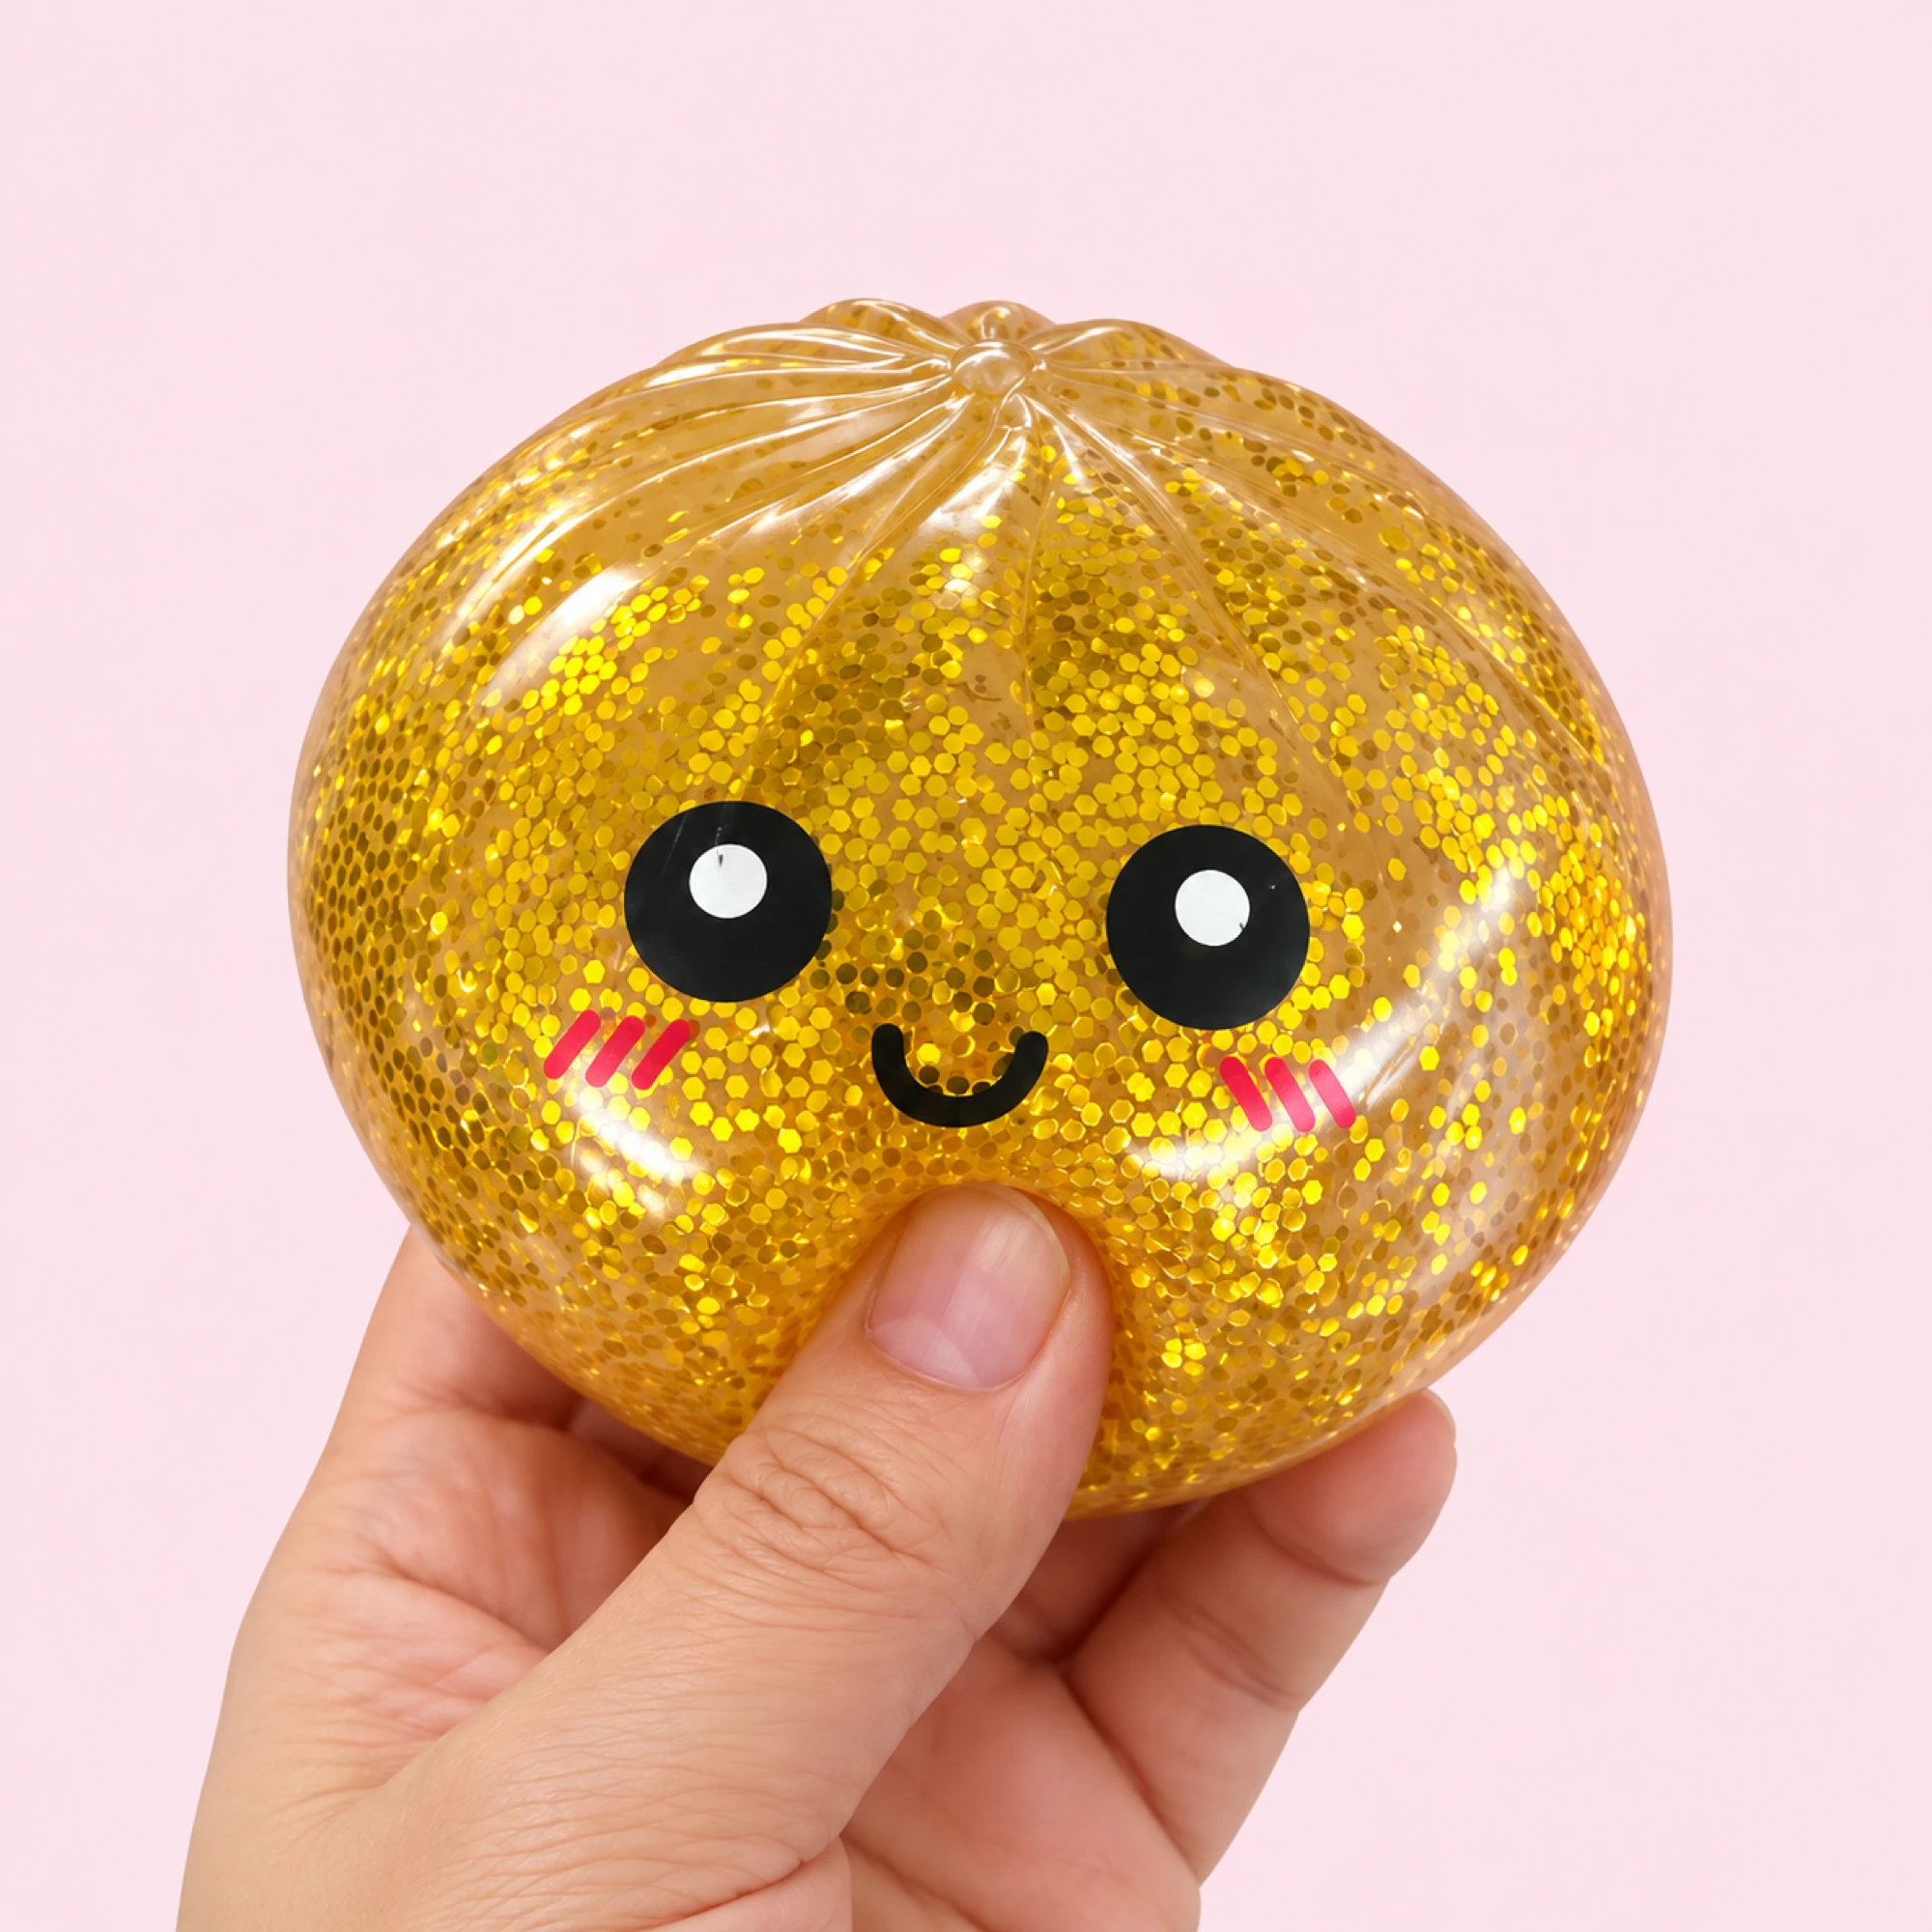
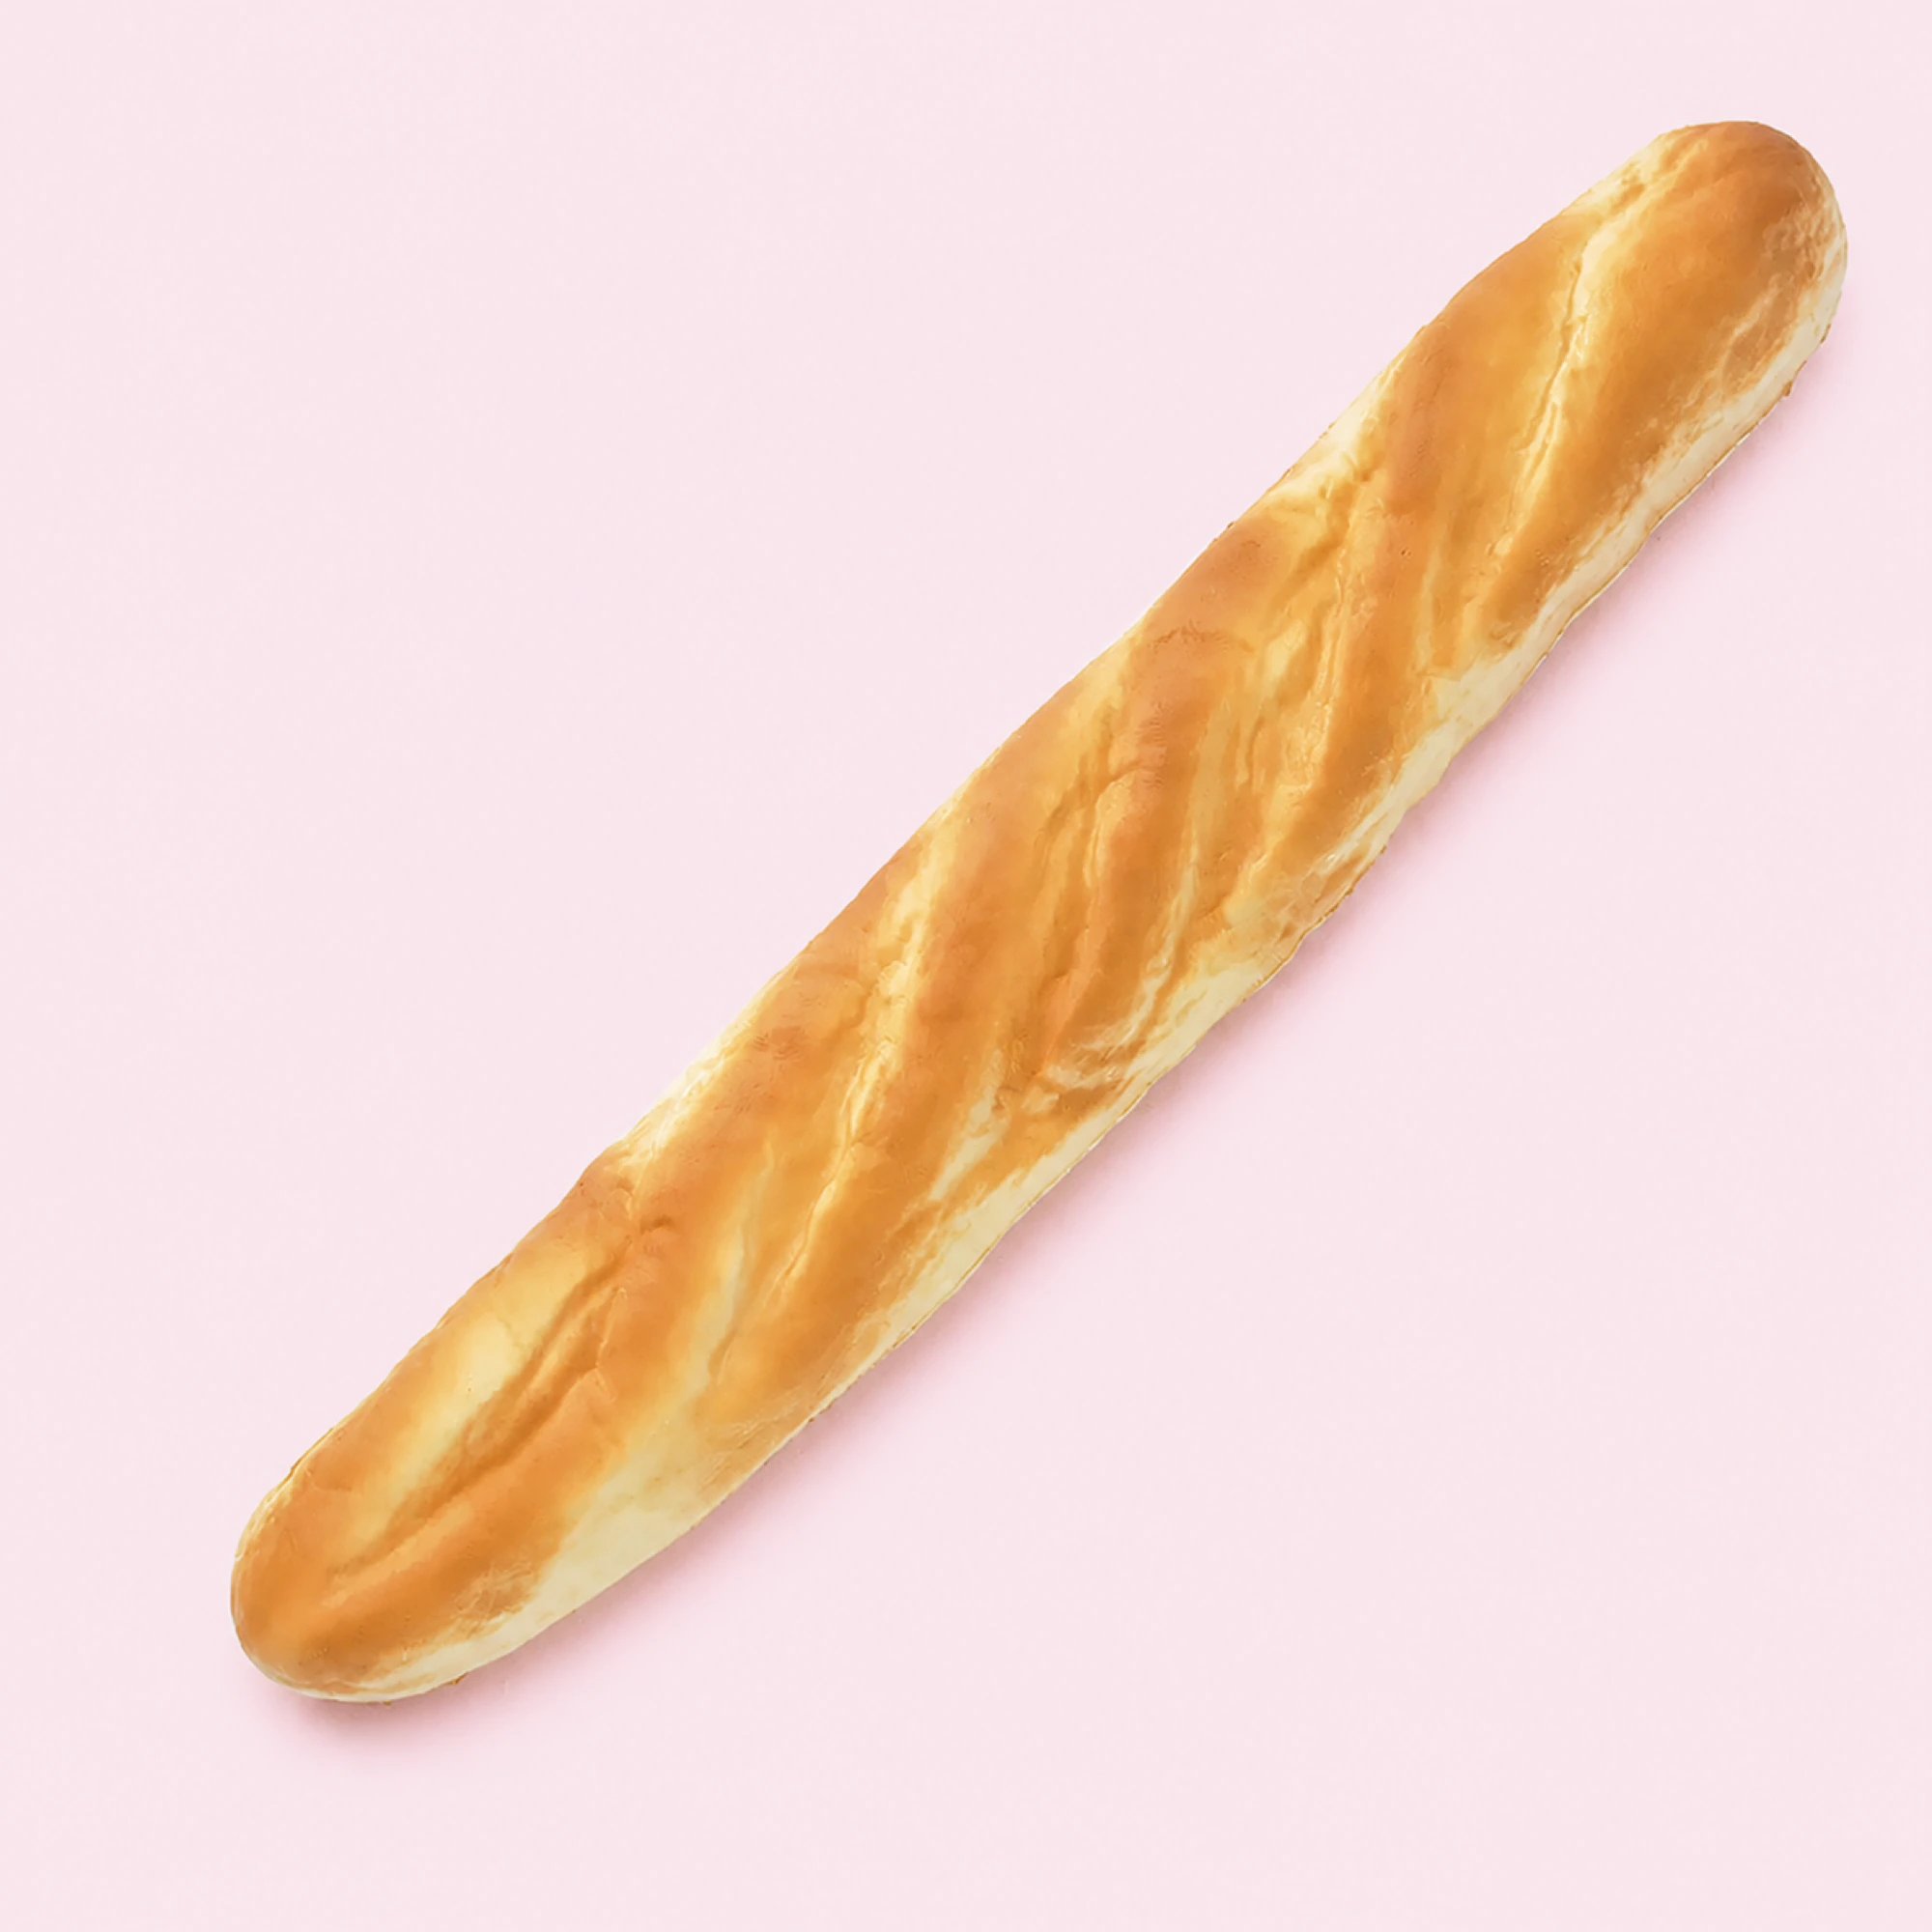
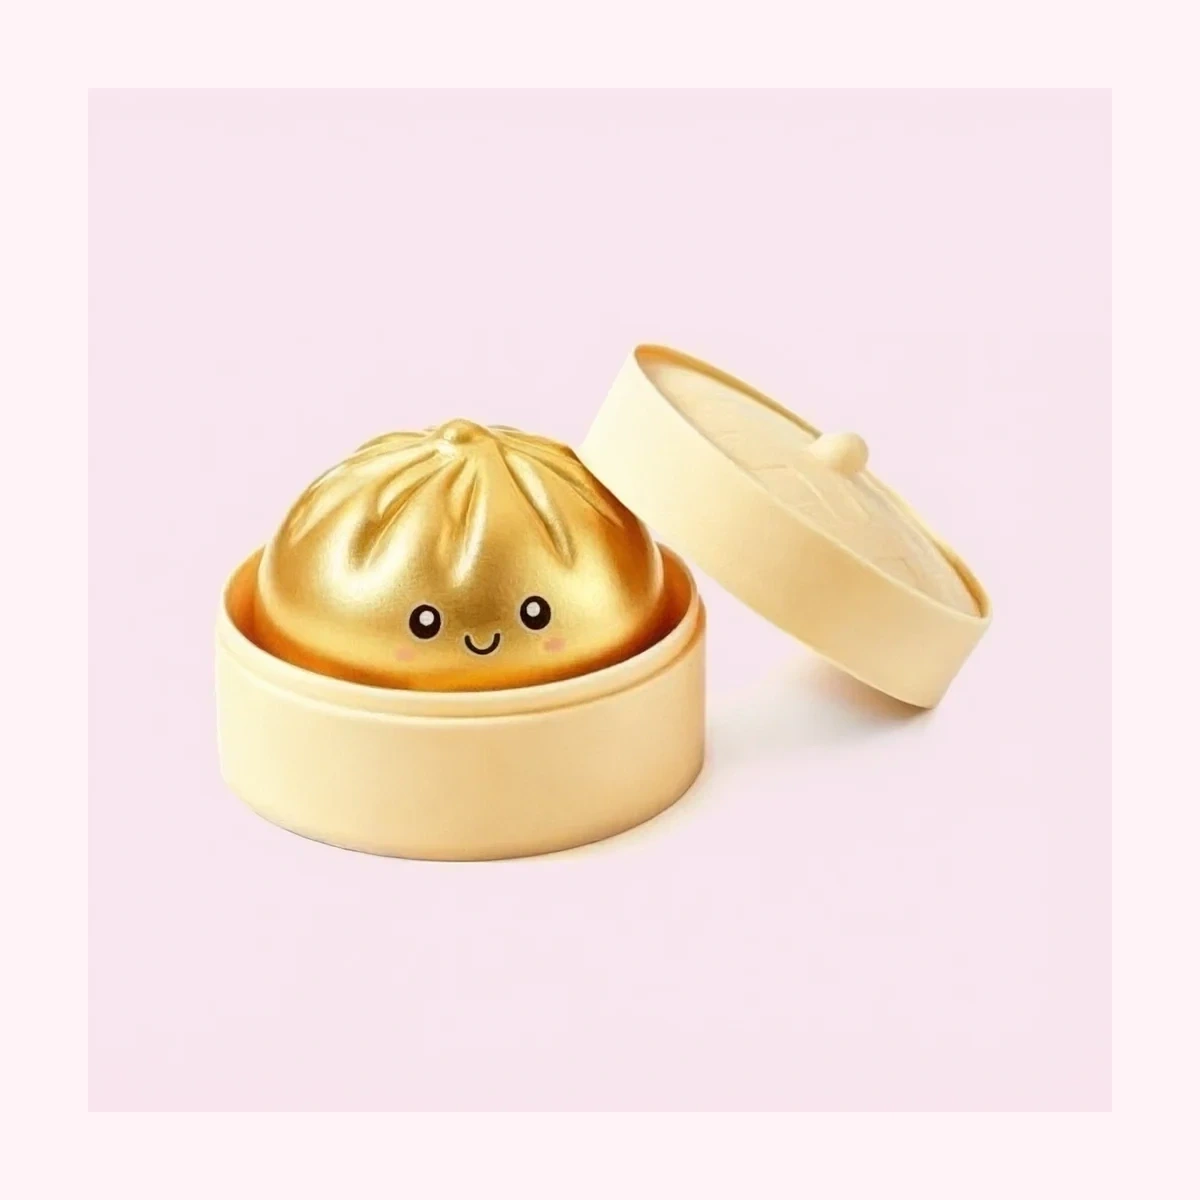
Dumpling squishies—inspired by fluffy Chinese baozi and dim sum baskets—have become viral sensory sensations across crafting communities and tactile fidget collections. Their rounded crowns, delicate crimped pleats, and irresistibly soft squash entice hobbyists to recreate them at home using everyday household craft supplies.
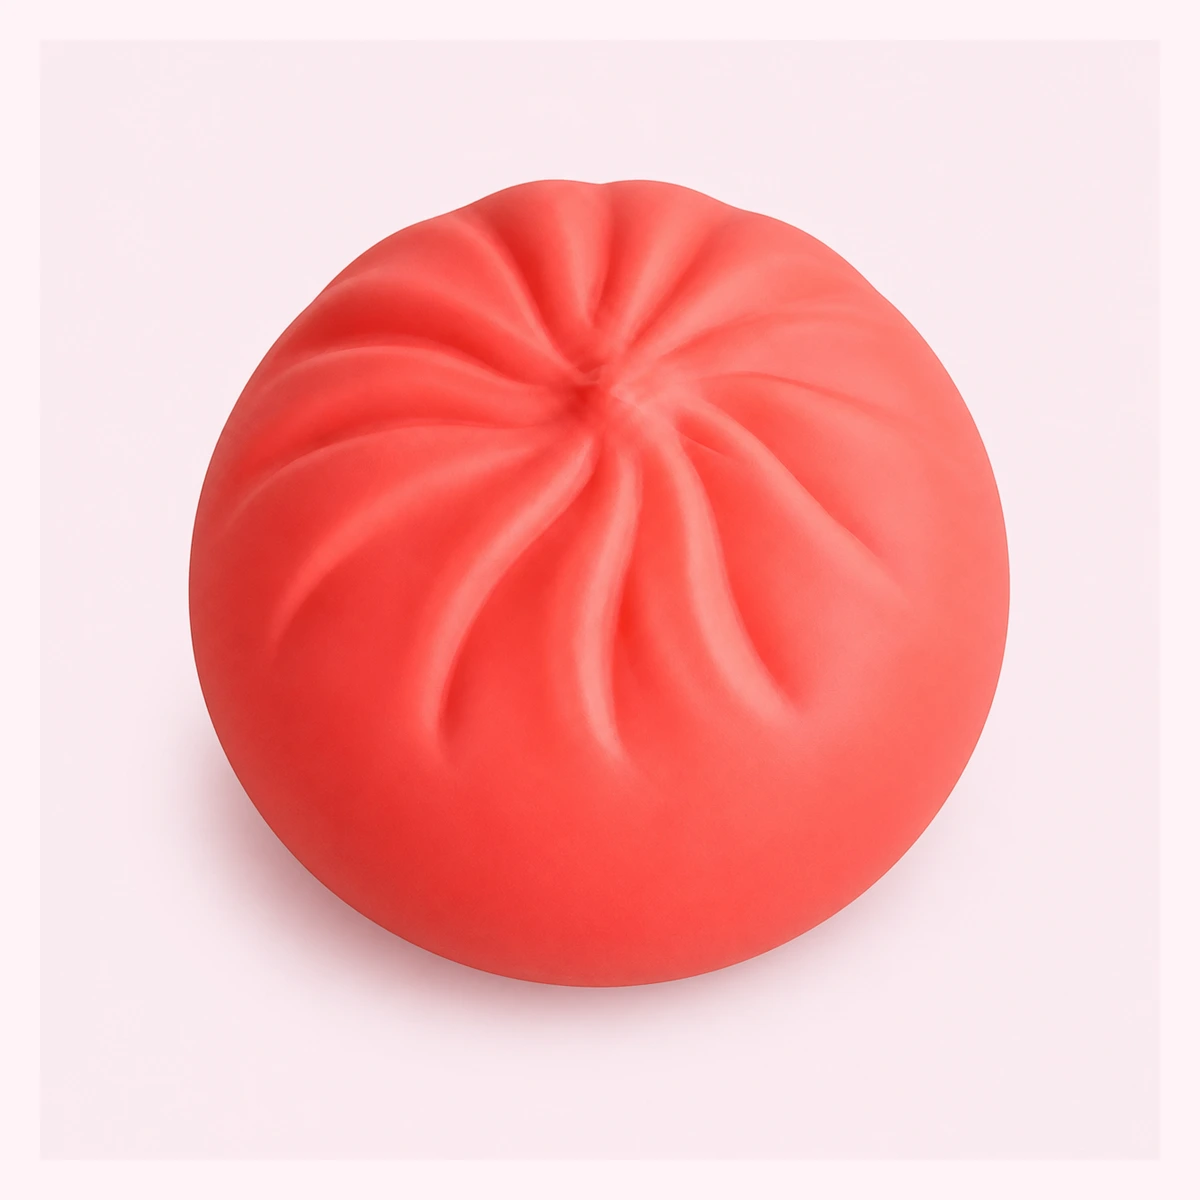
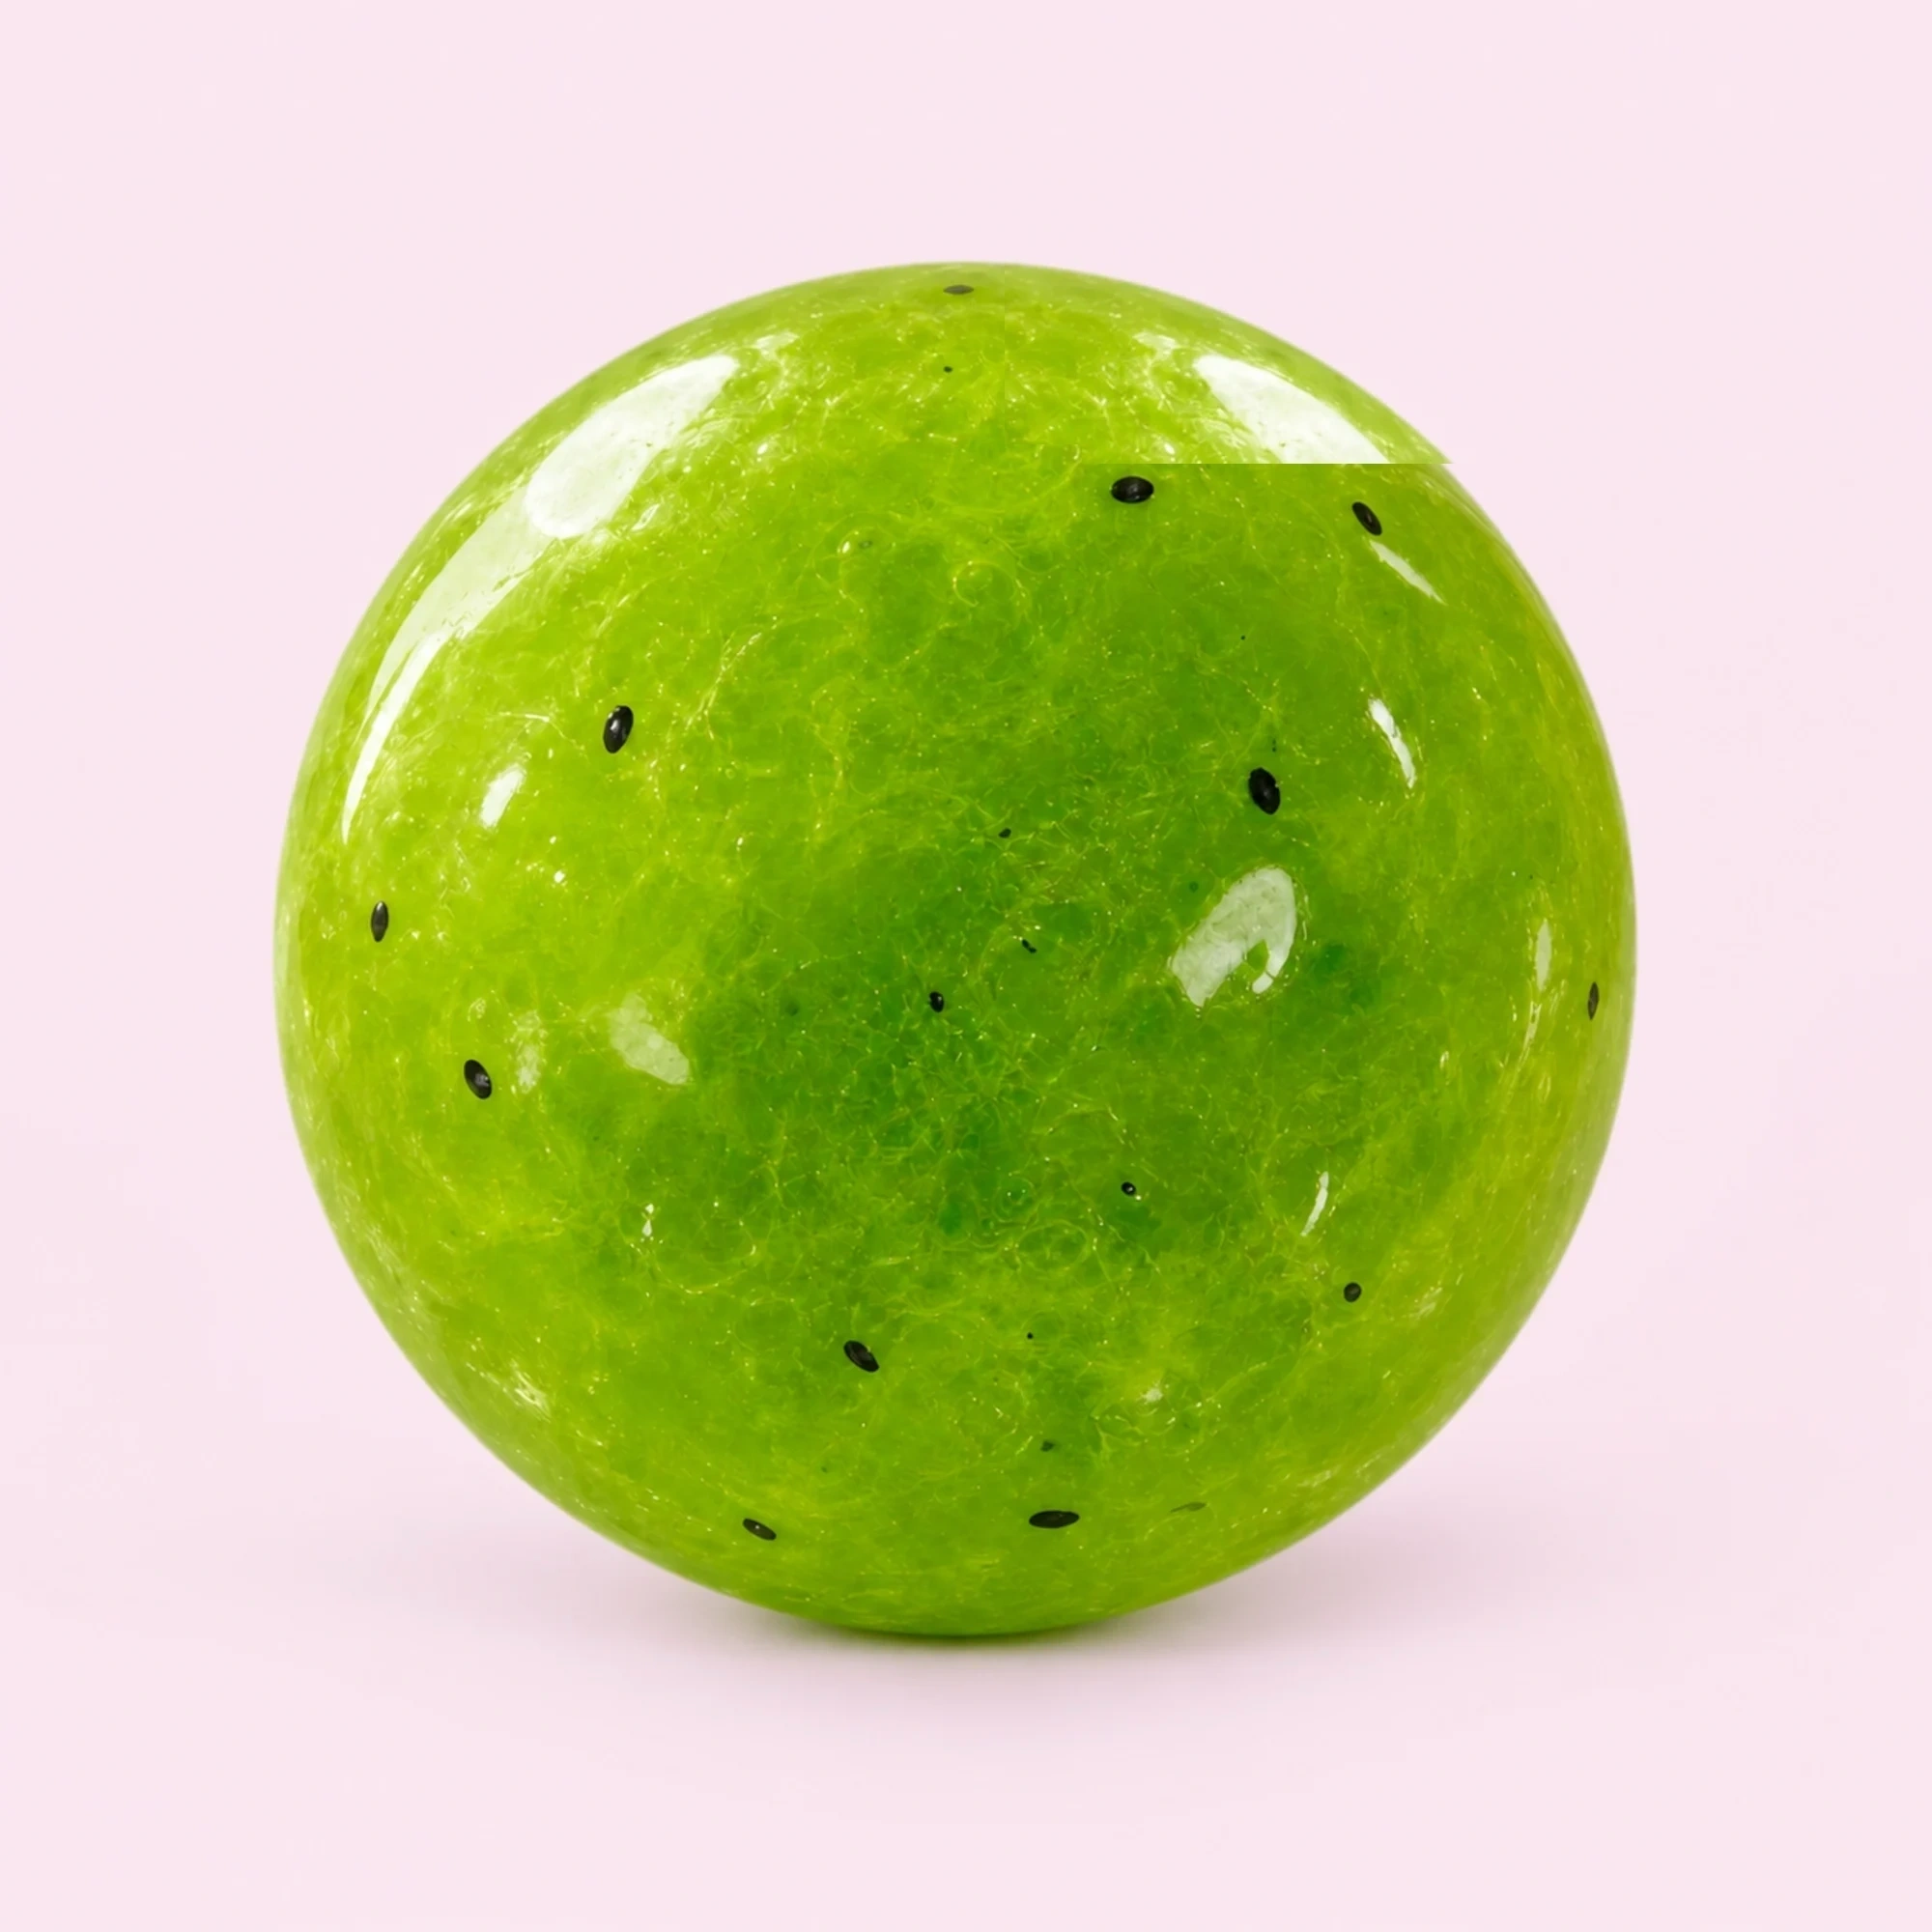
The Viral Purple Steamed Bao Dumpling (FS-DUMPLING-015) features TPR construction with a steamer basket measuring 10 × 10 × 5 cm and weighing 123 g.
While industrial toys rely on automated liquid thermoplastic injection, homemade crafting provides endless creative freedom. Whether you prefer the crisp crinkle of clear packing tape, the slow-rising resilience of sculpted memory foam, or the satisfying dense knead of a flour-filled balloon, this complete DIY guide walks through the exact techniques, material preparations, and pleating secrets needed to build your own homemade dumpling squishies.
Method 1: The Classic Paper & Tape Dumpling Squishy
The paper squishy technique remains the most accessible starting point for makers of all skill levels. Using heavy paper, wide transparent packing tape, and soft inner stuffing, you can craft a vibrant, slow-rebound bao bun in under thirty minutes.
Essential Supplies
- Paper: 120–160 gsm heavy printer paper or cardstock (holds fold shape better than standard 80 gsm copy paper).
- Tape: 2-inch wide clear acrylic packing tape (avoid frosted or matte tape, which lacks tensile strength).
- Coloring: Markers, colored pencils, or alcohol pens for delicate blush cheeks and dough shading.
- Stuffing: Shredded high-density memory foam chunks, soft polyester fiberfill (pillow stuffing), or thin plastic grocery bags shredded into ribbons.
- Tools: Precision craft scissors and a fine sewing needle (for micro air vents).
Step-by-Step Instructions
- Draw the Dumpling Template: On your sheet of heavy paper, draw two matching symmetrical circular silhouettes roughly 10 cm in diameter. On the front face, sketch a cute kawaii expression: gentle closed crescent eyes, rosy pink cheek blushes, and faint radial line marks at the top edge representing folded dough pleats.
- Laminate with Clear Tape: Lay continuous strips of clear packing tape across both the front and back illustrations, overlapping each tape strip by 2 mm to ensure full waterproof coverage of the ink. Smooth out trapped air bubbles with the edge of a plastic ruler.
- Cut Out the Halves: Cut carefully around the taped outlines, leaving a 1 mm margin outside the black outline to prevent premature paper delamination.
- Crimp and Seal the Perimeter: Align the two circular halves face-to-face. Cut narrow 1-inch pieces of clear tape and fold them over the outer edges, sealing 80% of the circumference while leaving a 3 cm pocket open at the top pleat crown.
- Pack the Slow-Rising Filling: For the most satisfying slow-rising rebound, pack small shredded cubes of memory foam into the cavity. Fill firmly until the dumpling puffs into a plump bun shape, but avoid overpacking, which can stress the tape seams.
- Pleat the Top and Seal: Gather the open tape edges into tiny accordions to mimic authentic bao bun folds. Press a final piece of clear tape tightly over the pleated crown.
- Puncture Micro Air Vents: Using a fine sewing needle, poke two microscopic pinpricks near the pleated folds. These tiny vents allow air to exhaust when squeezed and slowly refill the foam cavity upon release, achieving that authentic slow-rise effect.
Method 2: Sculpted Memory Foam & Puffy Paint Bao Bun
For crafters seeking authentic 3D roundness and velvety exterior textures, carving high-density polyurethane memory foam delivers a superior tactile result that closely resembles commercial slow-rising squishies.
Essential Supplies
- Core Foam: 3-inch thick high-density memory foam (cosmetic makeup sponge blocks or memory foam pillow off-cuts).
- Cutting Tools: Curved embroidery scissors or fresh razor-edge craft shears.
- Coating: White and cream flexible 3D fabric paint (puffy paint), mixed with a small amount of liquid silicone or PVA glue for elasticity.
- Detailing: Soft makeup sponge wedges for dab-blending and pink pastel chalk for toasted bun blushes.
Step-by-Step Instructions
- Block Out the Rough Form: Cut a cube of memory foam measuring roughly 8 × 8 × 8 cm. Using your shears, snip away the hard 90-degree corners to transform the cube into a rough octagonal prism, then round the edges until you form a domed hemisphere with a flat base.
- Carve the Spiral Crown Pleats: Using curved embroidery scissors, make small angled diagonal snips radiating clockwise from the center apex down toward the mid-flank. These grooves create deep realistic dough pleats. Take shallow micro-cuts rather than deep gouges to keep the surface smooth.
- Apply the Flexible Base Coat: Mix white fabric paint with a few drops of water and cream pigment until it reaches the consistency of melted ice cream. Using a dense makeup sponge, gently press the paint into the foam pores. Do not brush heavily; dab evenly to preserve the foam’s porous breathability.
- Curing and Second Coat: Allow the base layer to dry completely for 6 to 8 hours. Apply a second thin coat of fabric paint, concentrating on smoothing the crevices of the pleated crown.
- Add Dough Blushing: Dip a dry cosmetic brush into powdered peach chalk or diluted brown paint and lightly dust the bottom edge and peak tips to simulate authentic bamboo-steamer browning. Allow 24 hours of full curing before your first deep squeeze.
Method 3: Dual-Layer Balloon & Flour Dough Dumpling
If your tactile preference leans toward malleable, dense, dough-like resistance that holds finger indentations like fresh baker’s dough, the balloon-and-cornstarch method creates a delightfully heavy stress dumpling.
Essential Supplies
- Balloons: 12-inch heavy-duty matte white latex balloons (use high-grade balloons to minimize burst risk).
- Filling: Pure cornstarch or all-purpose flour (cornstarch produces a squeaky, dense crunch; flour offers a softer dough feel).
- Tools: Empty plastic water bottle, funnel, and a clean cable tie or thin elastic cord.
Step-by-Step Instructions
- Prepare the Funnel Transfer: Fit a dry funnel into the neck of a clean, completely dry plastic bottle. Pour in approximately 150 grams of cornstarch or flour.
- Stretch and Inflate: Blow up the white balloon halfway to stretch the latex, then twist the neck three times to trap the air without tying.
- Stretch Over Bottle Opening: Stretch the balloon opening over the mouth of the inverted water bottle. Untwist the neck and tap the bottle vigorously to let the flour flow smoothly into the balloon.
- Purge Excess Air: Slowly release the trapped air until the balloon skin hugs the compact flour ball tightly without internal air pockets.
- The Dual-Balloon Technique: Snip the rolled neck of a second white balloon. Stretch the second balloon completely over the first balloon so that the tied knot is covered. This dual-layer reinforcement prevents flour leaks during intense fidgeting.
- Forming the Bao Top Tie: Gather the remaining exterior neck into accordion folds, secure tightly with a matching white mini elastic band, and trim the excess rubber to form a neat, pinched dumpling knot.
Tactile Comparison: DIY Homemade Crafts vs. Molded TPR Bao Squishies
Choosing the right dumpling squishy depends on whether you value personalized crafting or long-term fidget durability. The table below illustrates key performance metrics between homemade techniques and precision factory models.
| Metric | DIY Paper & Tape | DIY Sculpted Memory Foam | DIY Balloon & Flour | Molded TPR Factory Bao |
|---|---|---|---|---|
| Tactile Rebound | Crisp crinkle with 2–4s slow-rise | Deep velvety 3–5s slow-rise | Zero rebound; malleable dough hold | Fast snappy rebound (1–2s recovery) |
| Durability Under Squeeze | Moderate; tape seams stress over time | High flexibility; paint may hairline crack | High; risk of puncture from fingernails | Extreme resilience (10,000+ compressions) |
| Water Cleanability | Dry wipe only (water destroys paper) | Damp sponge wipe only | Cold rinse wipe only | 100% water & mild soap washable |
| Pleat Definition | 2D folded tape folds | Hand-sculpted 3D grooves | Pinched neck knot | Precision molded micro-ridges |
| Average Craft Time | 25–35 minutes | 2–3 hours (plus 24h drying) | 15–20 minutes | Ready out of box |
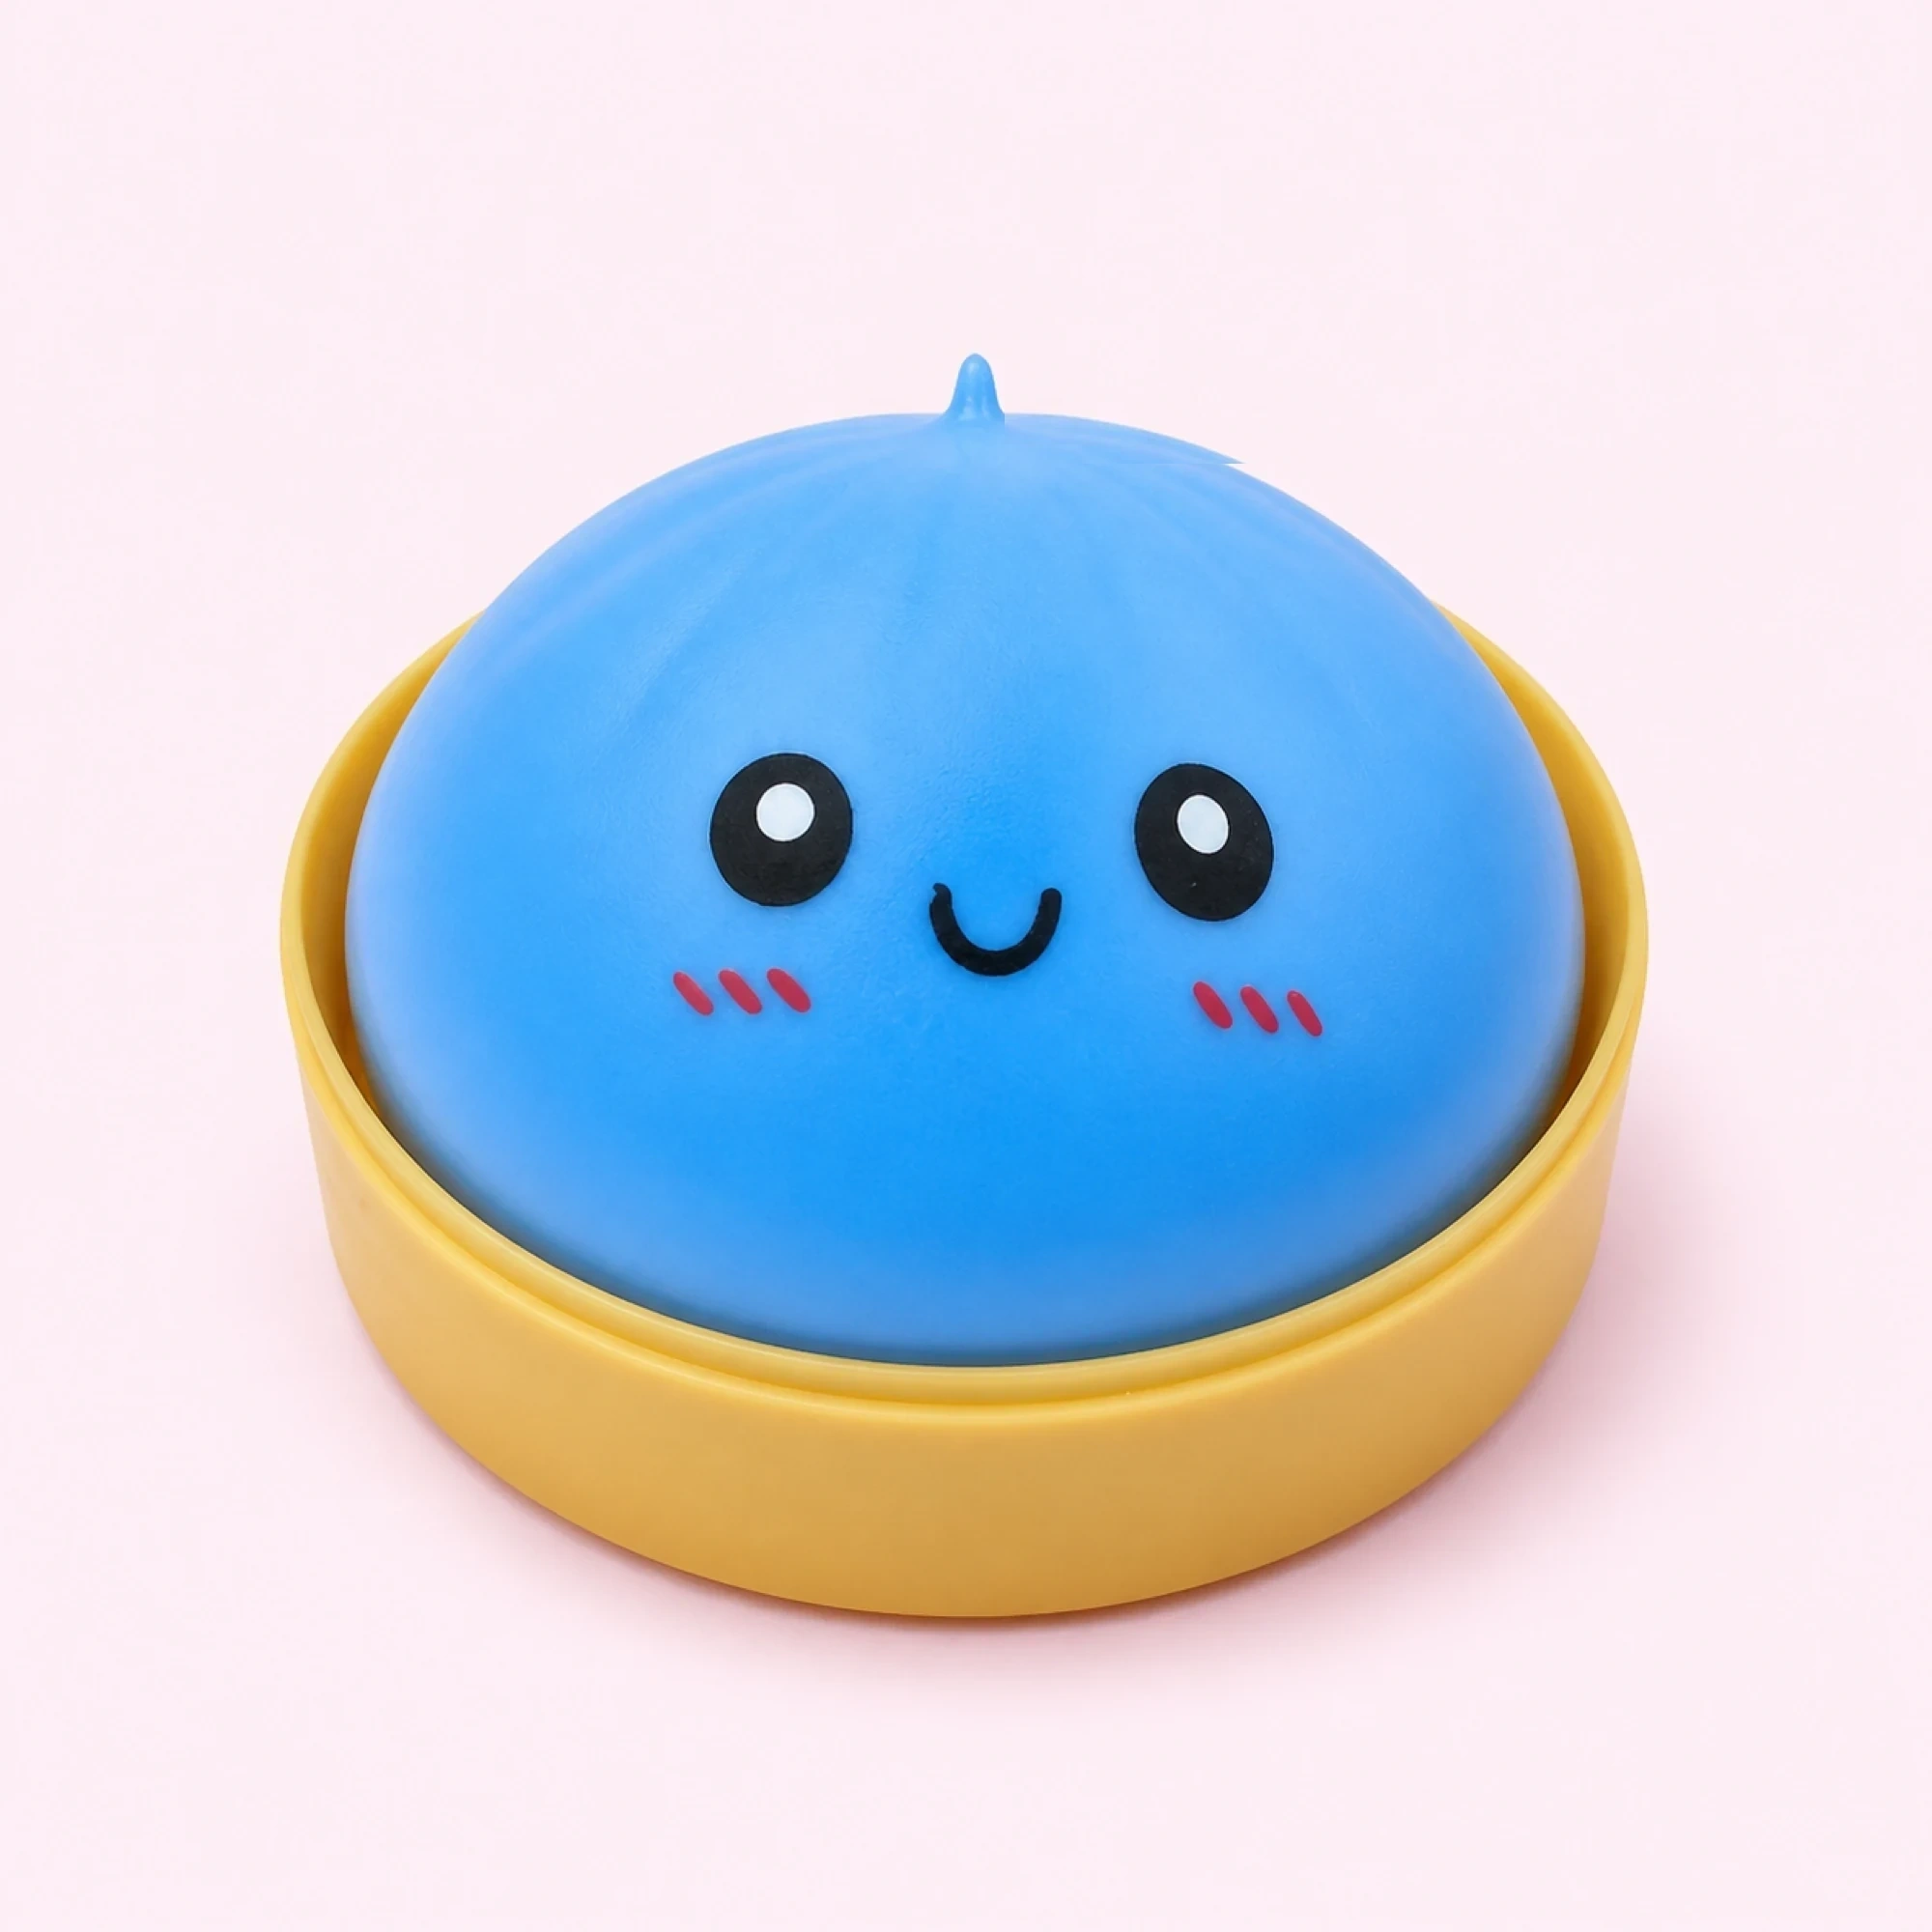
While crafting homemade dumplings provides rewarding artistic satisfaction, commercial models like FunnySquishy’s Viral Purple Steamed Bao Dumpling and Azure Dumpling Squishy provide seamless molded TPR structures that can be washed repeatedly in the sink with mild soap and refreshed with baby powder without risking tears or seam splits.
Care, Cleaning, and Longevity Guidelines
To ensure your handmade or manufactured squishy maintains its tactile appeal, adhere to these simple preservation practices:
- Paper Squishies: Store in a dry box away from humidity. If the surface becomes dusty, wipe gently with a dry microfiber cloth. Re-tape any lifting seam edges immediately with fresh clear packing tape.
- Foam Squishies: Keep out of direct sunlight, which can oxidize polyurethane foam and cause yellowing or brittleness. Avoid sharp fingernail digs that can gouge painted foam folds.
- Balloon Squishies: Store away from pet hair and sharp edges. Lightly dust the outer rubber with cornstarch once a week to eliminate tackiness.
- Molded TPR Squishies: Wash under lukewarm water with mild dish soap whenever lint collects. Pat dry with a paper towel and dust with baby powder or cornstarch to restore a silky, non-sticky matte finish.
Frequently Asked Questions
How to make a dumpling squishy at home?
Making a dumpling squishy at home can be done using paper and clear packing tape stuffed with memory foam or plastic bags, carved high-density memory foam sealed with flexible fabric paint, or double-layered balloons filled with flour or cornstarch. Each method uses readily available household supplies to replicate the cute, rounded appearance of steamed dim sum dumplings.
What DIY methods exist for making paper, foam, and balloon squishies?
The three most common DIY methods are: (1) Paper Tape Dumplings, which use illustrated paper sealed in packing tape with micro needle vents for air flow; (2) Foam Sculpting, which shapes memory foam blocks into rounded crowns with carved pleats and flexible acrylic paint; and (3) Flour Balloon Squishies, which funnel dry flour or cornstarch into double-layered balloons for a dense, kneadable dough feel.
Can you wash a homemade paper dumpling squishy with water?
No, you should never submerge a homemade paper squishy in water. Even though packing tape provides water-resistant protection across the front and back surfaces, water can easily seep through edge seams, tape overlaps, and micro air vents, saturating the interior paper and ruining the structure. Clean paper squishies using only dry wipes or soft microfiber cloths.
How do DIY squishies compare to factory-molded TPR squishies?
DIY squishies offer creative personalization and fun craft projects, but factory-molded TPR squishies provide significantly higher tensile durability, seamless waterproof washability, and precision-molded pleats. Commercial bao squishies can survive thousands of intense squeezes and full sink washes without seam splits, whereas paper and balloon squishies require gentle handling to prevent tape detachment or punctures.