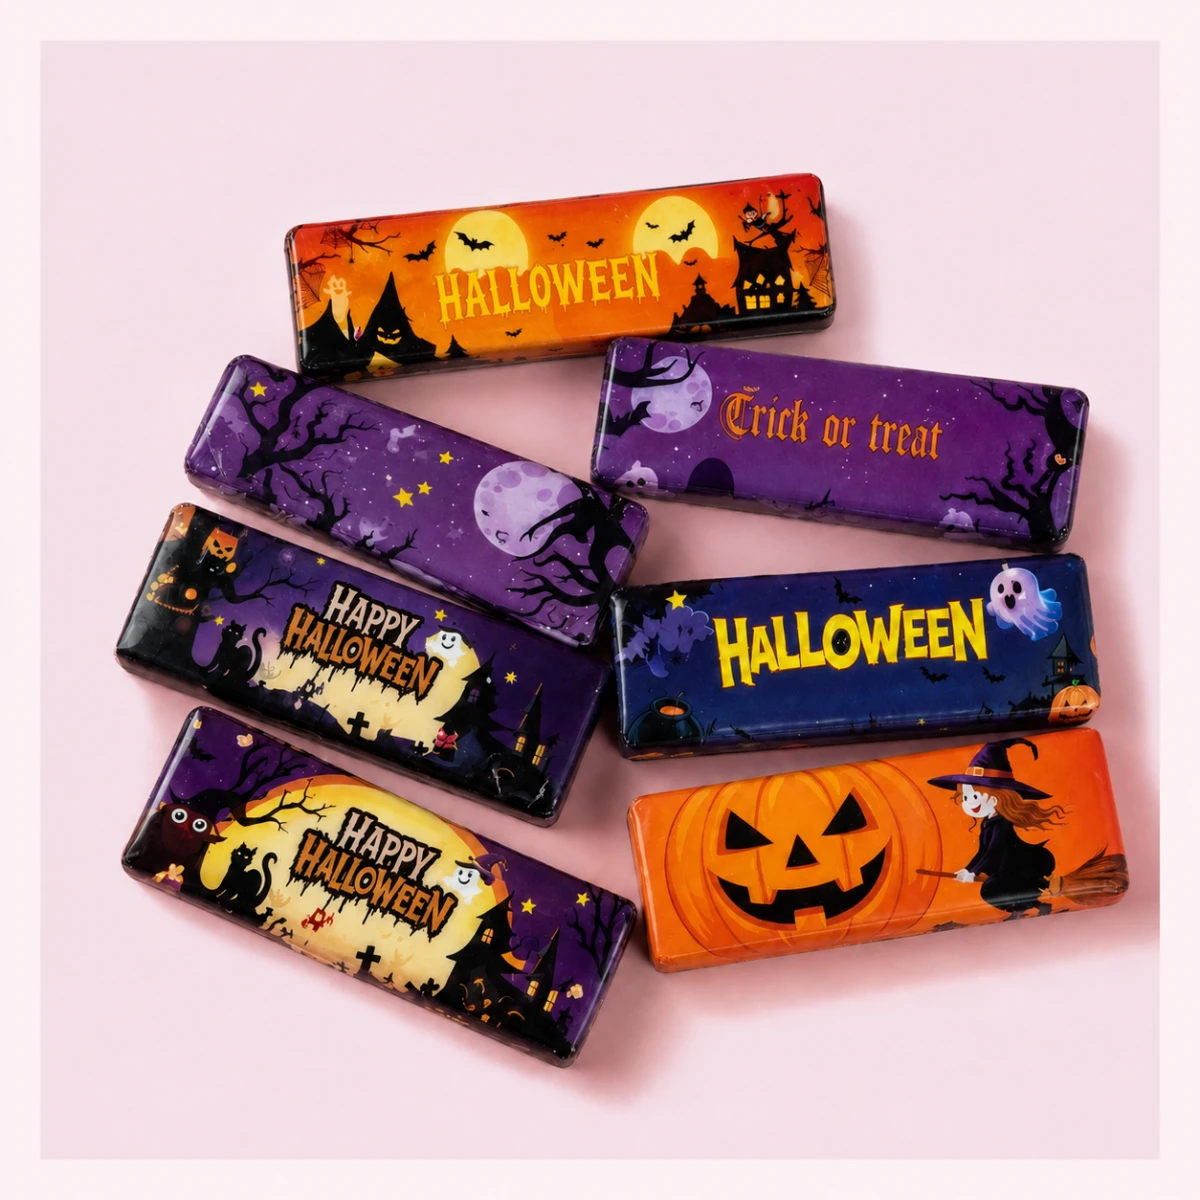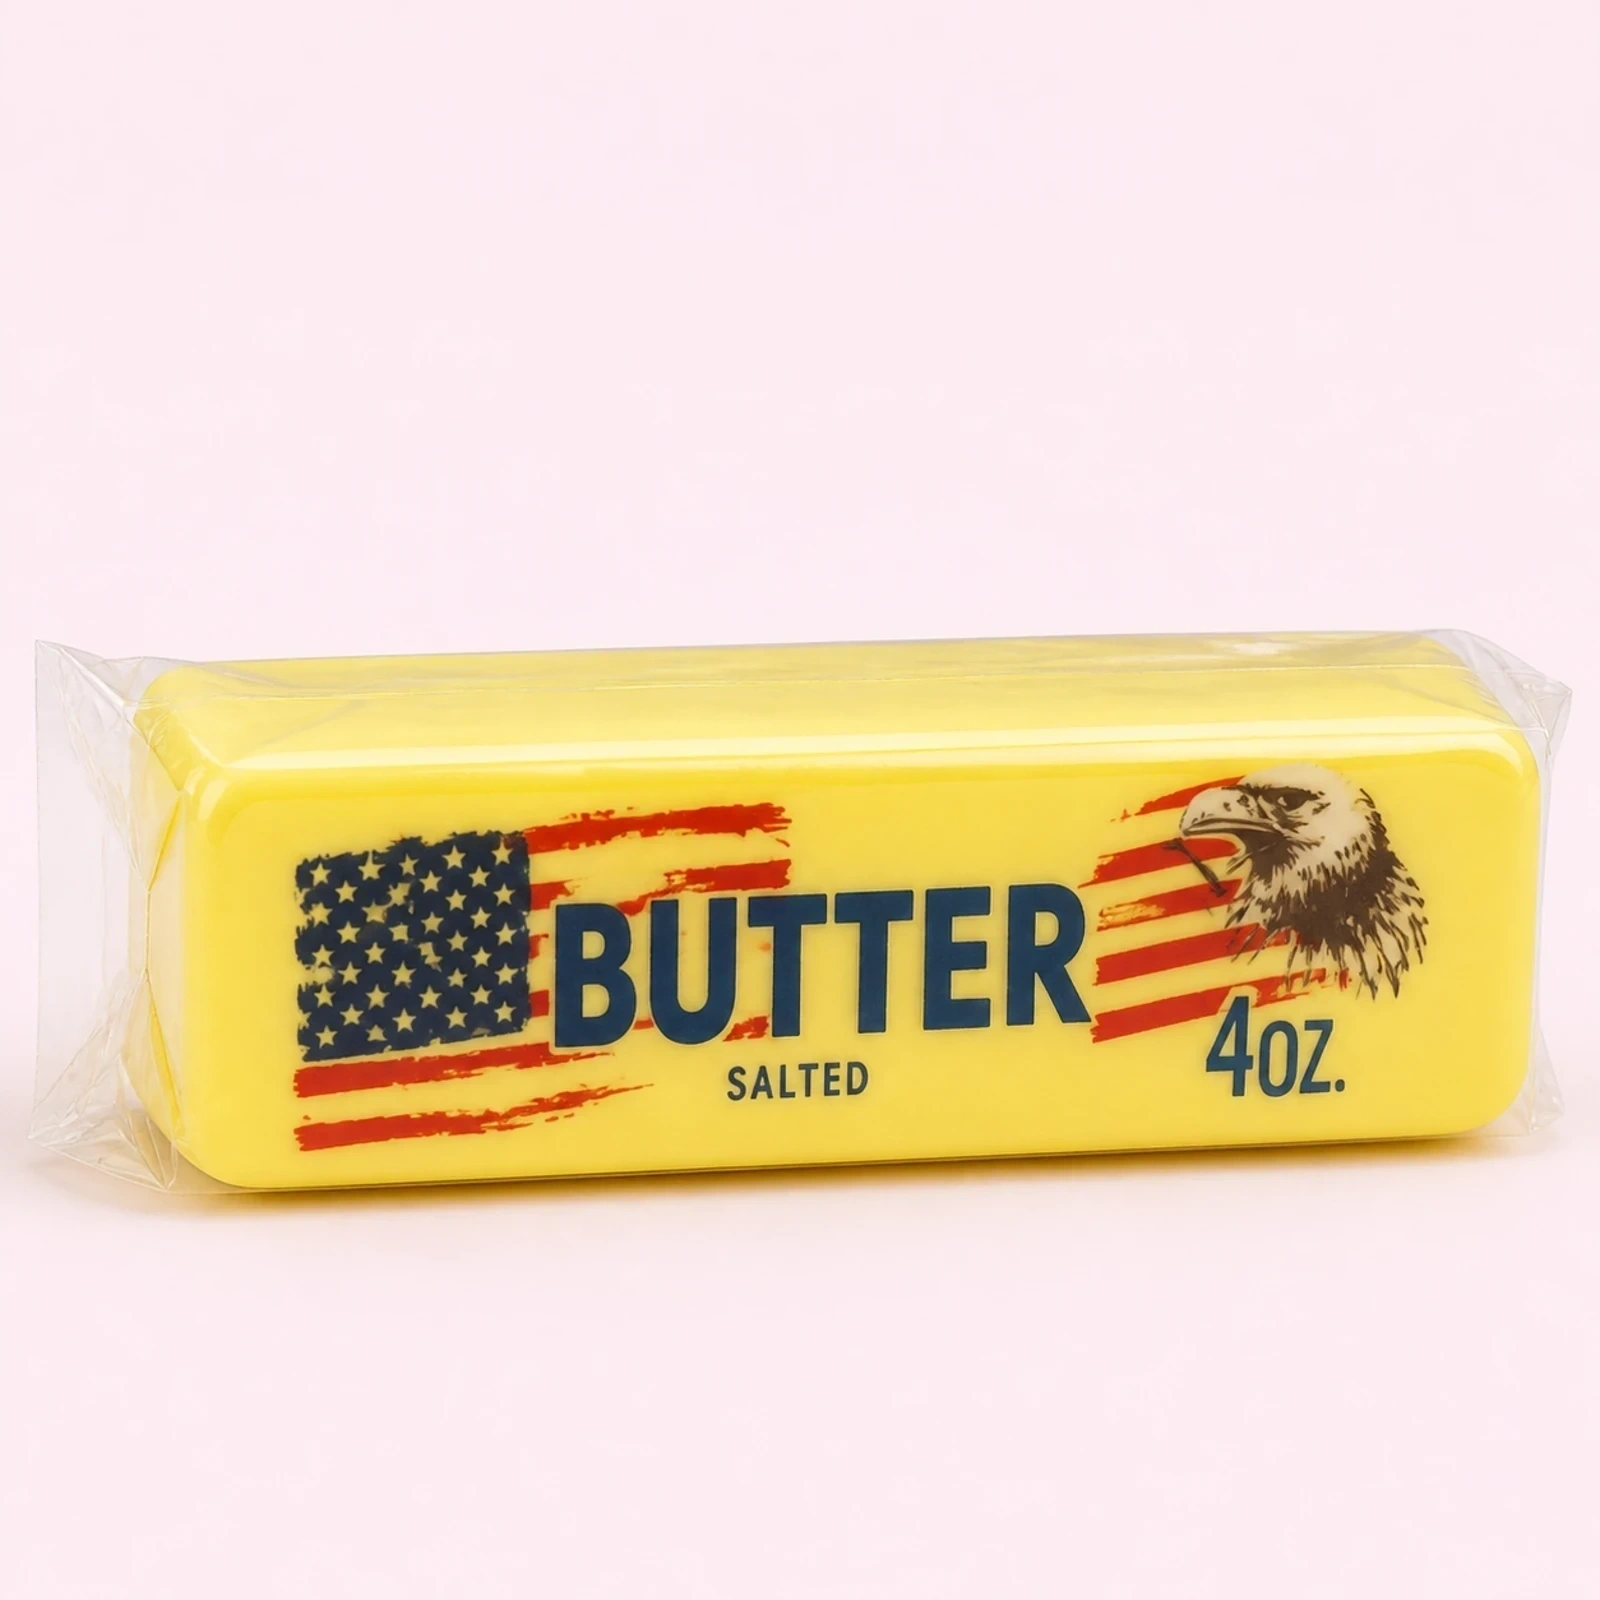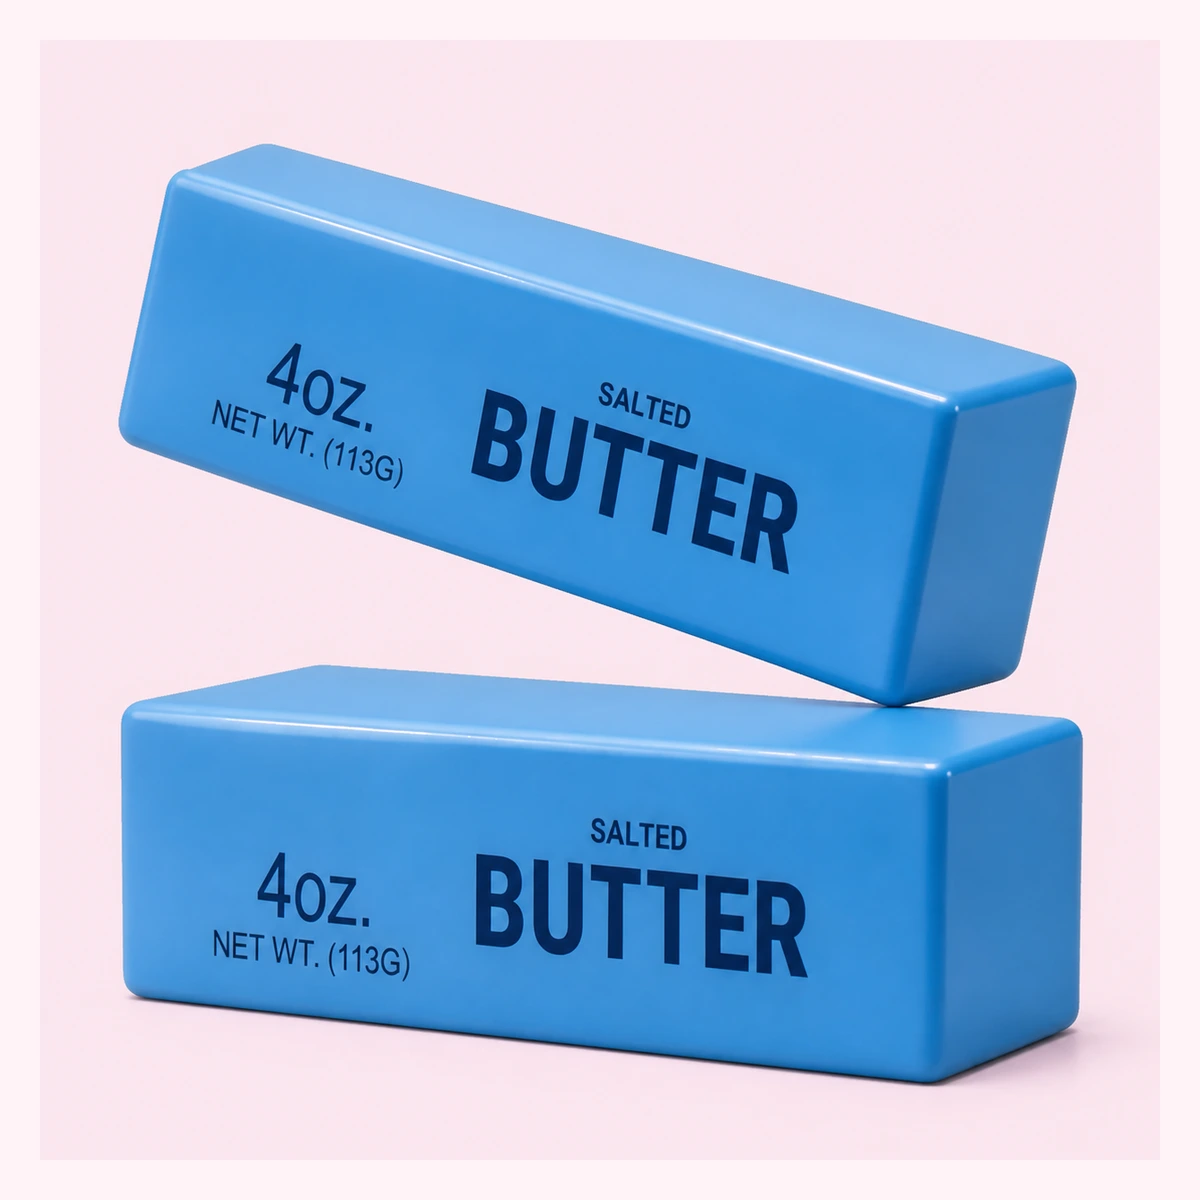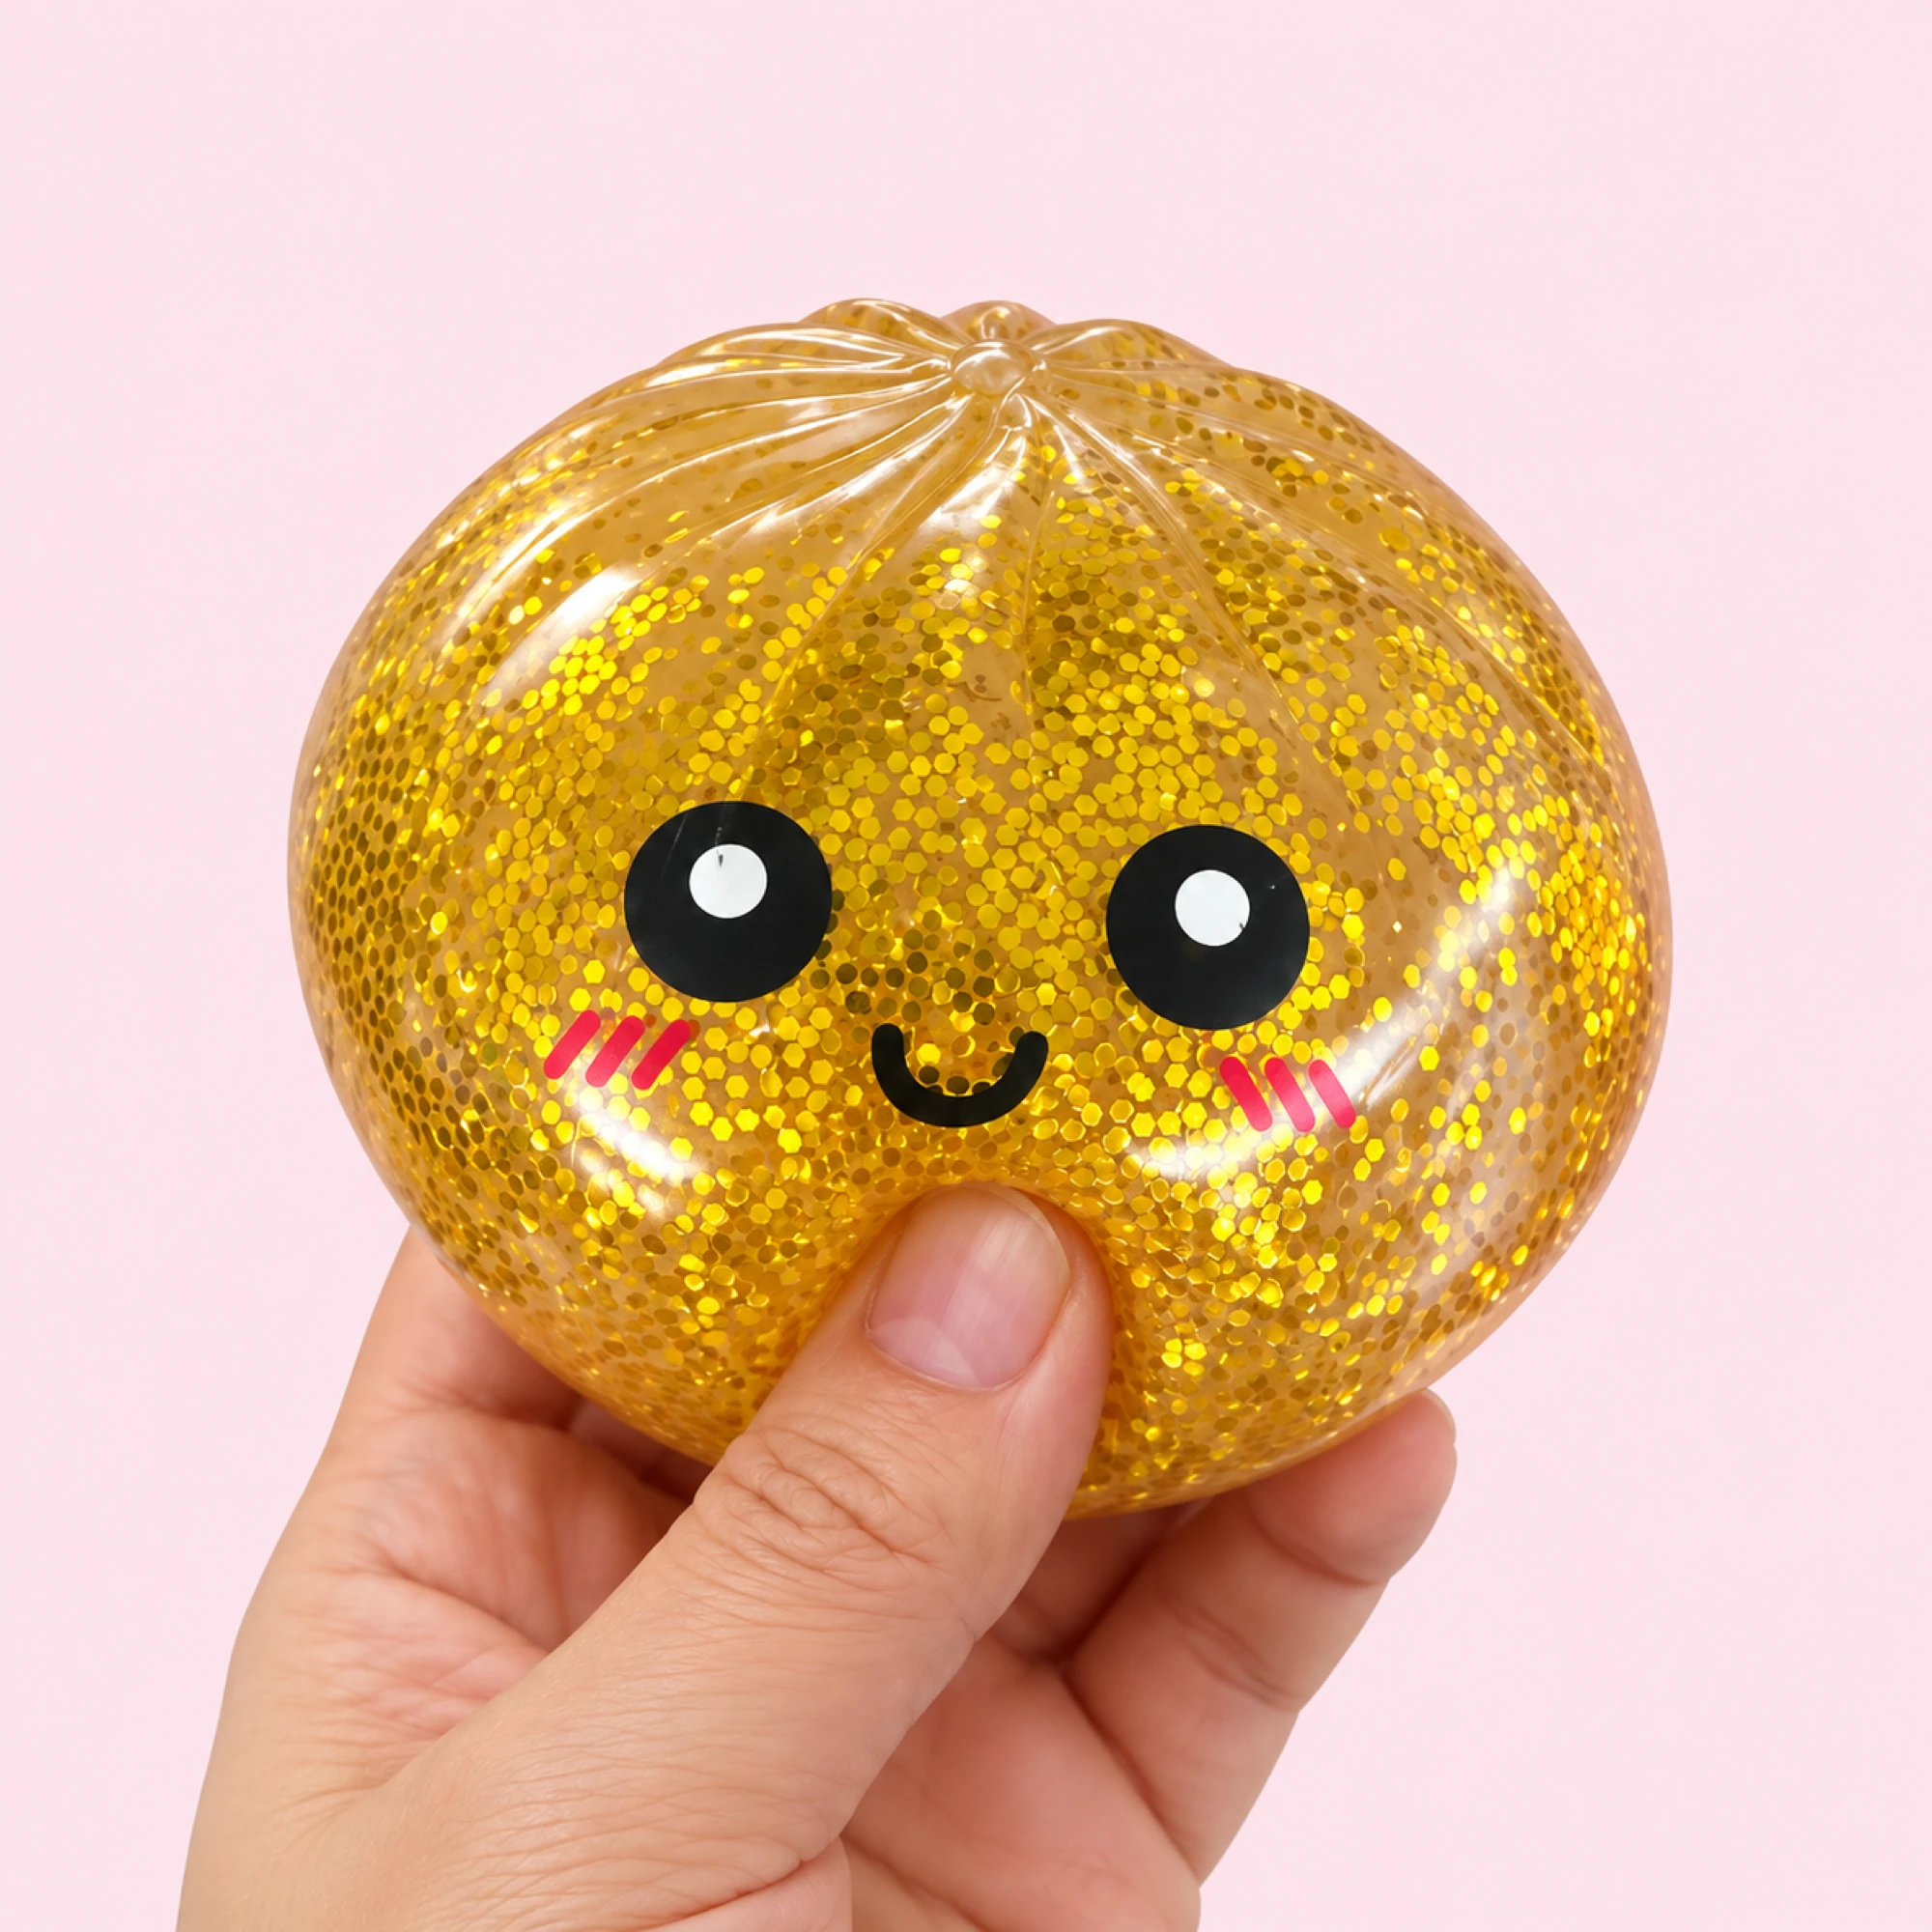


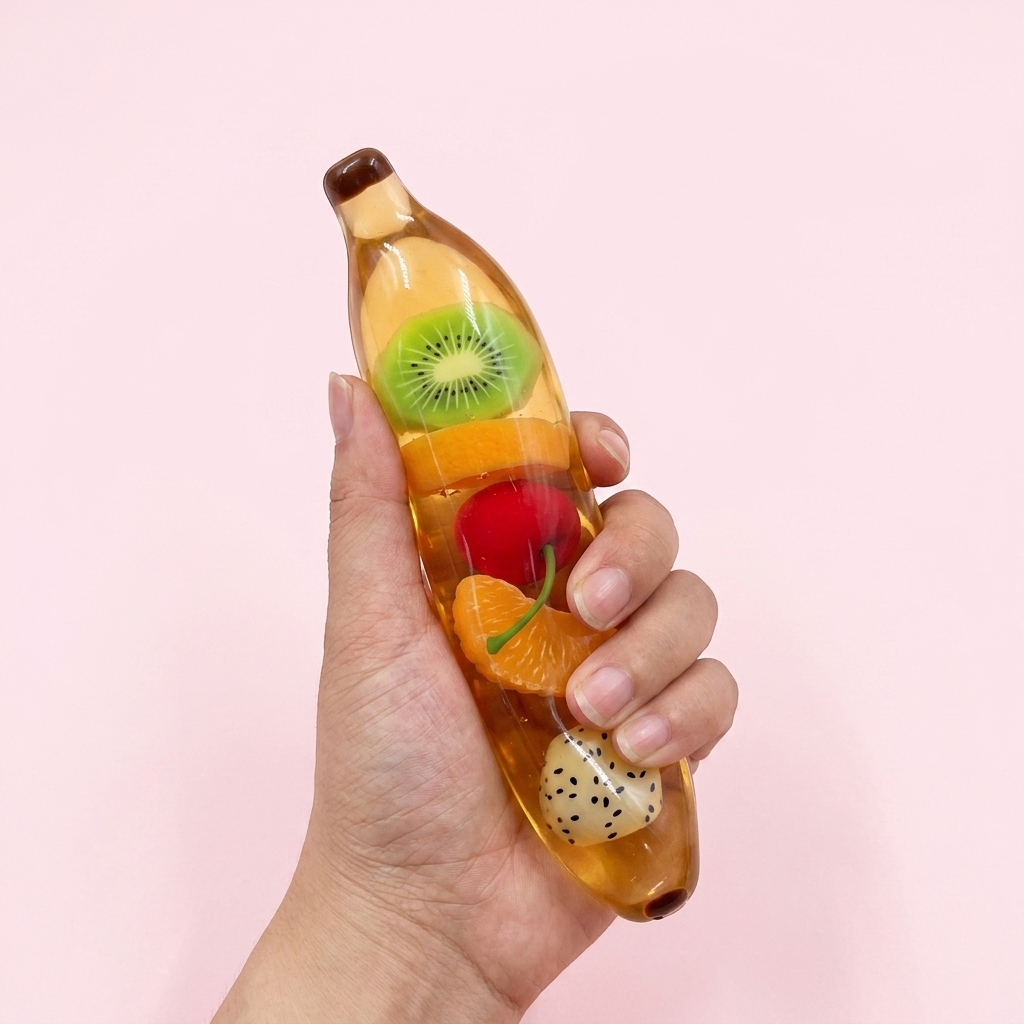

If you've scrolled through TikTok or YouTube lately, you've probably seen someone gently squeeze a tiny paper stick of butter — complete with that soft, slow rebound and oddly satisfying crinkle. The good news? You don't need fancy supplies or 3D printers to make one. With a sheet of paper, some cotton, and the free paper butter squishy template below (PDF, A4 and Letter), you can have your own paper butter squishy in under 30 minutes.
This guide walks you through everything: what a paper squishy actually is, why the butter version went viral, the exact materials you need, and a clear step-by-step process. There's also a troubleshooting section and FAQ to fix the most common problems.
Table of Contents
- What Is a Paper Squishy?
- Why the Butter Squishy Went Viral
- What You'll Need
- Free Printable Butter Squishy Template
- How to Make a Paper Butter Squishy: Step-by-Step
- Tips for a Softer, Springier Squishy
- Fun Variations to Try
- Troubleshooting
- FAQ
What Is a Paper Squishy?
A paper squishy is a simple DIY toy made from two pieces of printed or drawn paper glued together around the edges and stuffed with something soft — usually cotton, tissue, or thin toilet paper. The result is a flat, fidget-friendly shape you can press and squeeze, where it slowly returns to form.
Unlike foam or memory-foam squishies you buy in stores, a paper squishy butter toy costs almost nothing and can be customized completely. It won't be as durable as a foam version, but it's a fantastic craft for kids, classroom activities, and anyone who loves a quick, satisfying project. The trick is in the filling and the paper choice, which together create that signature squish.
Why the Butter Squishy Went Viral
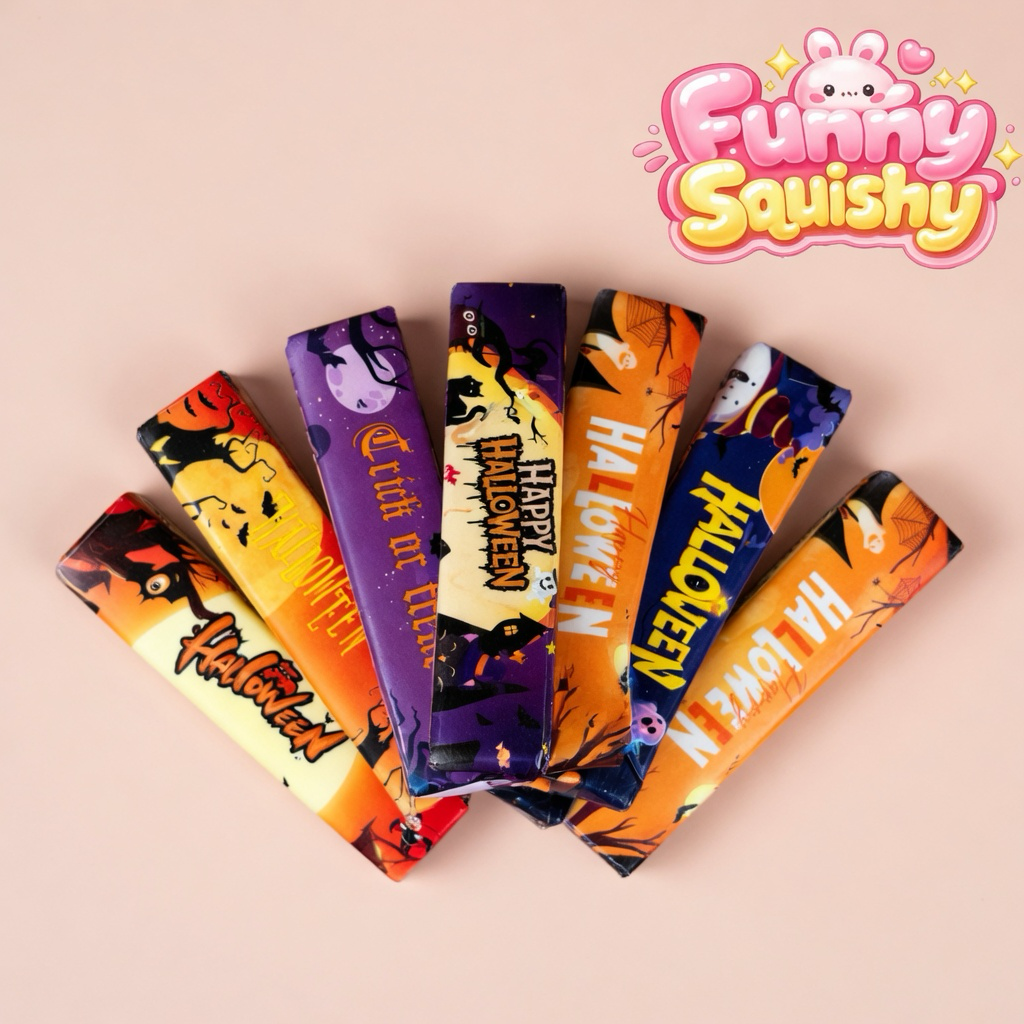
Butter might seem like a strange thing to turn into a toy — but it's actually the perfect candidate. Here's why the butter version exploded across social media:
- The shape is ideal. A stick of butter is a clean rectangular block. Simple geometry means it's easy to print, cut, and fold into a believable 3D form.
- The packaging looks great. Classic butter wrappers — gold foil, blue accents, that familiar "salted" or "unsalted" labeling — recreate beautifully on paper and read instantly as "butter."
- ASMR appeal. The soft crinkle of paper combined with a slow rebound hits the same satisfying notes that make squishy and slime videos so addictive.
- It's relatable and a little funny. A squeezable stick of butter is exactly the kind of low-stakes, surprising object that performs well in short-form video.
Despite all the viral attention, most of that content lives in videos — which means there's been almost nowhere to actually download a template and make one yourself. That's exactly what this guide fixes.
What You'll Need
Gather these supplies before you start. Everything here is inexpensive and likely already in your home or classroom.
| Item | Notes |
|---|---|
| Butter squishy template | Free printable — see the section below |
| Paper or cardstock | See paper guide below for the best texture |
| Scissors | A craft knife helps for tight corners (adult supervision) |
| Glue | Glue stick for edges; white school glue for a stronger hold |
| Filling | Cotton balls, tissue paper, or thin toilet paper |
| Coloring tools | Markers or crayons (only if printing in black and white) |
Choosing the right paper
Paper choice has a bigger impact on the final feel than almost anything else:
- Regular printer paper (around 80 gsm): Softest squish, easiest to fold, but tears more easily. Best for younger kids.
- Lightweight cardstock (120–160 gsm): The sweet spot. Sturdy enough to hold shape, soft enough to squeeze.
- Heavy cardstock (200+ gsm): Very durable but stiff — harder to get a satisfying squish and tricky to fold.
- Kraft/brown paper: Gives a rustic, matte look if you want a more realistic, old-fashioned butter wrapper.
For most makers, lightweight cardstock gives the best balance of durability and squish.
Free Printable Paper Butter Squishy Template (PDF)
Here is the actual paper butter squishy template: two pieces (front and back) on one sheet, with the cut line, the taping guide, the stuffing opening and a 5 cm bar to check your print size. Download the size that matches your paper:
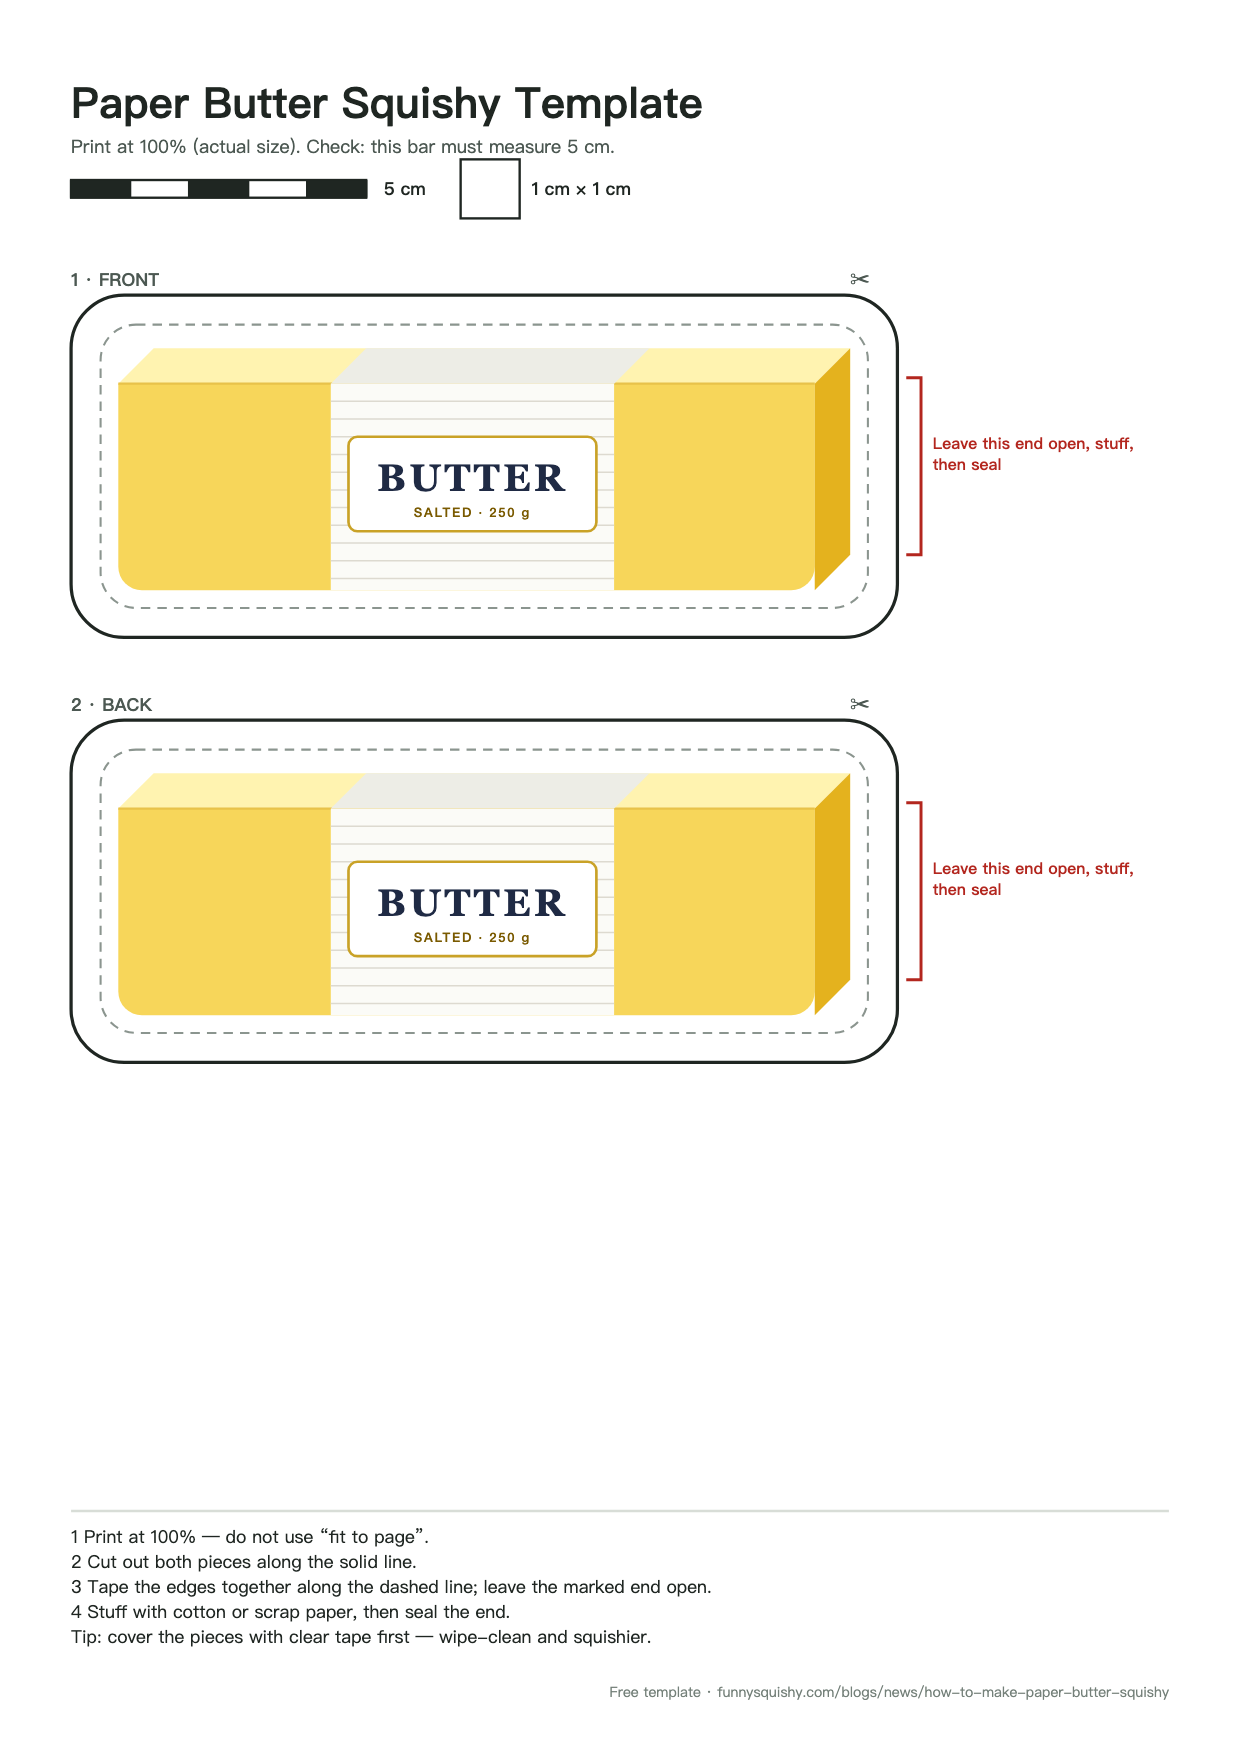
Download A4 PDF Download US Letter PDF
Print at 100% (not “fit to page”); the bar on the sheet must measure 5 cm. More shapes: the dumpling and toast sheet is on the paper squishy templates page. The original for reference: butter squishy collection.
How to use the template:
- Print at 100% scale (don't select "fit to page", which shrinks the design), then check the 5 cm bar with a ruler.
- If you have a color printer, print directly onto your chosen paper.
- If you're printing in black and white, color it in with markers: a warm yellow for the butter and a soft gold or blue for the wrapper.
Tip: Print on the back side of cardstock if the front has a glossy coating — glue and ink both adhere better to the uncoated side, and you can flip it for the final look.
How to Make a Paper Butter Squishy: Step-by-Step
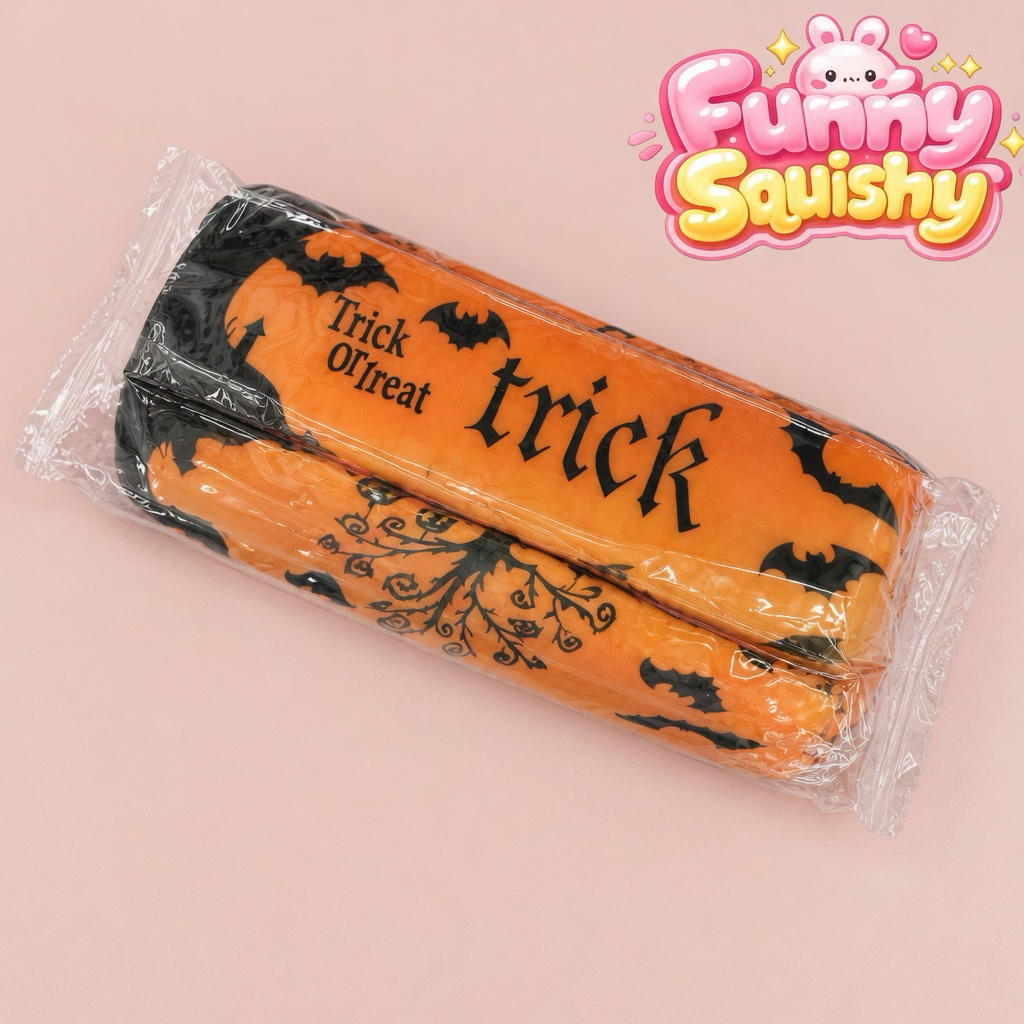
Follow these steps and you'll have a finished squishy in about 20–30 minutes.
Step 1: Print and color
Print the template at full scale onto your paper. If working in black and white, color the butter portion yellow and the wrapper in your chosen shade now, while the paper is still flat — it's much easier than coloring a 3D object.
Step 2: Cut out the pieces
Carefully cut along the solid outer lines. Leave the dashed fold lines and glue tabs intact. For clean corners, a craft knife on a cutting mat works well, but scissors are perfectly fine.
Step 3: Score the fold lines
Run a dry ballpoint pen or the back edge of your scissors along each dashed line. This "scoring" creates crisp, clean folds and helps the butter stick hold its rectangular shape instead of looking lumpy.
Step 4: Fold and glue the edges
Fold the template into a butter-stick shape along the scored lines. Apply glue to the tabs and press them in place — but leave one short end open. This opening is where you'll insert the filling. Hold each glued seam for 10–15 seconds so it sets.
Step 5: Stuff the squishy
Take small pieces of cotton or tissue and gently push them through the open end. Don't overstuff. The goal is a soft, slightly springy feel — packing it too tightly makes it hard and removes the satisfying squish. Fill it evenly so there are no flat or empty corners.
Step 6: Seal it up
Once you're happy with the firmness, add glue to the last tab and close the open end. Press firmly and let it dry for a few minutes.
Step 7: Test the squish
Give it a gentle press. It should compress softly and slowly bounce back. If it feels too firm or too floppy, see the troubleshooting tips below.
Tips for a Softer, Springier Squishy
- Use tissue paper over cotton for a lighter, airier squish; cotton gives more resistance.
- Loosen the filling before inserting it — fluffed-up tissue rebounds better than tightly wadded paper.
- Soften thicker cardstock by gently crumpling and smoothing it before assembly. This breaks the fibers slightly for a more pliable feel.
- Round your corners very slightly when cutting for a more realistic, less rigid look.
Fun Variations to Try
Once you've made one, experiment with these ideas:
- Salted vs. unsalted labels — change the wrapper text and color for variety.
- Blue "light" packaging — mimic the look of margarine or lower-fat spreads.
- Holiday butter — add festive colors or sprinkles drawn on the open end.
- Build a kitchen set — pair your butter squishy with paper bread, toast, or pancakes for a full breakfast-themed collection.
Troubleshooting
My squishy is too hard. You've likely overstuffed it. Open one end, remove some filling, and reseal.
It won't bounce back. Switch to fluffier tissue paper and avoid packing the corners tightly.
The edges keep popping open. Glue sticks can fail on glossy paper. Use white school glue and hold seams longer, or reinforce with a thin strip of tape inside.
My folds look lumpy. Score the fold lines first with a dry pen before folding — this makes a noticeable difference.
FAQ
What materials do I need to make a paper butter squishy? You need the printable template, paper or lightweight cardstock, scissors, glue, a soft filling like cotton or tissue, and markers if you're coloring it yourself.
What age is this craft good for? Kids around 6 and up can do most steps with help, while ages 9+ can usually handle it independently. Younger children may need an adult for cutting.
How long does a paper squishy last? With gentle use, a well-made one can last several weeks to a few months. Cardstock versions hold up far longer than plain printer paper.
Can I make it without a printer? Yes. Draw a rectangle template freehand, sketch a simple butter wrapper, and follow the same folding and stuffing steps.
Why isn't my squishy soft enough? The most common cause is overstuffing or using cotton instead of tissue. Use less filling and choose a lighter material for a softer feel.
Can I waterproof it? Paper squishies aren't water-resistant. A light coat of clear tape or a thin layer of Mod Podge can add some protection, though it slightly reduces the squish.
Where can I find templates for paper squishy projects?
The butter template above (A4 and Letter PDFs) plus the dumpling and toast sheet on our templates page cover the three most requested shapes. All are free, print at 100%, and each sheet carries a 5 cm check bar.
Start Squeezing
A DIY butter squishy is one of those rare crafts that's cheap, quick, and genuinely satisfying to play with afterward. Grab the template, pick your paper, and don't be afraid to experiment with fillings until the squish feels just right. Once you've nailed the butter, the same method opens the door to an entire paper kitchen of squeezable treats.
Want the real thing instead of a craft? Grab our butter squishy and explore the full Butter Squishy collection, or browse more food squishies.