How to Make a Butter Squishy at Home: DIY Foam Recipes vs. Factory Rebound
To make an authentic butter squishy at home, carve high-density viscoelastic memory foam (50D+) into a rectangular brick and seal the open pores with a flexible dimensional fabric paint primer before applying a cornstarch powder coat. Unlike airy kitchen sponges that rebound in 0.2 seconds, this method restricts internal air escape to deliver a true 2-to-4-second slow rise and a velvety matte touch.
The sensory explosion of the “butter squishy” has redefined what tactile fidget enthusiasts and crafters look for in a stress toy. Unlike the airy, high-bounce polyurethane foam toys of the early 2010s or squishy water balls filled with synthetic slime, a true butter squishy delivers a uniquely decadent tactile sensation: a dense, heavy resistance upon compression, a velvety “powder-touch” matte surface, and an ultra-slow recovery that can take anywhere from 6 to 15 seconds to creep back into shape. When you sink your thumbs into one, it feels uncannily like warm baker’s butter or chilled pastry dough.
Key Takeaways
- Material Physics Over Common Sponges: Standard cellulose and open-cell dish sponges bounce back in under 0.2 seconds because air escapes freely; authentic slow-rising butter squishies require high-density (50D+) viscoelastic memory foam or cast silicone-starch matrices.
- The Three Essential DIY Elements: Achieving a true butter squishy at home requires a high-density core, a flexible acrylic-copolymer primer to restrict airflow, and a micro-particulate powder finish (cornstarch) to eliminate tacky surface gloss.
- Durability vs. Precision: While carved memory foam crafts achieve satisfying 2-to-4-second rise times, commercial reaction injection molded (RIM) squishies deliver seamless 8-to-12-second recovery, tear resistance, and factory powder bonding.
1. The Physics of “Butter” Tactility: Why Regular Sponges Fail
Before grabbing a pair of scissors, it helps to understand why a classic kitchen sponge feels completely different from a genuine butter toy.
Tactile sensation in foam toys is governed by three physical properties:
- Cellular Morphology (Open-Cell vs. Closed-Cell): Standard household sponges (polyurethane or cellulose) consist of broad, open cells with macroscopic pores. When squeezed, air escapes instantly through huge pathways with near-zero air resistance, resulting in immediate elastic rebound (under 0.2 seconds). In contrast, slow-rising toys rely on micro-cellular polyurethane matrices with microscopic, tortuous air channels that restrict airflow during expansion.
- Viscoelasticity: Viscoelastic materials exhibit both viscous (fluid-like, energy-absorbing) and elastic (shape-retaining) behavior under strain. When compressed, viscoelastic foam does not bounce back elastically like rubber; instead, mechanical energy dissipates as subtle internal friction between polymer chains before the matrix slowly realigns.
- Surface Drag and Skin Elastomer: The “buttery” feel is not merely the internal squish—it is the tactile coefficient of friction on the exterior. Premium butter squishies feature either a vulcanized thermoplastic rubber (TPR) skin or an ultra-thin flexible polymer coat dusted with micro-particulate powder, preventing the rubbery stickiness common in cheap vinyl toys.
When you attempt to make a butter squishy with a regular bath sponge, the open cell structure lets air rush in immediately, creating zero compression delay. To succeed at home, our DIY approach must manipulate matrix density, internal airflow restriction, and surface elastomeric skinning.
2. Three Tested Recipes for Homemade Butter Squishies
Here are three distinct DIY recipes ranging from carved memory foam to cast silicone-starch composites. Choose the method that best matches your available workshop tools and desired tactile profile.
Recipe 1: The High-Density Memory Foam & Fabric Paint Method (Best Overall Result)
This method yields the closest approximation to commercial slow-rising foam squishies. Instead of open-cell dish sponges, we use high-density memory foam scraps (such as cut-offs from mattress toppers or orthopedic neck pillows).
Required Materials & Tools
- High-density viscoelastic memory foam block (minimum 50D/50 kg/m³ density; higher density produces slower rebound).
- Precision craft scissors with curved blades (embroidery or surgical shears work best for micro-trimming).
- Dimensional fabric paint (“puffy paint”) in white, pastel yellow, or buttercup yellow.
- Acrylic craft paint (for tinting).
- Cosmetic latex or polyurethane wedge sponges (for smooth dab application).
- Parchment paper or silicone baking mat (to prevent sticking during curing).
- Cornstarch or talc-free baby powder (for the final velvety de-tackifying coat).
Step-by-Step Instructions
- Rough-Cut the Butter Brick Core: Using a fresh utility knife or long craft blade, cut a clean rectangular block from your memory foam scrap. A standard handheld butter brick measures approximately 10 cm long, 5 cm wide, and 3.5 cm thick. Avoid sawing back and forth rapidly, as this creates ragged tears in the foam. Make single, firm downward slices.
- Precision Sculpting & Beveling: Take your curved craft scissors and gently trim the sharp 90-degree outer edges into subtle, rounded bevels. Butter bricks in real life have soft edges from room-temperature slumping. Trim away microscopic snags and bumps until the foam surface feels uniform.
- Formulating the Air-Restrictive Primer: In a small mixing cup, blend 3 parts dimensional fabric paint, 1 part acrylic craft paint (butter yellow tint), and 1 part warm water. The dimensional fabric paint contains flexible acrylic polymers that stretch without flaking, while the water thins the solution just enough to penetrate the outer 1 mm of the foam pores without soaking the interior core into a solid brick.
- Applying the Stipple Primer: Dip the flat face of a cosmetic wedge sponge into your primer. Dab excess paint onto a paper towel, then stipple the primer across the entire foam brick. Do not paint with sweeping brushstrokes, as brushes leave visible ridges and fail to seal open cell apertures. Stippling pushes the elastic polymer into the micro-pores, forming a semi-permeable membrane that dramatically slows air return. Allow to air-dry for 4 hours.
- Building the Elastic “Butter Skin”: Once the primer is dry, mix an undiluted coat of fabric paint with a drop of warm golden-yellow acrylic. Stipple a generous, even layer over the top and sides. Let dry for 6 hours, flip onto parchment paper, and coat the bottom. For optimal slow-rise performance, apply two full coats.
- Velvety Matte Finish Application: After the final paint coat cures completely (minimum 24 hours), the surface will feel slightly tacky to the touch. Lightly dust the entire brick with pure cornstarch using a clean, dry blush brush. Buff the powder gently into the paint film with your fingertips. The cornstarch micro-crystals bond with the surface polymer, transforming gummy gloss into a luxurious, powder-soft matte finish.
Recipe 2: The Cast Silicone & Cornstarch “Butter Putty” Block (Heaviest Butter Sink)
If you prefer the dense, doughy weight of thermoplastic elastomer over lightweight foam, this silicone-starch composite creates a heavy, moldable slab with immense compression resistance.
Required Materials & Tools
- 100% Silicone Caulk (Type 1) (Clear or white; ensure it is 100% silicone without acrylic additives).
- Pure cornstarch (food-grade).
- Oil-based color pigment or powdered mica (do not use water-based food coloring, which separates from silicone).
- Disposable nitrile gloves (mandatory—silicone caulk sticks aggressively to bare skin).
- Rectangular silicone soap mold or butter stick mold.
- Well-ventilated workspace (Type 1 silicone releases acetic acid/vinegar odor during moisture-cure).
Step-by-Step Instructions
- Prepare the Starch Bed: Pour 1.5 cups of cornstarch into a wide disposable mixing bowl, creating a shallow well in the center.
- Dispense Silicone: Wearing nitrile gloves, squeeze approximately 1 cup of 100% silicone caulk into the well. Add 2 to 3 drops of oil-based yellow pigment directly onto the silicone pile.
- Kneading the Matrix: Fold cornstarch over the silicone lump and begin kneading gently. The cornstarch acts as both an inorganic filler and a moisture donor (ambient atmospheric humidity and moisture bound in starch granules accelerate cross-linking). Continue working the dough for 4 to 6 minutes, incorporating starch until the mixture loses its slimy tack and takes on the consistency of soft baker’s shortcrust pastry.
- Mold Packing: Dust your rectangular silicone mold with dry cornstarch to ensure a clean release. Firmly press the silicone-starch paste into the mold cavity, using your knuckles to pack it deep into corners to eliminate trapped air bubbles. Smooth the top surface with a ruler or straight-edge scraper.
- Curing and Demolding: Allow the block to cure in a dry, ventilated room for 24 to 36 hours. The outer shell will firm within 2 hours, but deep core cross-linking requires adequate time for atmospheric moisture to diffuse through the dense starch-silicone composite.
- Surface Powdering: Pop the block out of the mold. The cured composite will feel dense, heavy, and cool to the touch. Wash off any surface oiliness with mild soapy water, pat dry completely, and dust with cornstarch for a silky, non-greasy tactile glide.
Recipe 3: The Balloon & Emulsion Quick Fidget (Beginner-Friendly Alternative)
For parents crafting with younger children where razor blades and chemical caulks are unsuitable, this zero-cut balloon technique creates a soft, moldable faux-butter stick in minutes.
Required Materials & Tools
- 2 thick, opaque matte balloons (pastel yellow or cream; size 12-inch or modeling balloons).
- 1/2 cup cornstarch.
- 3 tablespoons thick hand lotion or unscented shaving cream.
- Funnel and plastic spoon.
Step-by-Step Instructions
- Whip the Emulsion: In a small bowl, whip the cornstarch into the lotion or shaving cream until a smooth, viscous paste forms.
- Funnel Fill: Stretch the neck of the first balloon over the funnel stem. Spoon the thick paste through the funnel, tamping it down with the spoon handle until the balloon fills into an elongated oblong log.
- Double-Skinning: Tie a tight knot at the balloon neck and trim off the excess tail. Take a second balloon, snip off its neck, and stretch it completely over the filled balloon in the opposite direction. This double-skin prevents puncture leaks and softens the tactile resistance into a gentle, doughy squeeze.
3. Diagnostic Troubleshooting: Fixing Common DIY Disasters
Crafting slow-rising toys at home involves fine polymer balancing. If your squishy does not perform as expected, use this diagnostic matrix to resolve the problem:
| Problem | Root Cause | Actionable Solution |
|---|---|---|
| Instant rebound (<0.5 seconds) | Foam density is too low, or outer paint skin failed to seal the micro-pores. | Switch to 50D+ orthopedic memory foam. Apply an extra stippled layer of dimensional fabric paint thinned with 15% water to penetrate cell openings. |
| Paint flaking and peeling | Standard acrylic craft paint was applied without a flexible binder, cracking under mechanical shear. | Never use plain acrylic paint as a primary coat. Always blend acrylic colors into dimensional fabric paint (“puffy paint”), which contains elastic polyurethane-acrylic copolymers. |
| Core turned into a hard rock | Primer was mixed too watery, causing liquid paint to siphon deep into the inner foam cells and harden. | Apply paint via damp cosmetic sponge stippling only. Never immerse or soak foam blocks directly into liquid mixtures. |
| Surface feels gummy and sticky | Cured silicone caulk or fabric paint retains high surface energy, attracting hair and airborne lint. | Dust thoroughly with cosmetic-grade cornstarch or talc-free powder. Buff gently with a dry makeup sponge until the surface feels like velvet. |
| Internal mold tearing | Rough scissor hacking created structural micro-fissures that rip open under deep thumb compression. | Use curved micro-blade embroidery shears. Trim tiny slivers (under 1 mm) rather than taking large bites through the foam matrix. |
4. Homemade DIY vs. Commercial Factory Formulations
While DIY crafting provides immense creative satisfaction and customization, homemade toys have inherent mechanical limitations compared to precision industrial polymer molding.
+-----------------------------------------------------------------------------------+
|                           MATERIAL PERFORMANCE SPECTRUM                           |
+-----------------------------------------------------------------------------------+
|  Kitchen Sponge DIY  |  Memory Foam DIY   | Silicone-Starch DIY | Factory Closed PU |
|  - Instant bounce    |  - 2-4s rise time  | - Dense sink        | - 8-15s rise time |
|  - Visible rough cut |  - Hand-cut edges  | - Heavy dough feel  | - Seamless skin   |
|  - Prone to flaking  |  - Semi-smooth skin| - Rubbery weight    | - Powder coating  |
+-----------------------------------------------------------------------------------+
Key Mechanical Contrasts
- Seamless Mold vs. Cut Edges: When you carve foam with scissors, you cut across thousands of individual polymer cell walls, leaving raw, open cavities that must be patched with paint. Factory squishies are produced via reaction injection molding (RIM). Liquid polyol and isocyanate reactants expand inside heated, Teflon-coated aluminum molds, creating an integral, unbroken outer skin without a single cut edge.
- Micro-Cell Uniformity: Mattress memory foam is formulated to breathe for human sleep comfort, meaning its airflow resistance is intentionally kept moderate. Commercial butter squishies use specialized closed-cell blowing agents that trap micro-pockets of air, forcing compression air to vent through sub-micron apertures for an authentic 8-to-15-second slow rise.
- Tear Resistance Under Shear Stress: Hand-applied fabric paint adheres to foam via superficial mechanical interlocking. With repeated twisting or aggressive fingernail gouges, homemade paint skins will eventually fatigue and delaminate. Industrial formulations use cross-linked molecular bonding between the core foam and the exterior finish.
5. Commercial Material Benchmarks: Five Engineering Architectures
If your DIY experiment sparks an appreciation for the advanced material science of slow-rising butter toys, exploring commercial benchmarks reveals how factory formulations achieve diverse sensory profiles. Here is how specialized commercial designs solve the tactile equation across five distinct form factors:
1. Miniature High-Density Portable Form Factor: Mini Butter Squishy
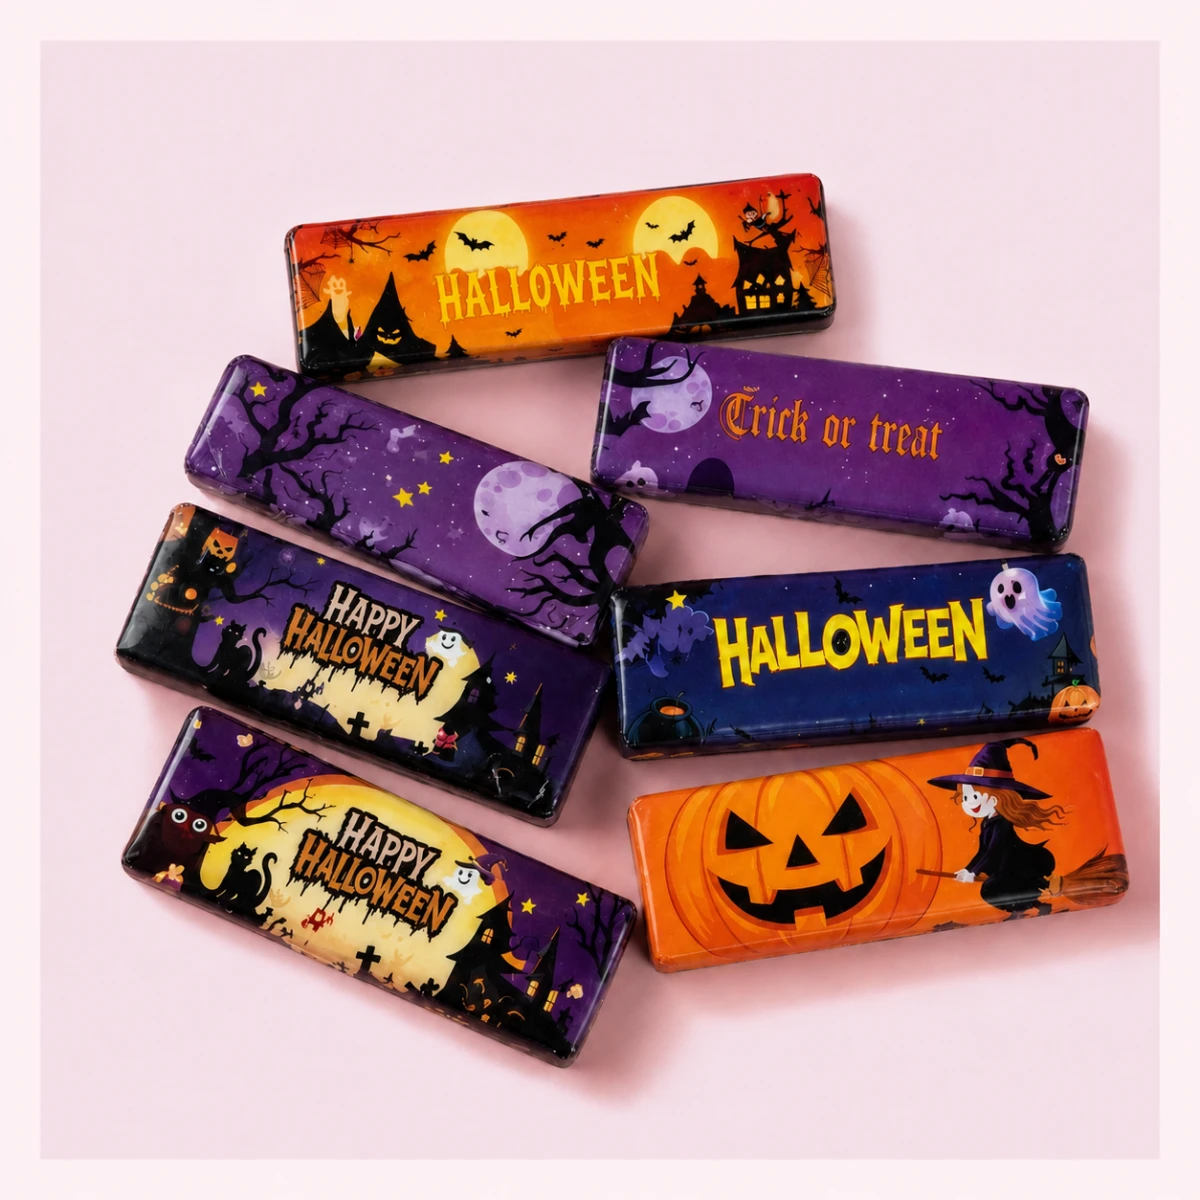
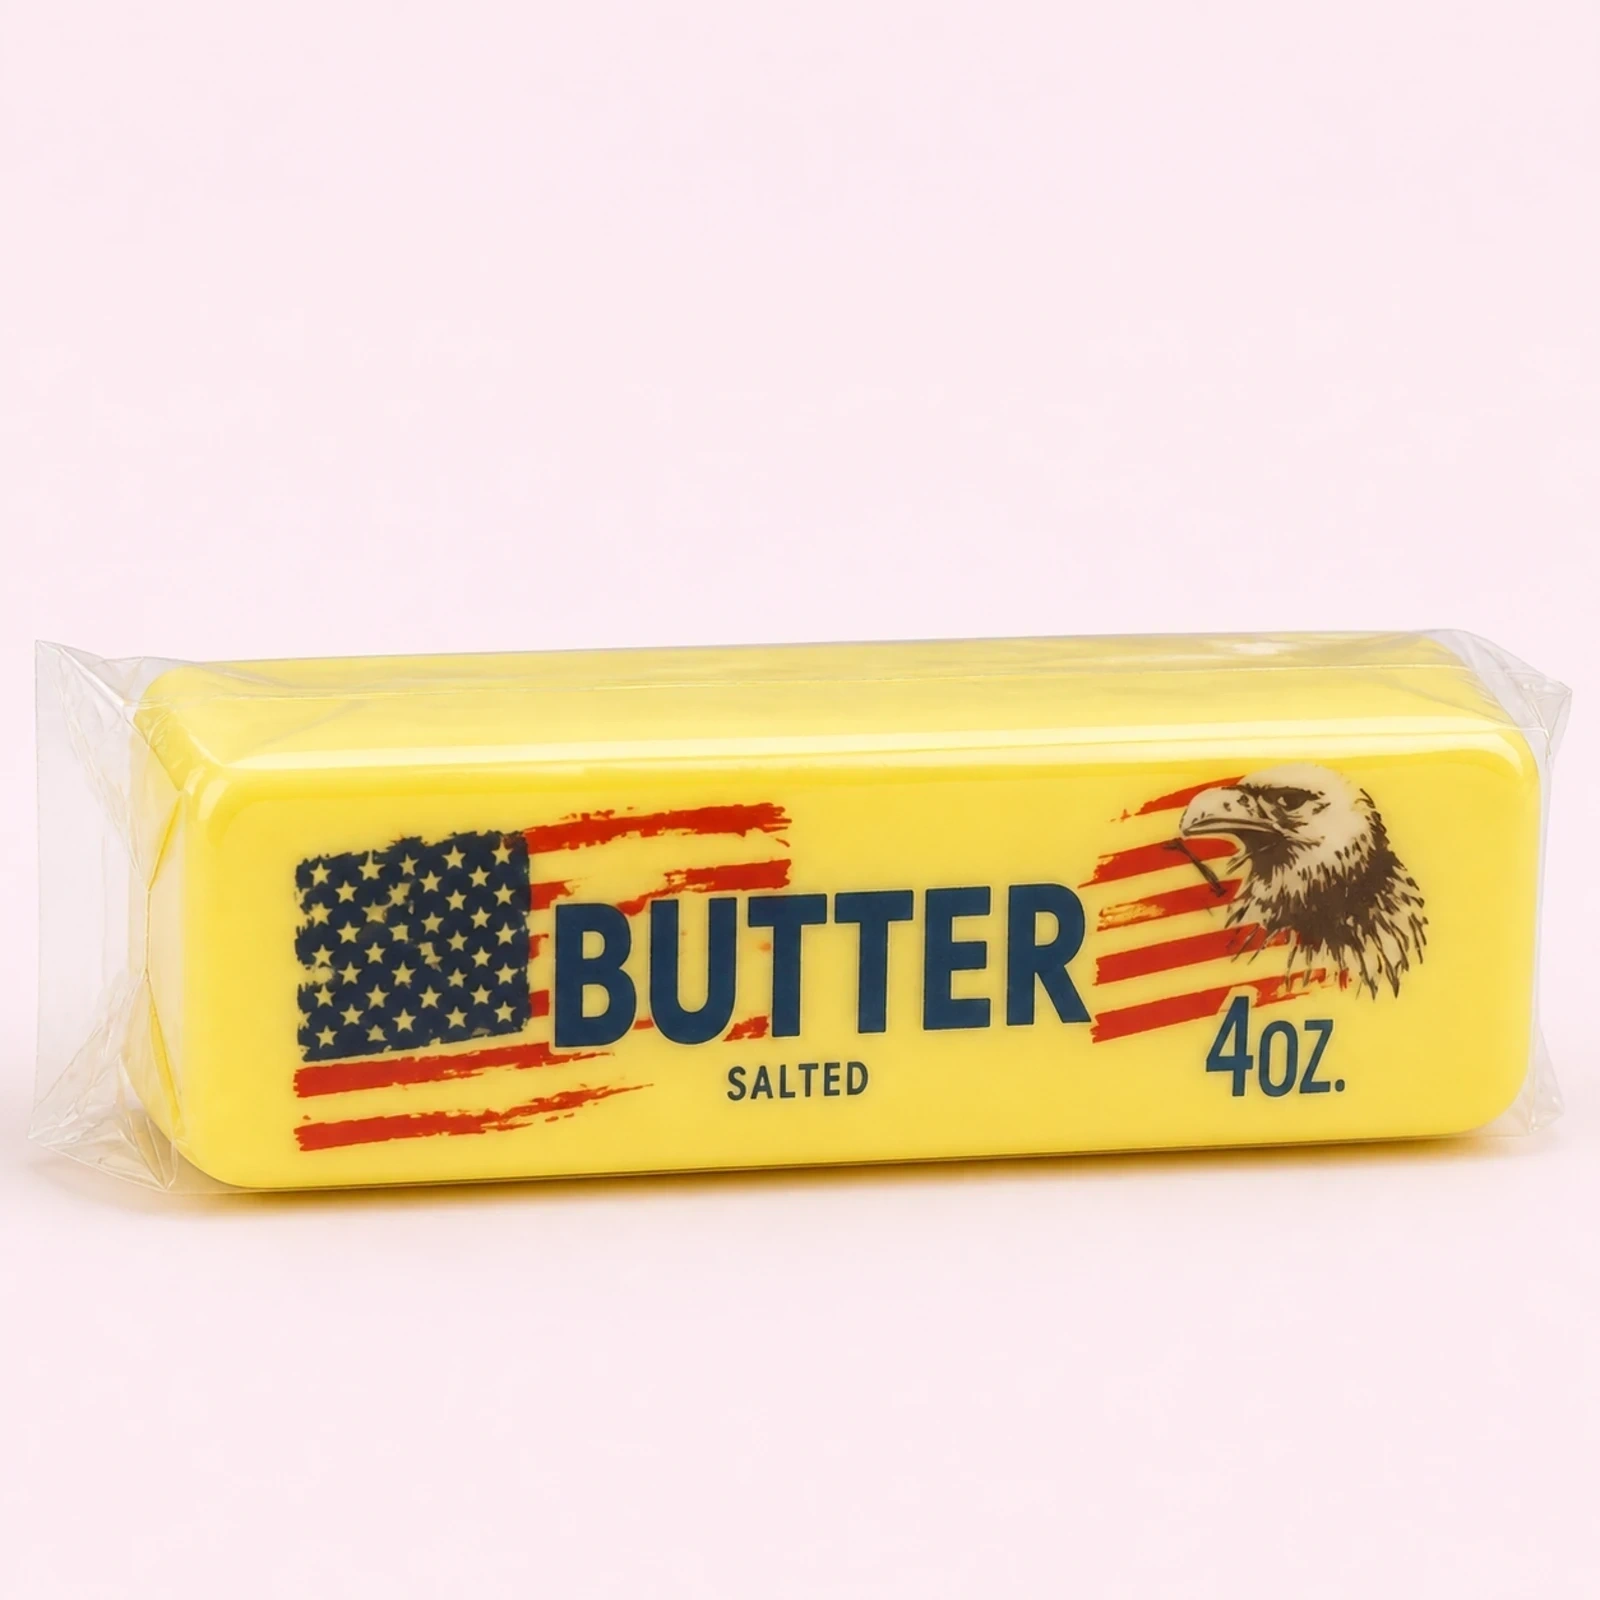
The Mini Butter Squishy (FS-CZ2570) is a slow-rising squishy in a wrapped butter-stick shape. Scaling down a slow-rising squishy to miniature dimensions is notoriously difficult in DIY crafting because tiny foam scraps lack the internal volume needed to sustain air resistance. Built with soft molded foam, it delivers the true slow-glide recovery of a full-sized brick, making it an ideal tactile EDC (everyday carry) companion.
2. Solid Viscoelastic Moldable Stick: Jumbo Butter Stick Squishy
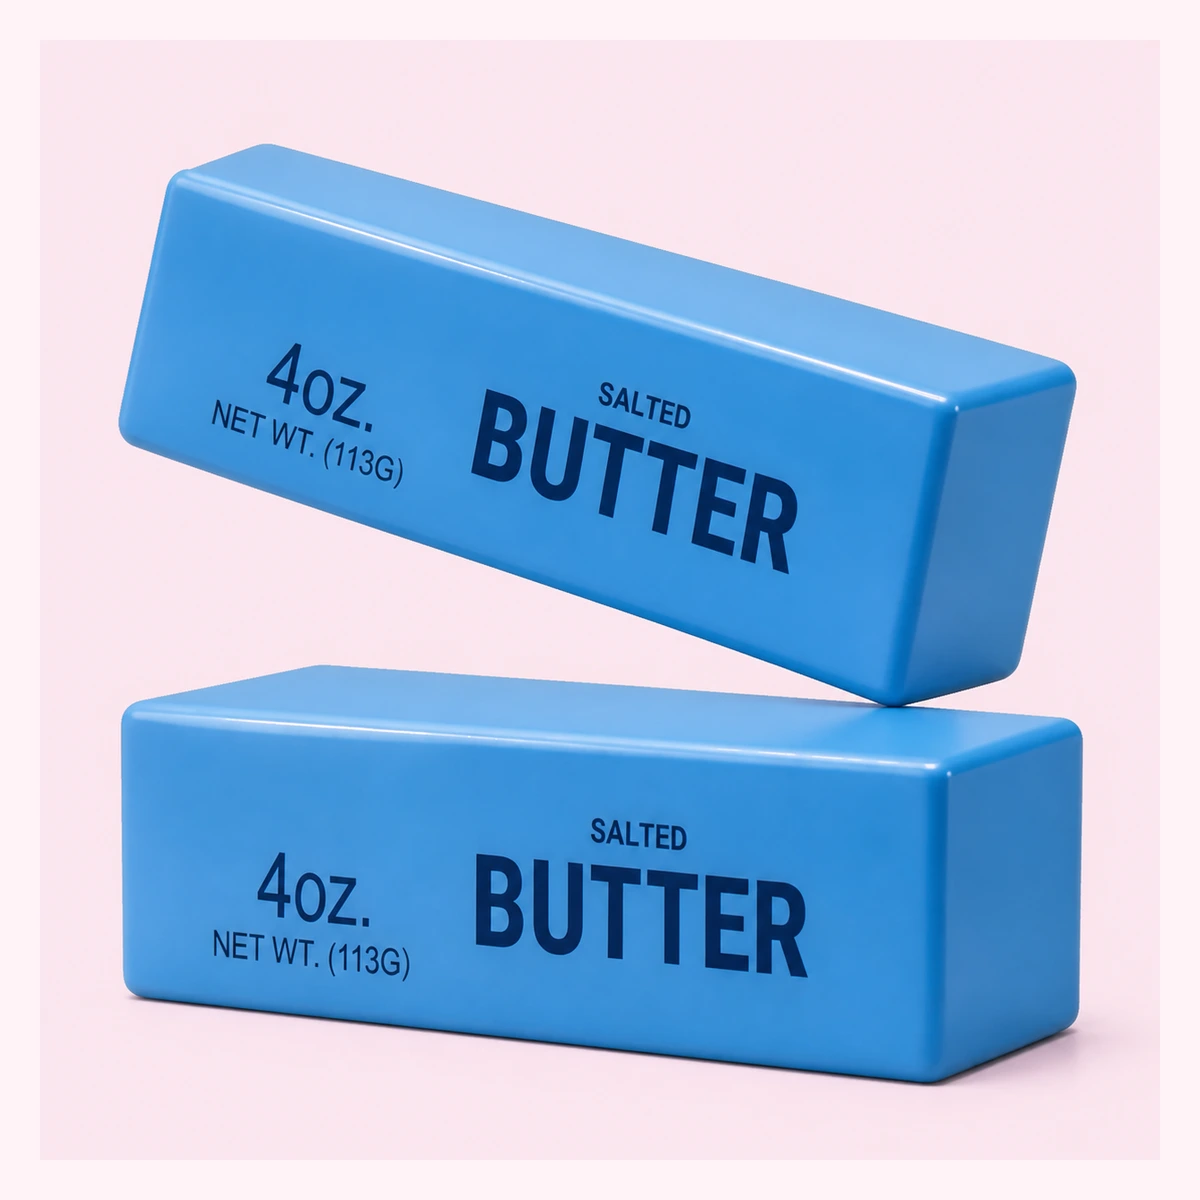
The Jumbo Butter Stick Squishy (FS-BUTTER-019) is a soft TPR squeeze toy filled with a dense, moldable Vaseline and flour compound weighing approximately 100 g with zero bounce-back. For collectors who prefer the heavy, pliable resistance of cold table butter rather than airy foam, its seamless TPR exterior mimics a commercial dairy stick down to measurement lines, holding its shape until reshaped by hand.
3. Stretchy Block Architecture: Butter Brick Squishy - Golden Butter
The Butter Brick Squishy - Golden Butter (FS-BRICK-P003) is a stretchy butter brick squishy that droops like warm taffy before creeping back to a block. Designed for fans of deep sensory decompression, its soft wrapper-printed foam exterior shrugs off daily squeezing while delivering substantial resistance reminiscent of kneading dense artisanal dough.
4. Tear-Resistant Slow-Rising Rebound: Butter Brick Squishy - Whipped Cream Butter
The Butter Brick Squishy - Whipped Cream Butter (FS-BRICK-P004) features a yellow butter brick squishy that stretches long, twists without tearing, and oozes back into a neat stick. The slow rising squishy texture drags out the rebound, providing springy and oddly addictive fidget relief for tense hands.
5. Oversized Two-Hand Foam Slab: Classic Butter Slab Squishy
The Classic Butter Slab Squishy (FS-BUTTER-018) is an oversized butter-shaped foam squishy toy that fills both hands with a soft, slow-rising slab you can press, knead, and watch reshape. Designed for bilateral hand exercises and deep palm squeezing, its wide slab geometry distributes palm tension evenly, making it particularly effective for desk workers seeking repetitive stress relief during long screen sessions.
6. Squishy Care, Sanitation, and Maintenance
Whether you are preserving your handmade memory foam creation or caring for a factory-molded butter toy, proper maintenance prevents material degradation, discoloration, and stickiness.
- Cleaning Routine: Never submerge homemade foam squishies in water, as trapped moisture inside the carved core can cause mildew or degrade the foam matrix. Instead, wipe the surface with a damp microfiber cloth moistened with diluted baby shampoo. For commercial TPR or sealed PU squishies, wash gently under lukewarm running water.
- Surface Refreshing: When squishies lose their matte texture and begin attracting dust, dust them lightly with talc-free baby powder or pure cornstarch. Buff off the excess with a soft makeup brush to instantly restore that silky butter-glide touch.
- Storage Environment: Keep all squishies away from direct sunlight, radiant heat registers, and vehicle dashboards. Prolonged ultraviolet (UV) radiation breaks down polyurethane polymer chains, causing yellowing, embrittlement, and permanent loss of slow-rise elasticity. Store in a breathable cotton pouch or clean acrylic display bin.
- Mechanical Care: Always squeeze squishies with the flats of your fingers and palms rather than pinching with sharp fingernails, which can puncture both paint skins and molded elastomer membranes.
7. Frequently Asked Questions (FAQ)
Can I make a butter squishy using a standard yellow dish sponge?
Standard dish sponges cannot produce an authentic butter squishy rebound. Their open-cell structure lets air pass through with zero resistance, snapping back instantly. You can carve them for decorative practice, but to achieve a true slow rise, you must use high-density memory foam (50D+) sealed with an elastic primer or cast a silicone-starch composite.
What is the best paint for homemade squishies that won’t crack?
Dimensional fabric paint (frequently called “puffy paint”) is the gold standard for DIY squishies. Unlike rigid acrylic artist paints that crack and flake under mechanical strain, fabric paint dries into a flexible, rubbery latex-acrylic copolymer skin that expands and contracts alongside the foam.
Why are they called “butter” squishies instead of regular squishies?
The term “butter squishy” refers to three sensory characteristics: an elongated rectangular “stick” or “brick” shape, a rich matte pastel-yellow or ivory hue, and most importantly, a dense, doughy resistance that feels like pressing into room-temperature butter rather than a lightweight, airy sponge.
How do commercial factories make squishies rise so slowly?
Commercial manufacturers use reaction injection molding (RIM) with custom chemical formulations. By precisely controlling the ratio of polyols, diisocyanates, water, and silicone surfactants, they produce micro-cellular closed-and-semi-open foam structures with microscopic pore diameters. When compressed, air is slowly expelled and reabsorbed through micro-orifices, creating a smooth 8-to-15-second recovery curve.
Is making a DIY butter squishy cheaper than buying one?
If you already possess craft scissors, high-density foam scraps, and fabric paint, DIY crafting is virtually free and offers wonderful hands-on satisfaction. However, purchasing high-density foam blocks, specialty paints, and silicone molds from scratch often costs $15 to $25—comparable to or more expensive than purchasing a factory-engineered benchmark like the Butter Brick Squishy - Golden Butter or Jumbo Butter Stick Squishy.
8. Summary: Choosing Your Tactile Path
Creating a butter squishy at home is one of the most rewarding craft projects for sensory toy enthusiasts, blending hands-on sculpting with fundamental material science. By upgrading your base core from porous kitchen cellulose to dense viscoelastic memory foam and sealing the perimeter with multi-layered elastic fabric primers, you can craft a uniquely personalized fidget with a satisfying slow rebound.
When you desire the ultimate in seamless durability, micro-cellular density, and whisper-quiet 12-second decompression, commercial benchmarks like the Classic Butter Slab Squishy and Mini Butter Squishy represent the pinnacle of modern polymer engineering. Whether handmade or factory-molded, the soothing, mindful glide of a true butter squishy remains one of the best tactile escapes available.