How to Make a Squishy Without a Kit: 5 Easy Homemade Methods
Making your own squishy at home is one of the most rewarding craft projects you can tackle on a rainy afternoon. Whether you want a customized fidget toy for your study desk, a sensory tool to keep restless hands calm during long meetings, or a fun craft activity with children, you do not need an expensive commercial chemical kit to get started. Everyday household items—from forgotten memory foam pillow scraps and cosmetic sponges to party balloons, printer paper, and clear packing tape—can be transformed into charming, tactile squeeze toys in under thirty minutes.
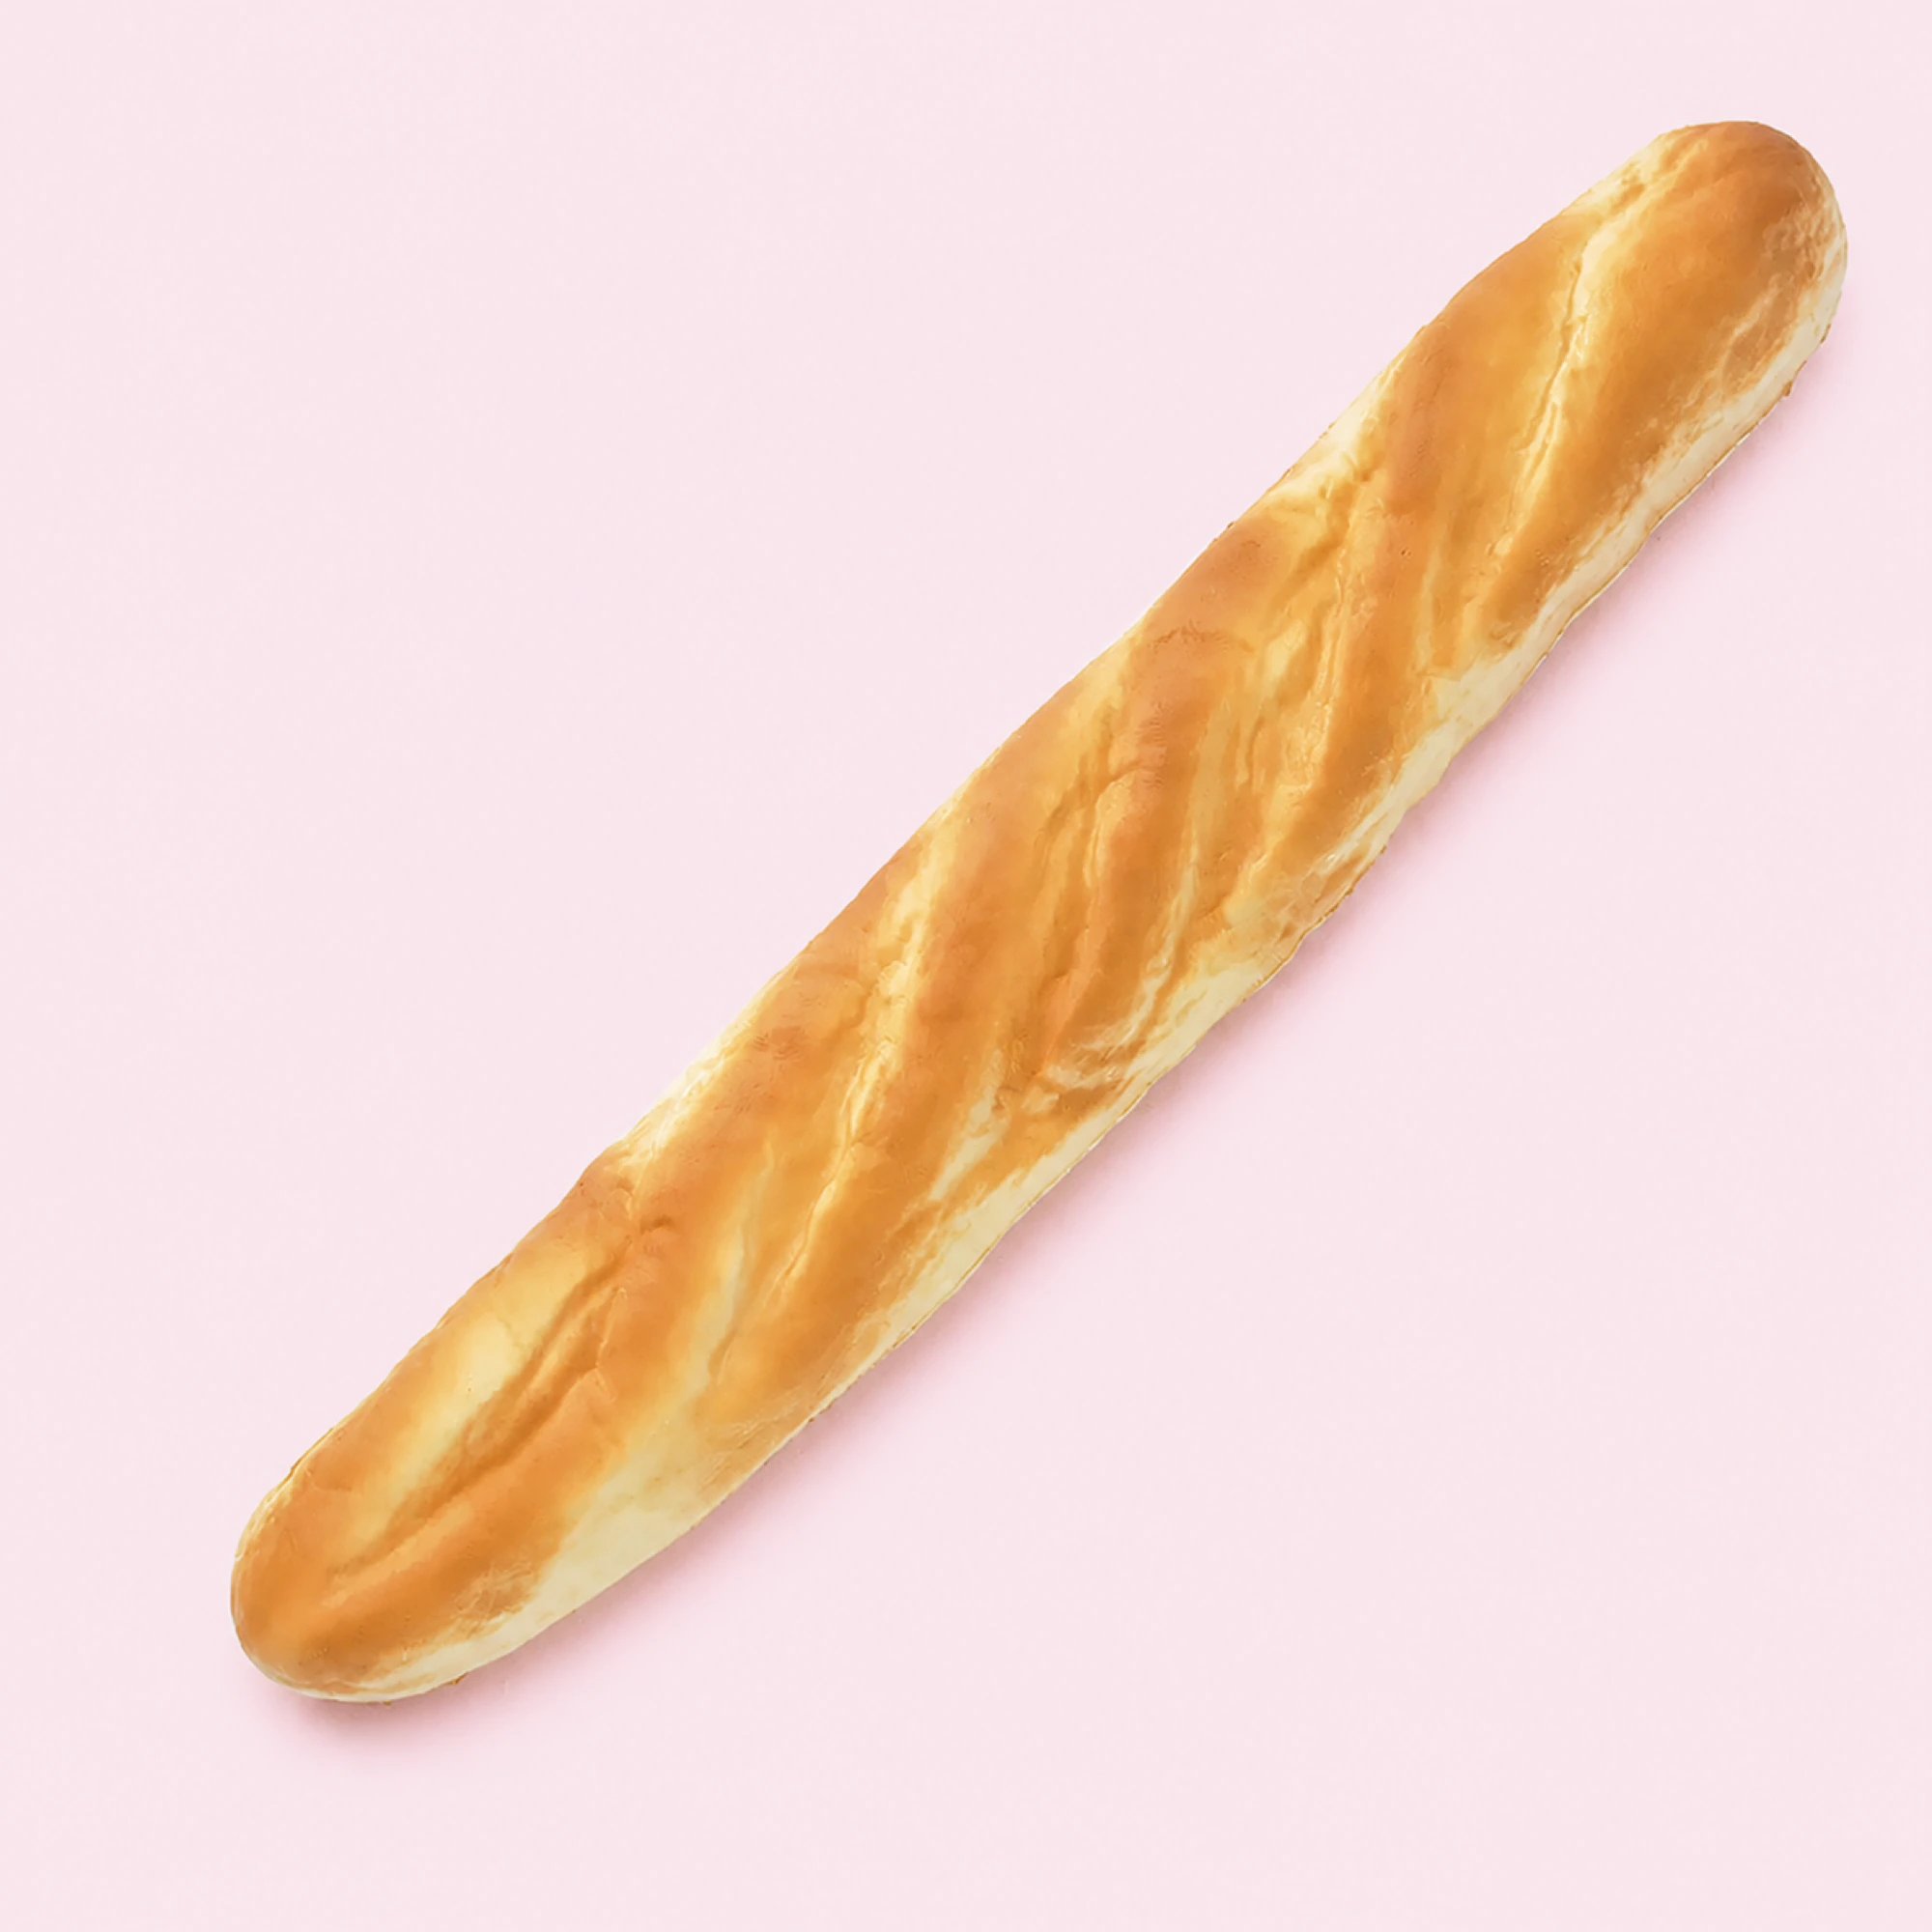
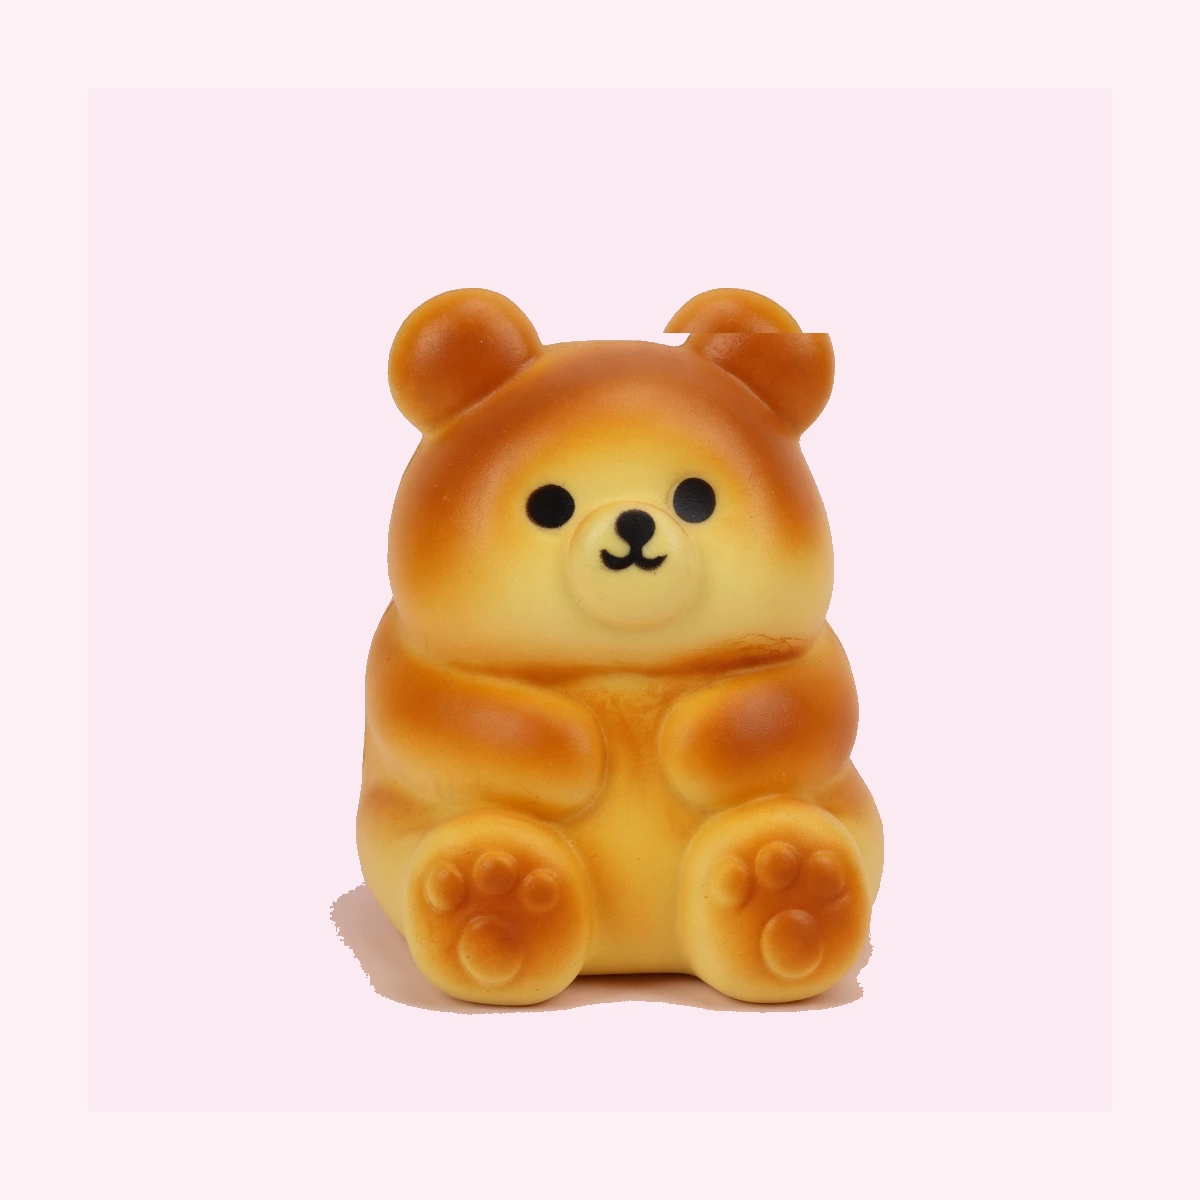
Soft, slow-rising PU foam butter squishy for stress relief and quiet fidgeting. Squeeze the buttery drag to calm down—great for kids 3+ and adults.
While homemade squishies offer unlimited freedom to design kawaii characters, miniature pastries, or abstract stress blocks, they behave quite differently from commercially molded toys. Commercial squishies rely on industrially catalyzed polyurethane (PU) formulations with specialized cell structures that produce an elongated, buttery drag on recovery. In this maker guide, we break down five tested household methods to build your own squishy without a kit, troubleshoot paint cracking and leaks, and examine the cellular physics that separate DIY crafts from factory-molded foam toys.
Essential Household Supplies: What You Need Before You Start
Before diving into a specific method, gather your basic crafting toolkit. You likely have most of these supplies tucked away in your medicine cabinet, pantry, or desk drawer:
- Core Fillings & Bases: Memory foam mattress topper cut-offs, high-density makeup blending sponges, cellulose kitchen sponges, latex party balloons, printer paper, or acrylic nano tape.
- Stuffing Materials: Polyfill stuffing, clean plastic grocery bags, all-purpose flour, or cornstarch.
- Adhesives & Tapes: Clear wide packing tape, silicone adhesive, or craft fabric glue.
- Paints & Coatings: Acrylic fabric paint (puffy paint), liquid silicone, or craft acrylics mixed with white PVA glue.
- Cutting Tools: Detail craft scissors, embroidery scissors, or a fresh utility knife with an adult supervising.
Method 1: Carved Memory Foam Squishy (The Closest to Factory Rebound)
If your goal is achieving an authentic slow-rising recovery, high-density viscoelastic memory foam is your best household option. Memory foam has micro-cellular friction that naturally resists immediate elastic spring-back, making it feel closest to store-bought squishies.
Materials Needed
- Scraps of memory foam (from an old pillow, mattress topper, or upholstery sample)
- Sharp fabric scissors or curved cuticle scissors
- Acrylic fabric paint (puffy paint)
- Mixing dish and sponge applicator brush
Step-by-Step Instructions
- Rough Block Cutting: Using a utility knife or shears, cut a rectangular block slightly larger than your desired final shape (for example, a 6 × 4 cm butter block or toast slice).
- Contour Trimming: Use small, curved embroidery scissors to snip off sharp 90-degree corners. Make micro-cuts rather than deep chops; memory foam sculpts smoothly when you gently trim millimeter by millimeter.
- Base Sealing: Raw memory foam absorbs liquid paint unevenly like a sponge. Mix equal parts white fabric paint and clear fabric glue with a few drops of water, then dab a thin base coat over the entire surface. Allow it to cure completely for 3 to 4 hours.
- Coloring and Detailing: Paint your design with flexible acrylic fabric paint. Puffy paint remains pliable when dry, allowing the foam to flex repeatedly without flaking off.
- Curing: Let your painted memory foam squishy cure for a full 24 hours before giving it a firm compression.
Method 2: Cosmetic & Kitchen Sponge Squishy (Fastest Foam Project)
When you do not have spare memory foam on hand, cosmetic wedge sponges and household cleaning sponges offer an immediate, low-cost alternative.
Materials Needed
- Cosmetic polyurethane makeup sponges or dense car-wash foam
- Detail scissors
- Puffy fabric paint
- Toothpicks for holding small pieces while drying
Step-by-Step Instructions
- Selecting the Right Sponge: Standard yellow-and-green cellulose kitchen sponges possess large open voids and snap back instantly. Instead, choose white polyurethane cosmetic blending wedges or smooth car-wash sponges, which offer much denser micro-pores.
- Carving Your Design: Cut off any rough abrasive scrubbing layers. Snip the sponge into simple geometric shapes like bread loaves, ice cream cones, or cheese wedges.
- Layering with Silicone Glue: If you need extra thickness, laminate two wedges together using a thin smear of silicone glue. Let the seam bond for 30 minutes.
- Applying Elastic Paint: Paint your creation with two thin coats of puffy paint. The paint creates an elastic outer membrane that slightly slows down air intake, turning a quick-snap sponge into a moderately slow-rising squishy.
Method 3: Double-Balloon Stress Squishy (Flour, Cornstarch & Oobleck)
For a squishy that delivers heavy, moldable dough resistance rather than airy foam rebound, balloon squishies are unmatched. They require zero carving skill and can be completed in ten minutes.
Materials Needed
- 2 to 3 standard 12-inch latex party balloons
- 1 cup of all-purpose flour or cornstarch
- Funnel and wooden skewer
- Empty plastic water bottle
Step-by-Step Instructions
- Pre-Stretching: Blow up the balloon once to stretch the latex, then release the air.
- Bottle Funnel Hack: Fill an empty dry plastic water bottle with 1 cup of flour or cornstarch. Stretch the balloon neck over the bottle mouth, turn it upside down, and squeeze the bottle to pump the powder into the balloon without creating a flour cloud.
- Burping Air Pockets: Squeeze any trapped air out through the neck before tying the knot. If air remains inside, the balloon will feel like a bouncy ball rather than a moldable squishy.
- Double-Balloon Reinforcement: Snip the rolled neck off a second balloon. Stretch this second outer sleeve over the filled balloon, positioning the closed end over the knot of the inner balloon. This double-layer design dramatically reduces the risk of accidental bursts during firm squeezing.
Method 4: Paper & Packing Tape Squishy (Zero Mess, Maximum Creativity)
Paper squishies have become a global craft sensation because they allow unlimited illustration possibilities and require zero specialized chemicals or glues.
Materials Needed
- White printer paper or sketchbook paper
- Colored markers, crayons, or colored pencils
- Wide clear packing tape (48 mm / 2 inch)
- Polyfill stuffing or crumpled plastic grocery bags
- Sewing pin or fine needle
Step-by-Step Instructions
- Drafting and Coloring: Draw two matching outlines of your character or item (front and back) on paper and color them brightly.
- Full Lamination: Cover the entire front and back surfaces with strips of clear packing tape, overlapping each strip by 2 mm. The tape creates a durable, moisture-resistant plastic skin.
- Sealing the Perimeters: Cut out your laminated drawings leaving a 5 mm border. Align front and back, then tape the edges together, leaving a 3 cm open pocket along the bottom.
- Stuffing: Fill the interior with shredded plastic grocery bags or synthetic polyfill. Plastic bags provide a crinkly, cushiony resistance, while polyfill gives a soft, pillowy bounce.
- Air Vent Pinprick: Seal the final opening with tape. Take a fine sewing pin and prick a single micro-hole in an inconspicuous corner. This tiny vent allows trapped air to escape slowly during compression and seep back in gradually, generating a delightful slow-rising effect.
Method 5: Nano Tape Bubble Squishy (Modern Sensory Trend)
Double-sided acrylic nano tape is a clear, heavy-duty mounting tape that can be inflated into crystal-clear sensory bubbles or filled with colorful slime and water beads.
Materials Needed
- Roll of heavy-duty clear nano tape (acrylic mounting tape)
- Handheld hair dryer
- Drinking straw or balloon hand pump
- Glitter, sequins, or dilute food coloring for interior fill
Step-by-Step Instructions
- Preparing the Pocket: Cut a 5 cm strip of nano tape. Fold it in half crosswise, lightly pressing the two side edges together while leaving the top edge open.
- Inserting the Inflator: Insert a small plastic straw into the open top edge. Pinch the tape firmly around the straw so no air can escape.
- Thermal Activation: Gently warm all sides of the nano tape pocket with a hair dryer on medium heat for 20 to 30 seconds. Heating softens the acrylic polymer, making it highly pliable and elastic.
- Inflation: Slowly blow into the straw (or pump with a hand inflator) while the tape is warm. The pocket expands into a glassy, bouncy bubble sphere.
- Pinch Sealing: Pull out the straw while immediately pinching the opening shut. The warm nano tape fuses seamlessly to itself, locking in air or decorative fillings.
Cellular Physics: Why Factory-Molded PU Foam Outperforms Homemade Crafts
Why does a homemade sponge snap back in a fraction of a second, whereas a commercial toy like the PU Foam Butter Squishy recovers with an unhurried, buttery drag? The difference lies in open-cell micro-mechanics and viscoelastic polymers:
- Viscoelastic Hysteresis: Commercial slow-rising squishies are cast from open-cell polyurethane foam infused with viscoelastic plasticizers. When squeezed, the cell struts do not simply bounce back like springs; they absorb energy and slowly creep back toward their original geometry along a hysteresis curve.
- Controlled Air Displacement: Factory squishies possess millions of microscopic cell windows with uniform diameters. Air escapes through these micro-apertures during compression and re-enters through tortuous micro-channels upon release. Hand-cut kitchen sponges, by contrast, feature large open pores that allow instantaneous airflow and rapid mechanical snap-back.
- Molded Closed-Cell Skin: Manufactured items, such as the Blue Butter Brick Squishy 2 Pack, are formed inside precision aluminum molds. As the liquid foam expands against the mold walls, it forms an integrated, seamless outer skin that protects inner cell struts from tearing and preserves consistent air resistance across thousands of compressions.
Homemade vs. Factory PU Foam Squishies Comparison
| Squeeze Method / Model | Primary Core Material | Average Build Time | Rebound Rate | Tear / Burst Risk | Washability | Acoustic Profile |
|---|---|---|---|---|---|---|
| Carved Memory Foam | Open-cell memory foam | 30–45 min | Moderate (2–4 sec) | Medium (edges fray) | Spot clean only | Silent |
| Cosmetic Sponge | Dense polyurethane sponge | 15–20 min | Quick (1–2 sec) | Low to Medium | Spot clean only | Silent |
| Double-Balloon Squishy | Flour / Cornstarch powder | 10 min | Static (no rise) | High (puncture risk) | Wipe clean only | Slight latex squeak |
| Paper & Tape Squishy | Polyfill & laminated paper | 20–30 min | Slow (3–5 sec via vent) | Low (tape peels) | Non-washable | Paper crinkle |
| Nano Tape Squishy | Elastic acrylic polymer | 10–15 min | Springy bounce | Medium (deflates) | Washable with water | Silent |
| PU Foam Butter Squishy | Molded premium PU foam | Ready-made | Slow buttery drag (4–6s) | Very Low (molded skin) | Mild damp wipe | 100% silent fidget |
| Blue Butter Brick (2 Pack) | Molded dense PU block | Ready-made | Heavy slow rebound | Very Low (full-hand) | Mild damp wipe | 100% silent fidget |
Durability, Care, and Troubleshooting Homemade Squishies
To keep your homemade squishies in top condition and avoid common crafting pitfalls, keep these practical tips in mind:
- Preventing Paint from Peeling: Regular craft acrylic dry rigid and cracks when flexed. Always use flexible fabric paint (puffy paint) or blend 50% acrylic paint with 50% clear PVA fabric glue before painting foam squishies.
- Tackling Sticky Paint: If your cured fabric paint feels sticky to the touch, dust the surface lightly with cornstarch or baby powder using a makeup brush, then gently buff away the excess.
- Repairing Paper Squishy Seams: When a paper squishy begins losing its air retention, inspect the corner folds. Cover any pinhole gaps with small squares of clear packing tape pressed firmly with your fingernail.
- Safety and Supervision: Homemade flour balloons and small foam pieces present choking hazards for toddlers and pets. Supervise young crafters, ensure balloons are double-layered, and remember that novelty food squishies are decorative toys, not edible items.
Frequently Asked Questions
Can I make a slow-rising squishy with regular kitchen sponges?
Standard yellow cellulose kitchen sponges snap back almost instantaneously because their large, open cellular pores allow air to rush back inside without resistance. To achieve a slower rebound, use high-density polyurethane cosmetic wedges or coat your sponge in several thin layers of elastic fabric paint to restrict airflow.
What type of paint sticks best to homemade foam squishies?
Acrylic fabric paint (commonly sold as puffy paint or dimensional fabric paint) adheres best to flexible foam. Standard acrylic craft paints dry into a rigid, brittle shell that cracks into flakes upon the first compression, whereas fabric paints contain flexible latex-compatible polymers that stretch with every squeeze.
Why do homemade paper squishies lose their puffiness over time?
Paper squishies rely on an airtight tape barrier and the internal spring of crumpled plastic bags or polyfill. Repeated compression creates microscopic stress cracks in the tape along corner creases. Pricking a fresh micro-vent with a sewing needle and patching corner creases restores the air-cushion effect.
How does homemade memory foam compare to factory PU foam butter squishies?
Homemade memory foam cut-offs provide a satisfyingly soft squeeze, but hand-cut edges lack the protective molded outer skin found on factory products like the FunnySquishy PU Foam Butter Squishy. Factory-molded squishies feature uniform micro-cellular density and integrated skins that resist tearing across thousands of cycles without sticky coatings.