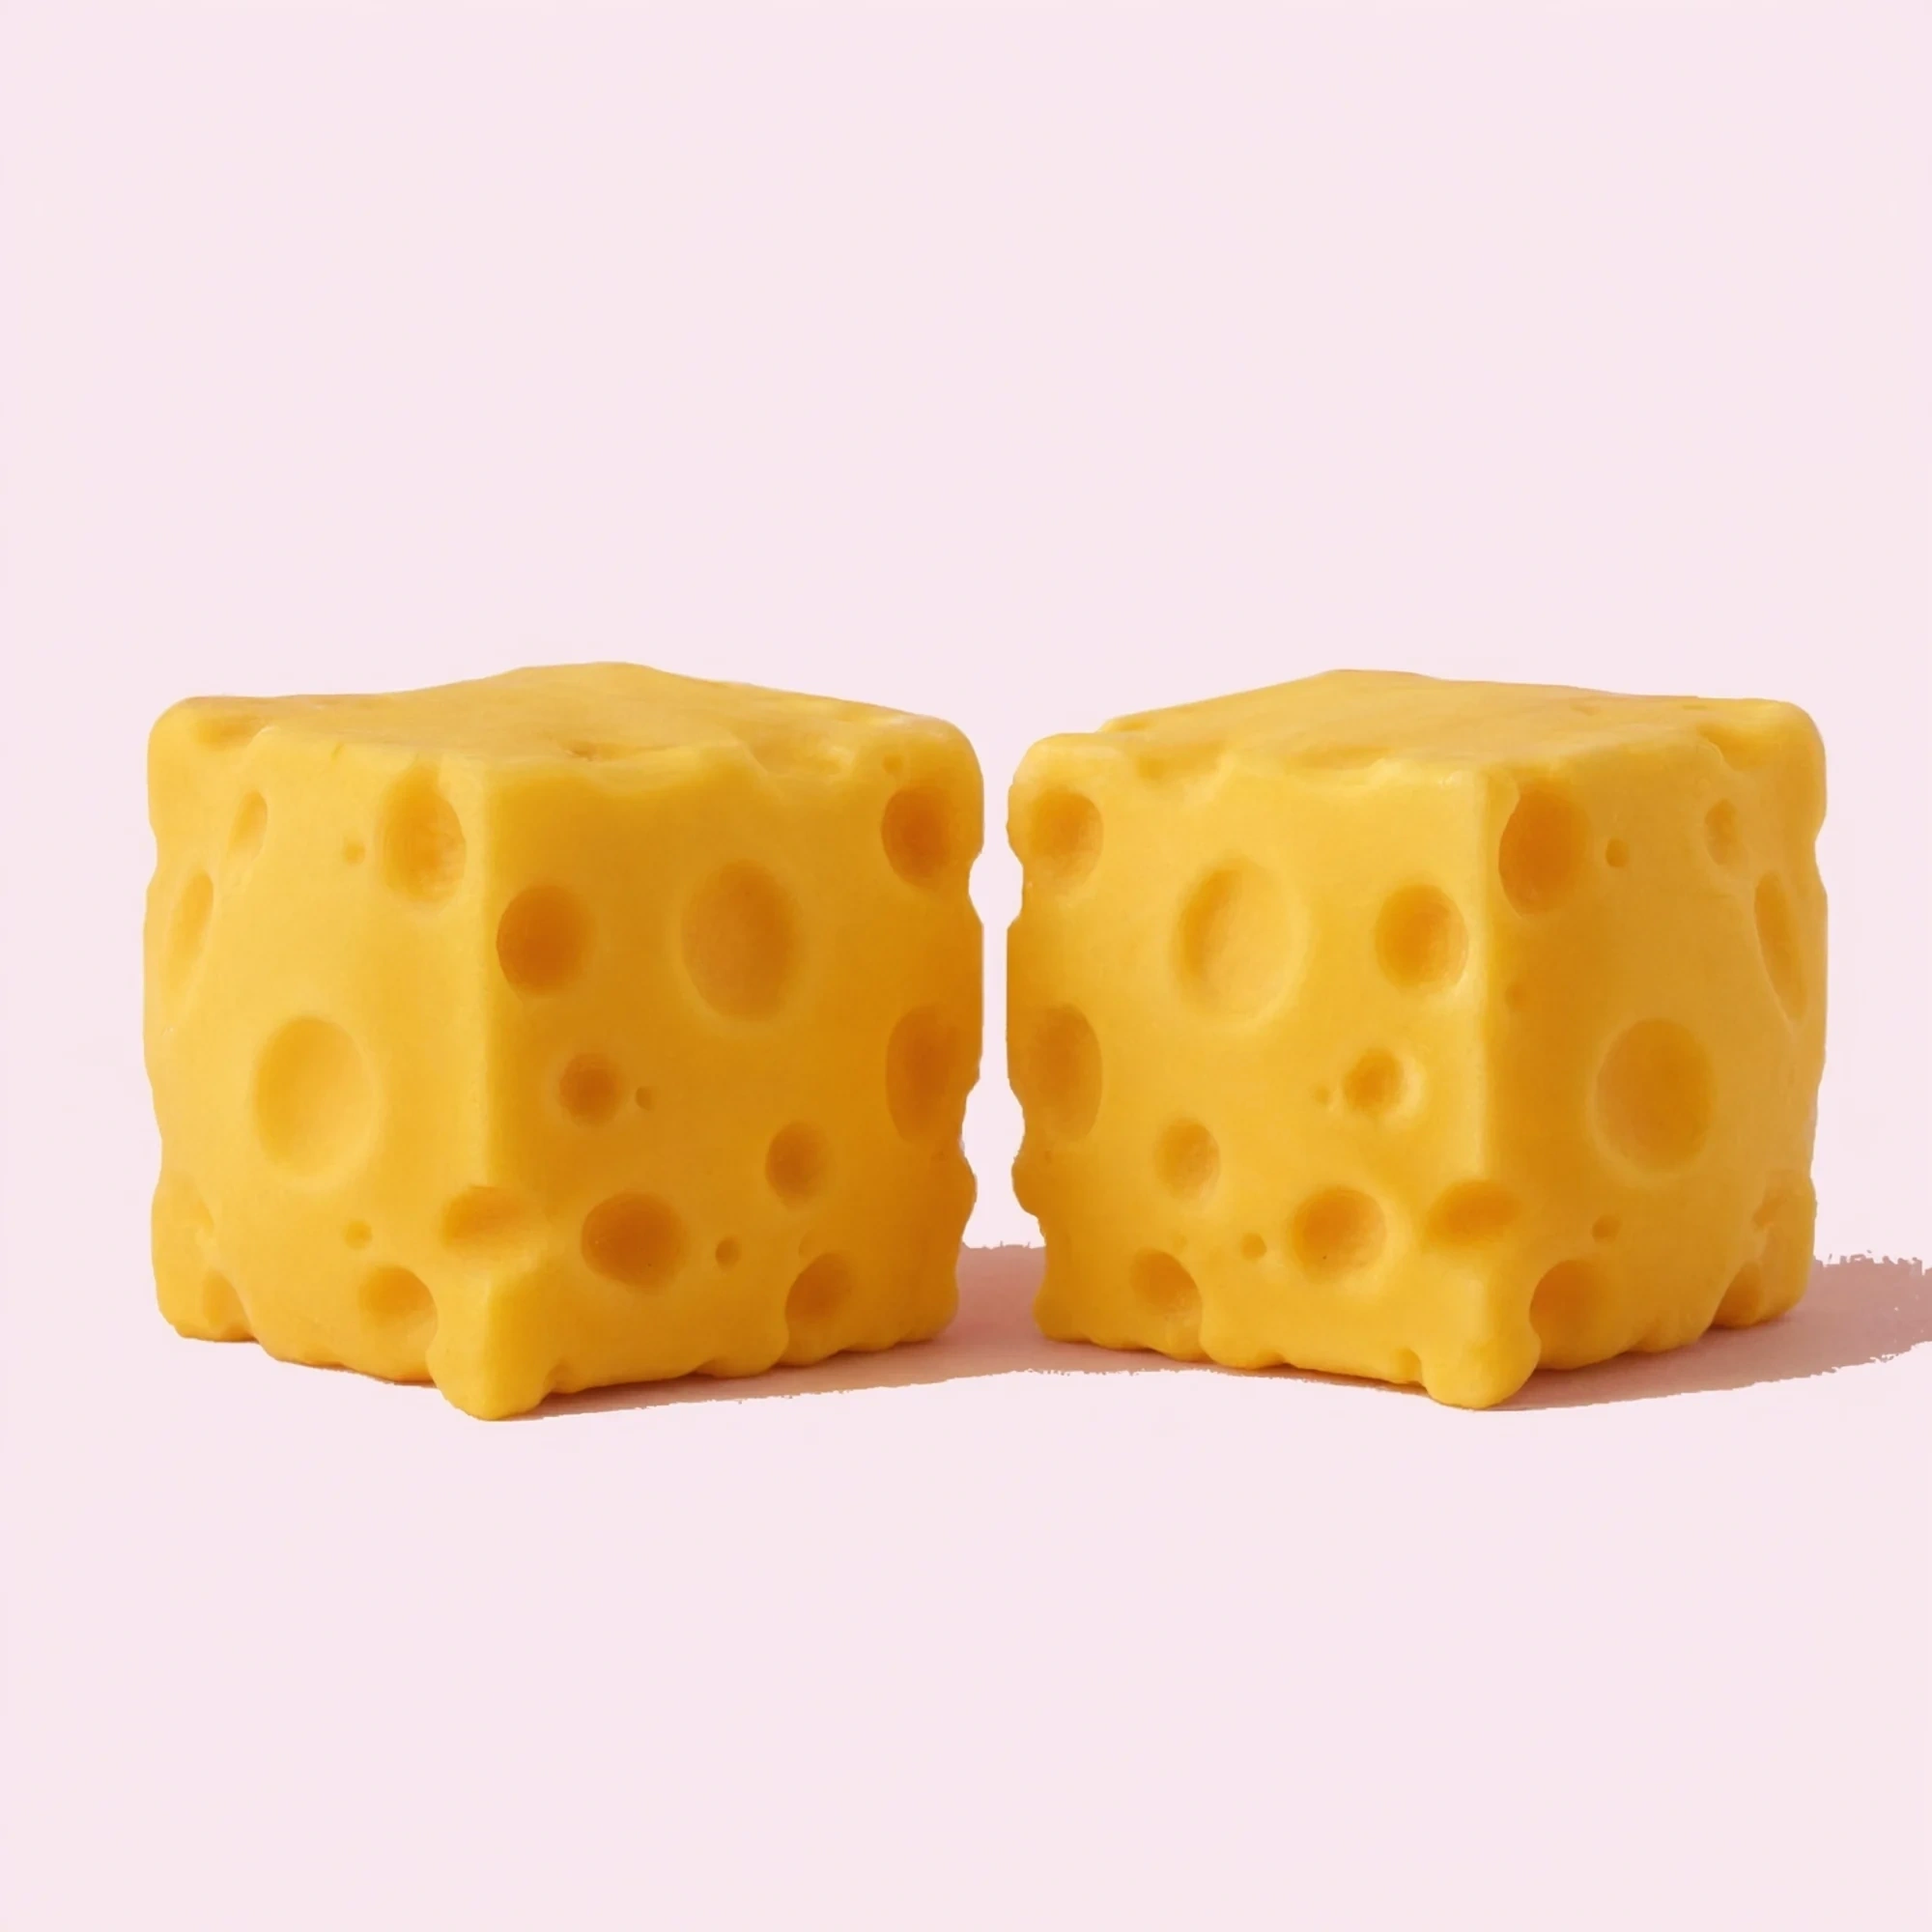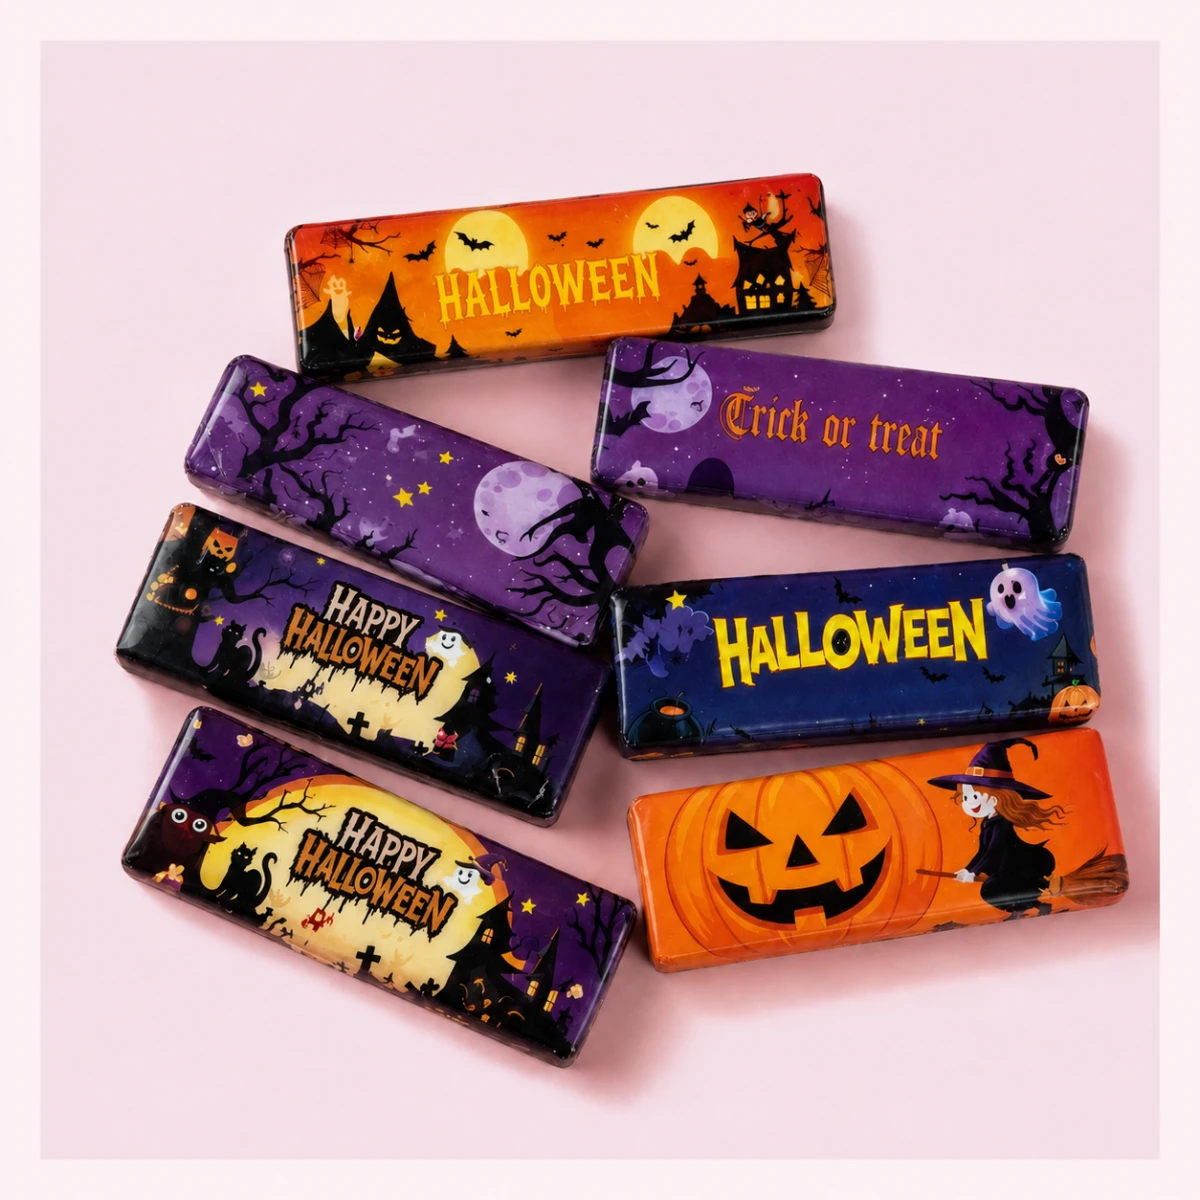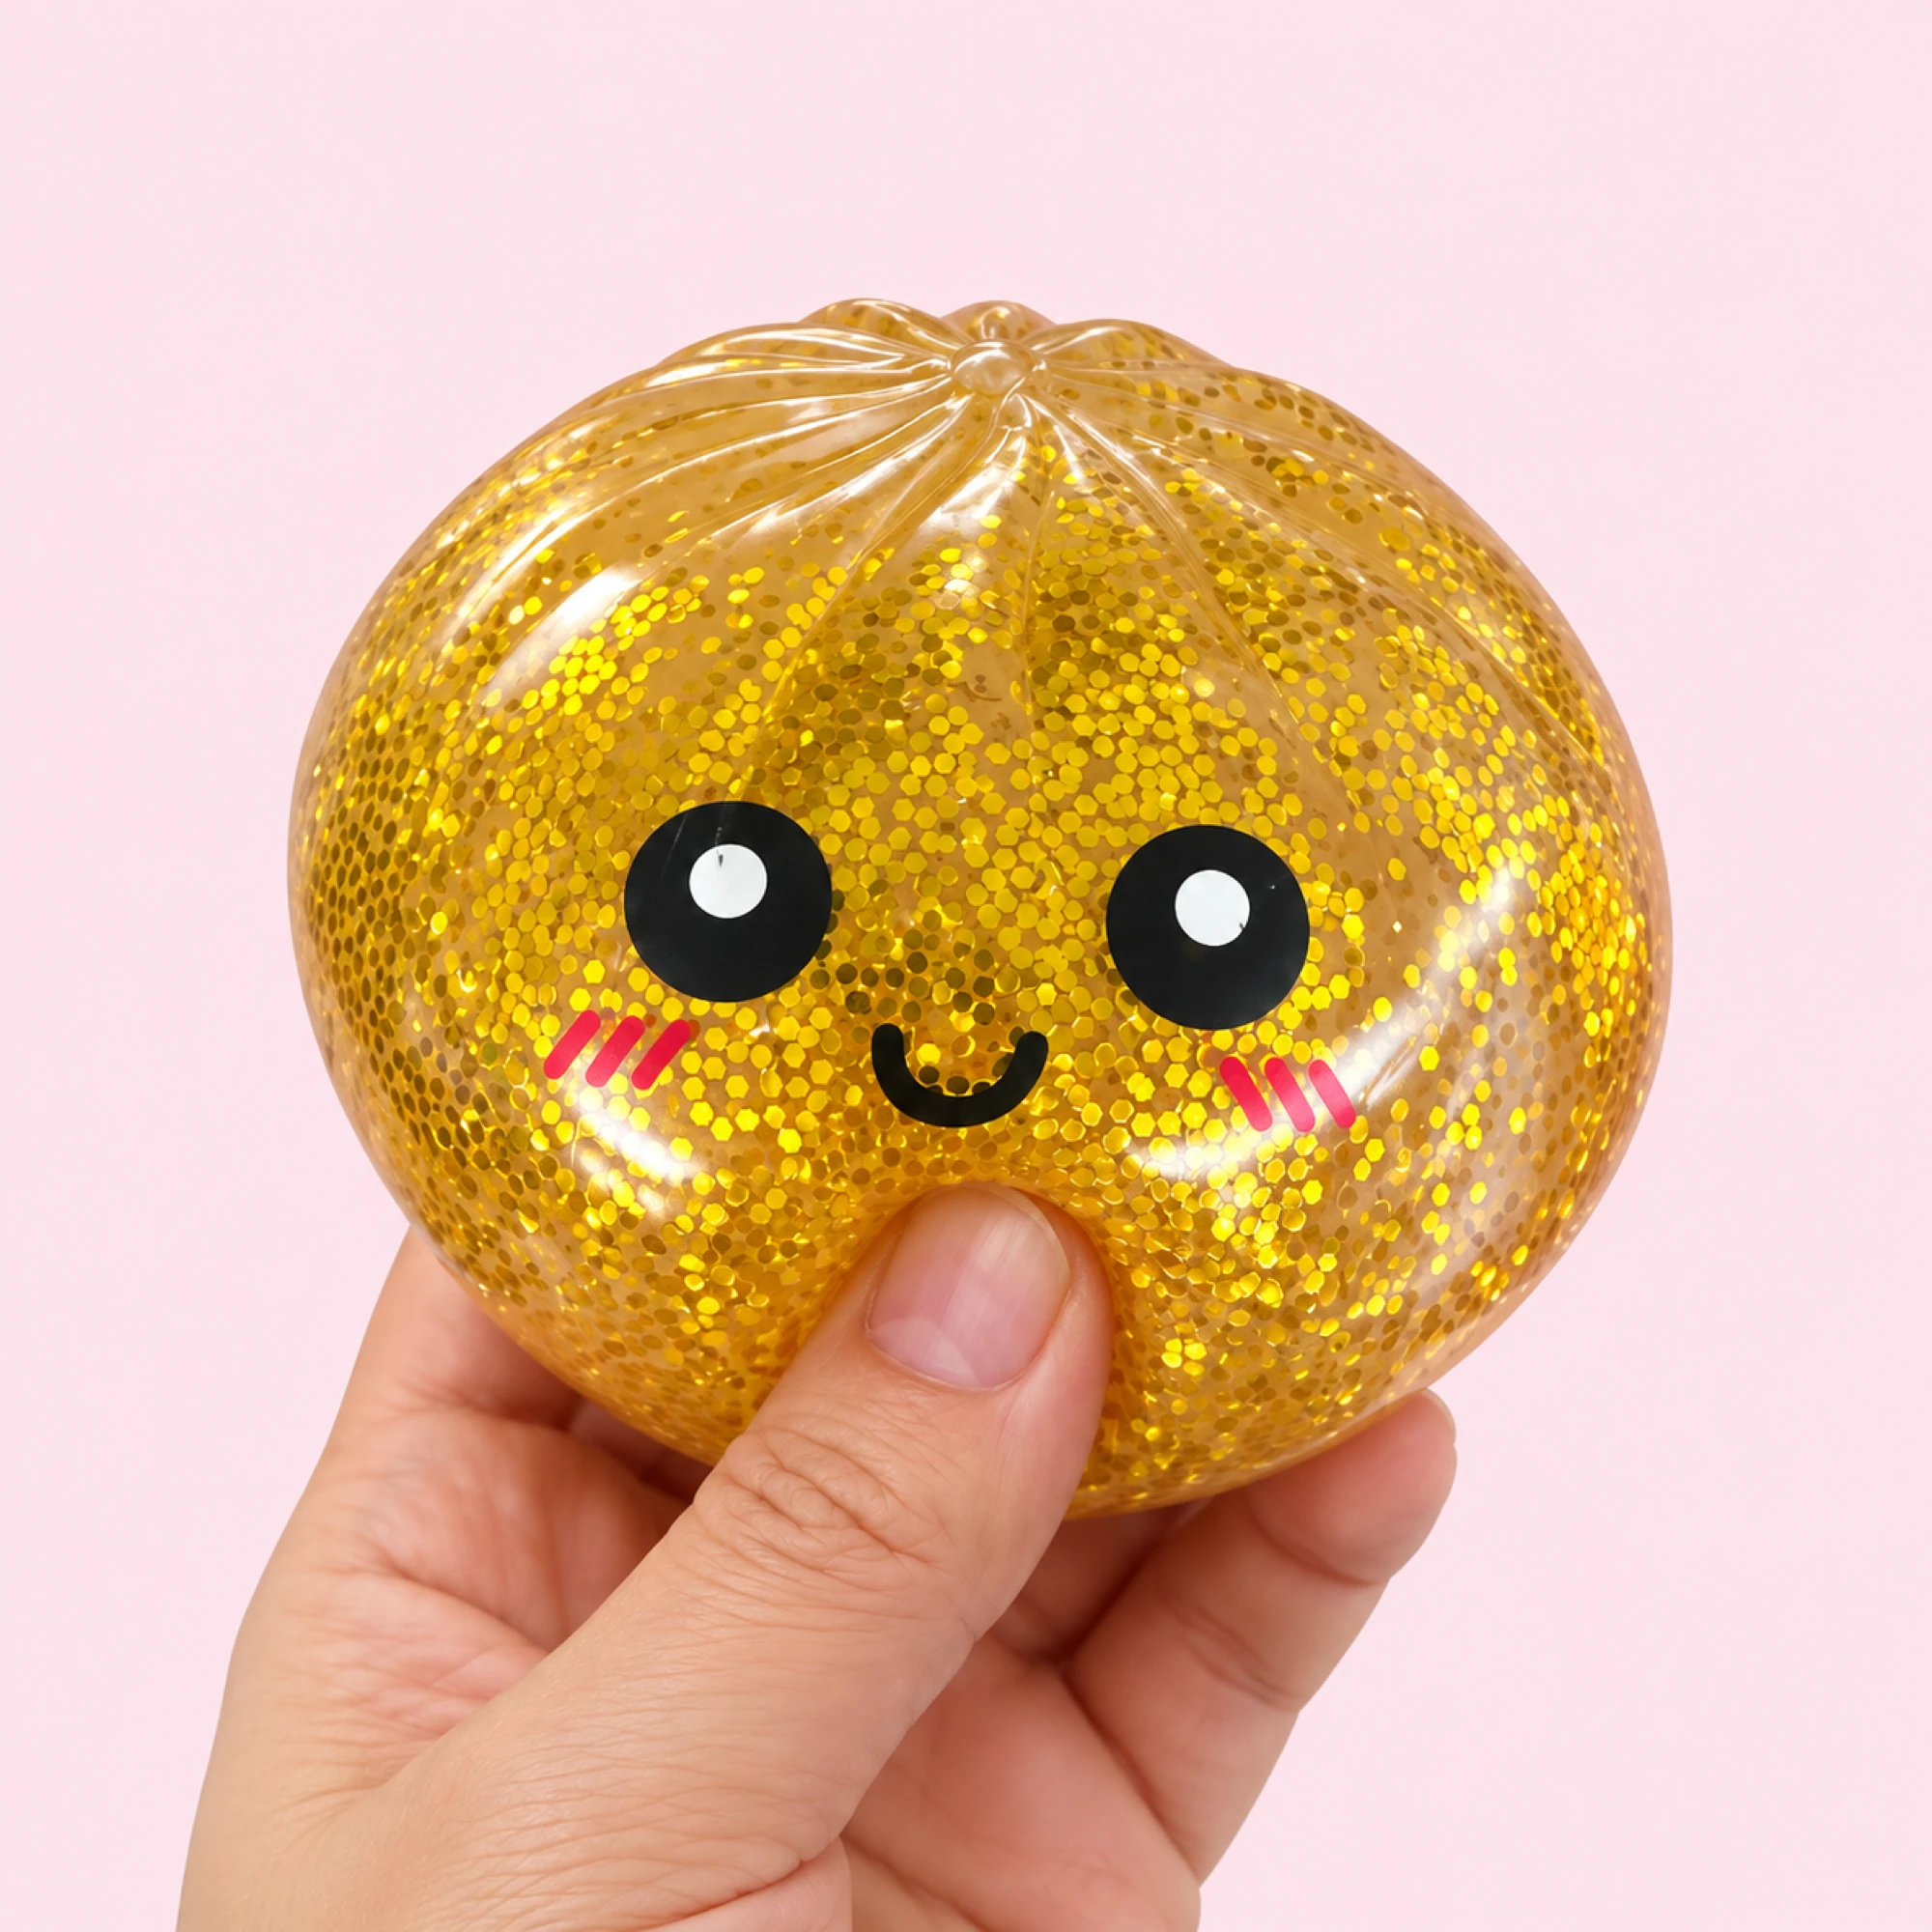


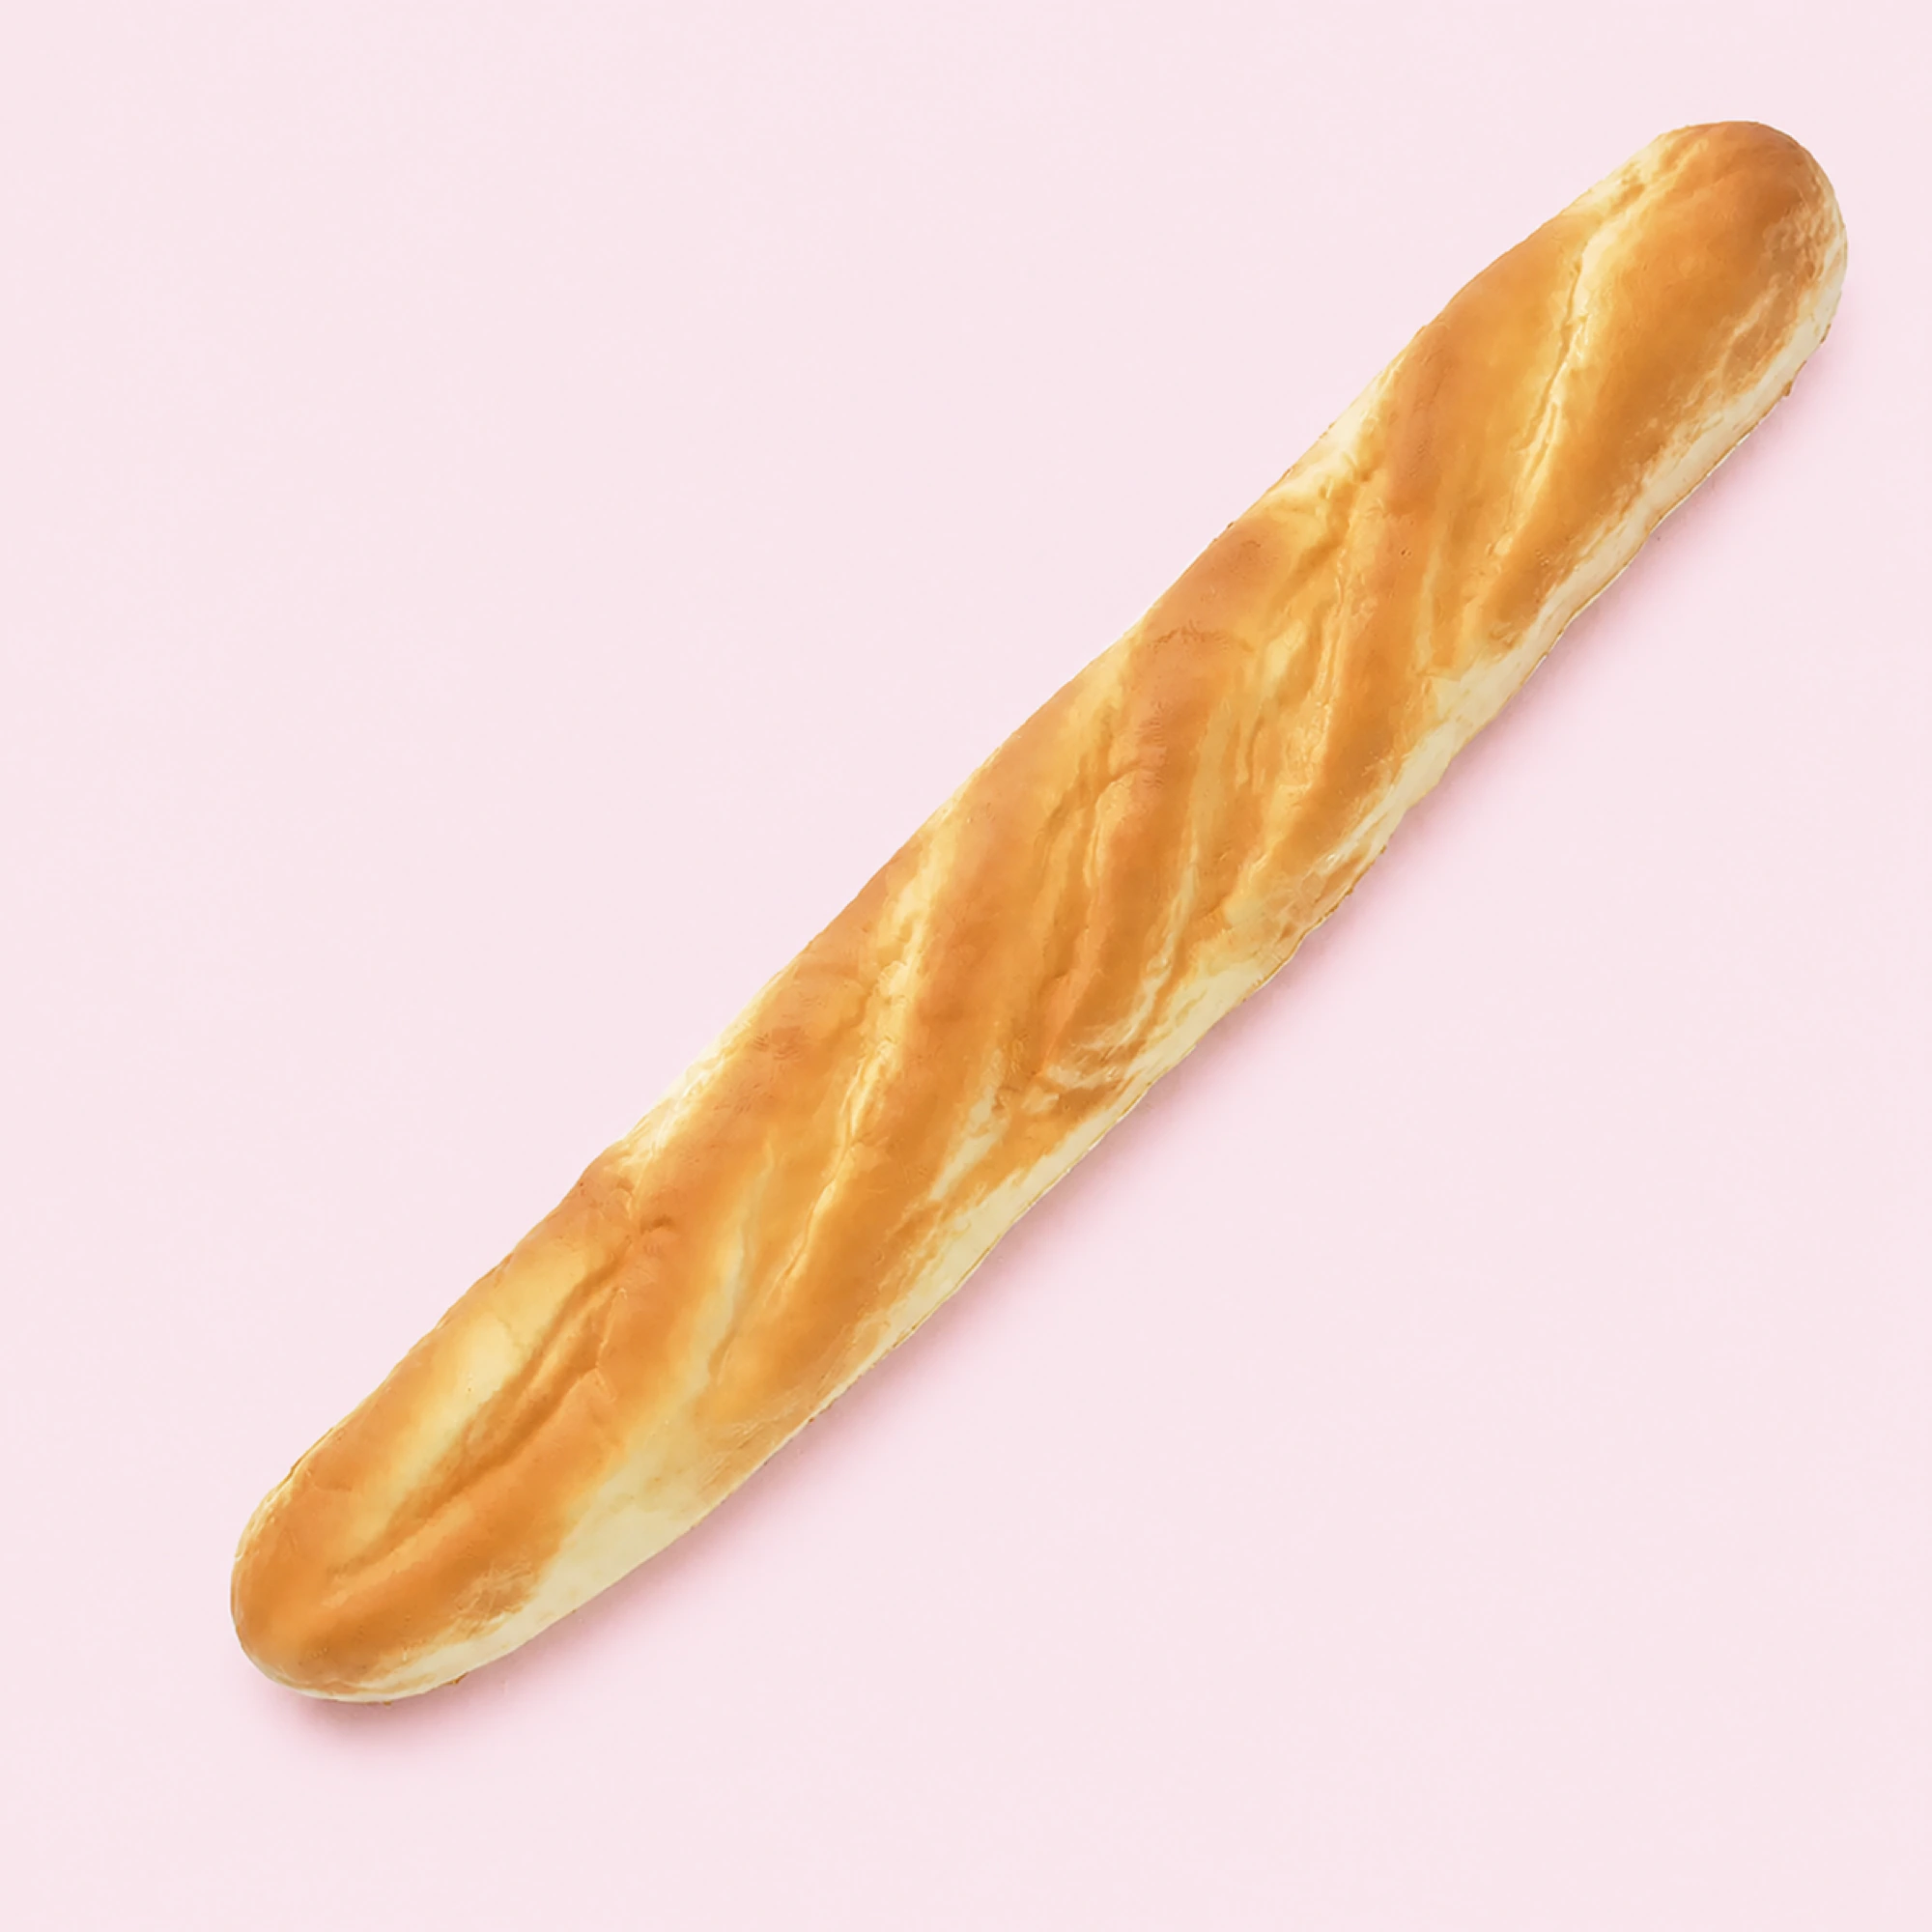


You can make a squishy at home three ways: carve a kitchen sponge, cut and paint memory foam, or build a paper version with tape. Memory foam gets closest to the real slow-rise feel, sponge is the fastest win for kids, and paper is the cheapest. Here’s how to make a squishy each way — and where each method falls apart.
Method 1: The Sponge Squishy
The gateway build. A fresh, dry kitchen sponge is already soft and springy; your job is just to give it a shape and a face.
- Round off the corners with scissors so the block reads as a blob, bread loaf, or cat.
- Snip small notches for ears or details — shallow cuts only, deep ones tear.
- Decorate with permanent markers, keeping the design bold and simple.
The whole project takes fifteen minutes, which is exactly the attention span it’s designed for. The catch: sponge rebounds instantly. You get a pleasant squeeze but none of the slow, creeping return that makes a real squishy hypnotic. Scrub-side sponges also feel like sandpaper on one face, so buy the plain soft kind.
Method 2: Memory Foam
This is the serious build, because memory foam is the same broad polyurethane family as actual slow-rise toys. Raid an old mattress topper, travel pillow, or craft foam sheet.
- Cut a rough block, then trim toward your shape in small passes — long scissor strokes chew ragged edges.
- Round everything. Thin parts tear off in normal use, so no skinny tails or limbs.
- Paint with a flexible fabric paint, in thin coats, letting each dry fully.
- Seal with a flexible finish so the paint can stretch when the foam compresses.
Squeeze the finished piece and it genuinely rises back in slow motion. It’s the only home method that earns the name. The tradeoff is effort: cutting foam cleanly is fiddly, and paint is where most builds die — more on that below.
Method 3: The Paper Build
The zero-budget option: two sheets of paper, artwork, full tape lamination, cut, seal, and stuff with shredded scraps. It crinkles rather than squishes, it costs nothing, and kids adore making them.
Treat it as a craft with a fidget bonus, not a foam substitute. If your household has entered its paper phase, lean in — it’s mess-free and the art trading is genuinely charming.
How to Make Squishies at Home: The Honest Comparison
| Method | Feel | Effort | Common fail |
|---|---|---|---|
| Sponge | Springy, instant rebound | Very low | Scratchy scrub layer, marker smudges |
| Memory foam | Real slow rise | Medium-high | Paint cracks or turns the surface stiff |
| Paper | Crinkly puff | Low | Flat taping, split seams |
The fails deserve honesty. Sponge builds mostly survive; their failure mode is looking bad, not breaking.
Memory foam builds fail at the paint stage. Regular acrylic dries into a shell, so the first hard squeeze cracks it like an eggshell — flexible fabric paint in thin coats is non-negotiable, and skipping the sealer means the color eventually rubs off on your hands. Unpainted works too; it just looks like what it is, a chunk of pillow. A stiffened, crusty surface on any slow-rise foam is usually a coating problem, the same issue covered in the reviving a hardened squishy guide.
Paper builds fail at the seams, loudly, usually at school.
One more note for households with small kids: homemade builds have no age grading, loose parts, and craft paint. Keep them away from mouths, and read up on what squishies are made of and which materials are safe before anyone gets creative with mystery foam from the garage.
When Buying Beats Building
Make the DIY for the craft afternoon — that part is real and worth it. But if the goal is the actual sensation, the dense press and patient rebound, a factory slow-rise toy wins on every axis: consistent foam, skin that doesn’t crack, a face that survives washing day.
A fair test: do the memory foam build, then squeeze a proper butter squishy side by side. The orange trick-or-treat butter makes a good single reference unit, the assorted bulk set covers the whole craft table, and the wider squishies collection has every shape your DIY ambitions were reaching for. Browse from the shop if you’d rather scroll.
Orders of $49 or more ship free worldwide, everything carries the 30-Day Squishfaction Guarantee, and all toys are rated 3+ — three things your homemade sponge cat cannot offer.
FAQ
What’s the easiest way to make a squishy for a young kid? The sponge method, no contest: fifteen minutes, safe materials, instant result. Do the cutting yourself, hand over the markers, and accept that it will be named something unpronounceable.
Why did the paint crack on my homemade squishy? The paint dried stiffer than the foam under it, so compression split the shell. Use flexible fabric paint in several thin coats, dry fully between coats, and finish with a flexible sealer.
Can I make a homemade squishy slow-rising? Only by starting with a slow material — that’s why memory foam is the one method that delivers. Sponge and paper rebound instantly no matter what you do to them.
Is homemade cheaper than buying? If you already own the foam and paint, yes. If you’re buying supplies for one build, the math gets ugly fast, and the factory toy will outlast the craft by months. Make one for fun, buy the daily driver.