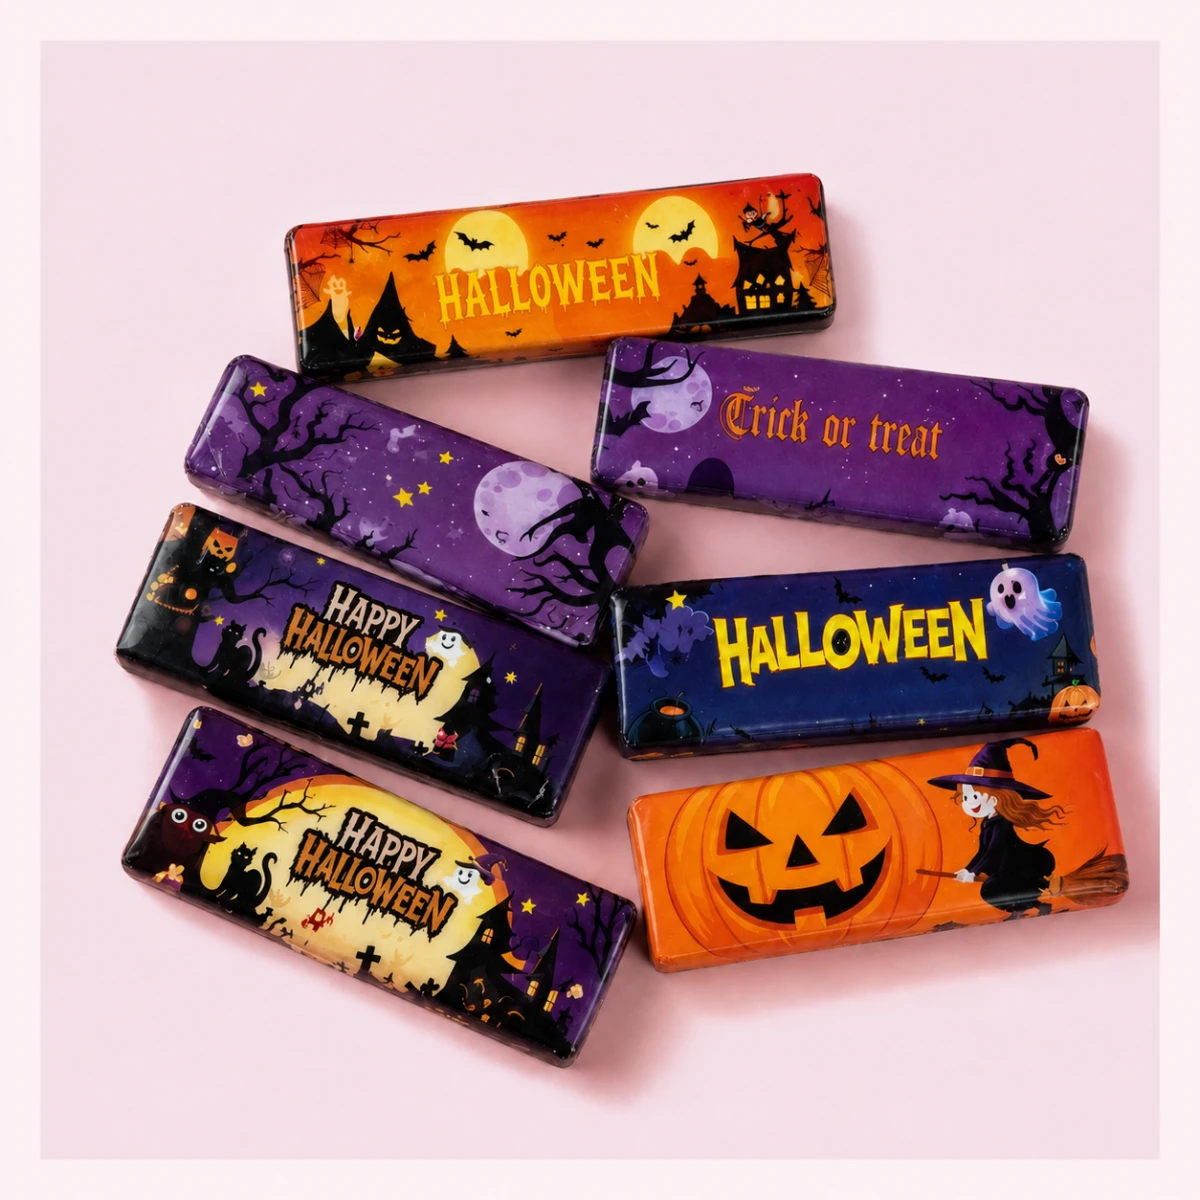


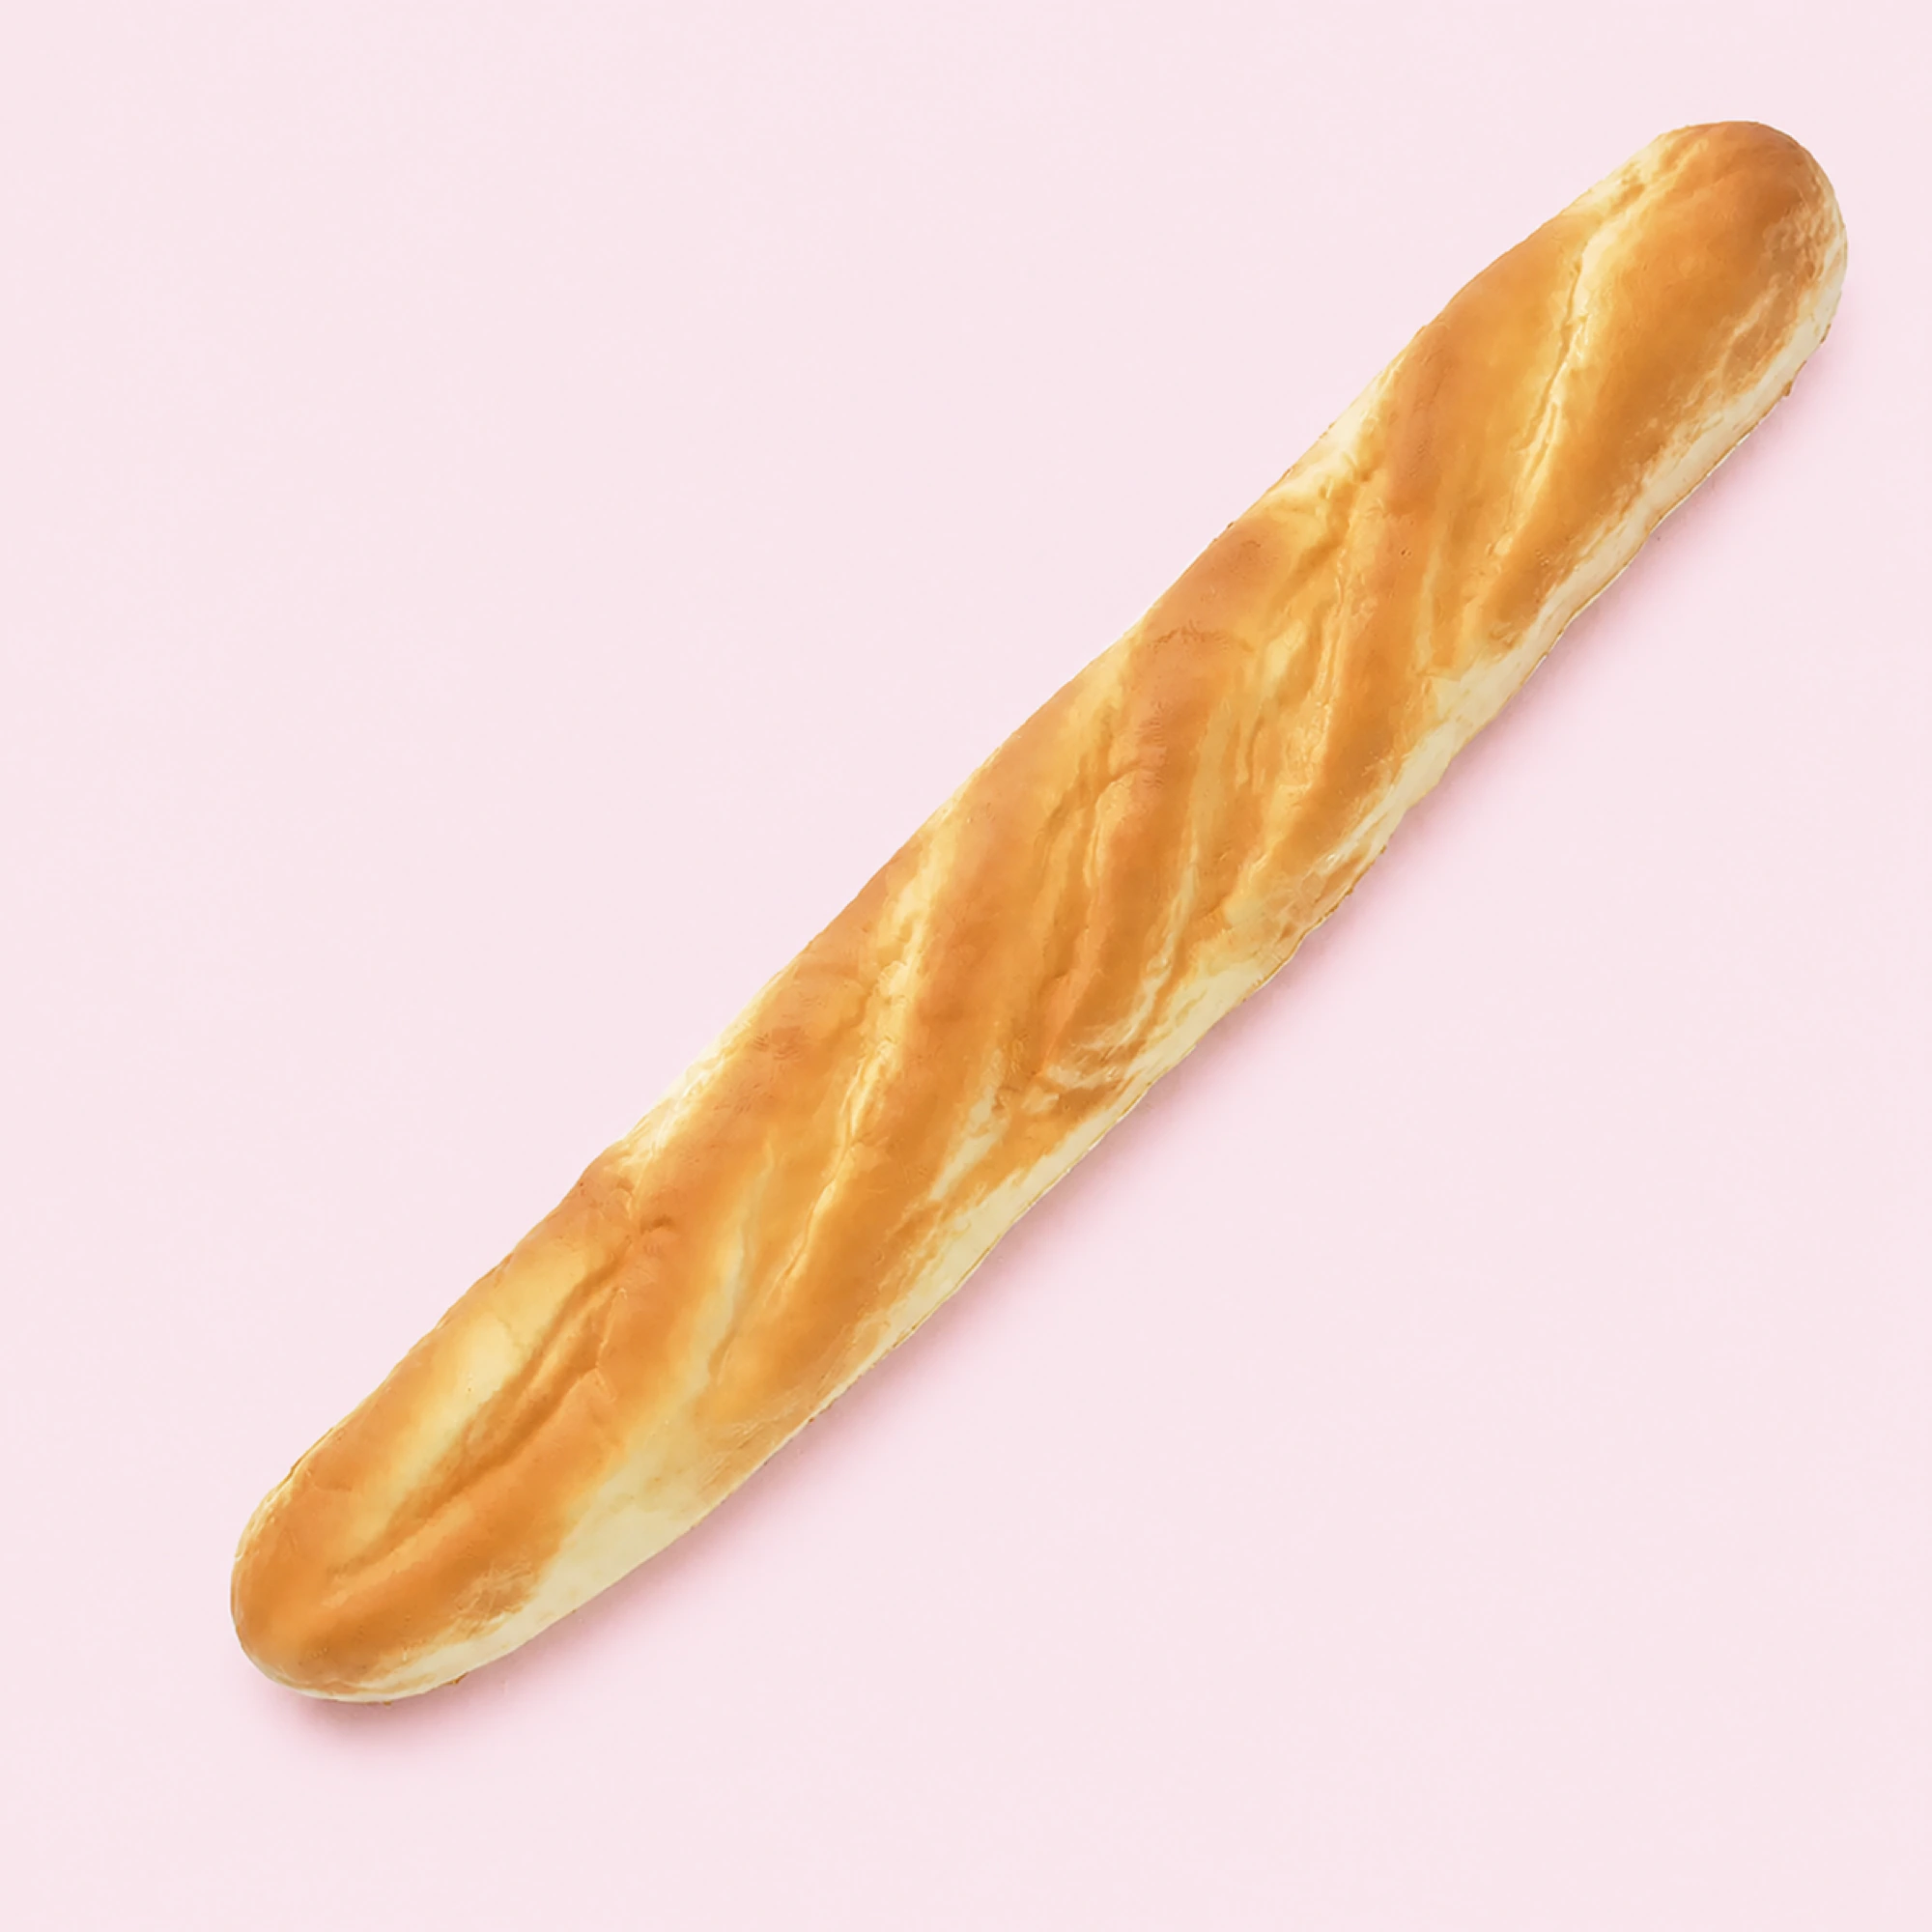
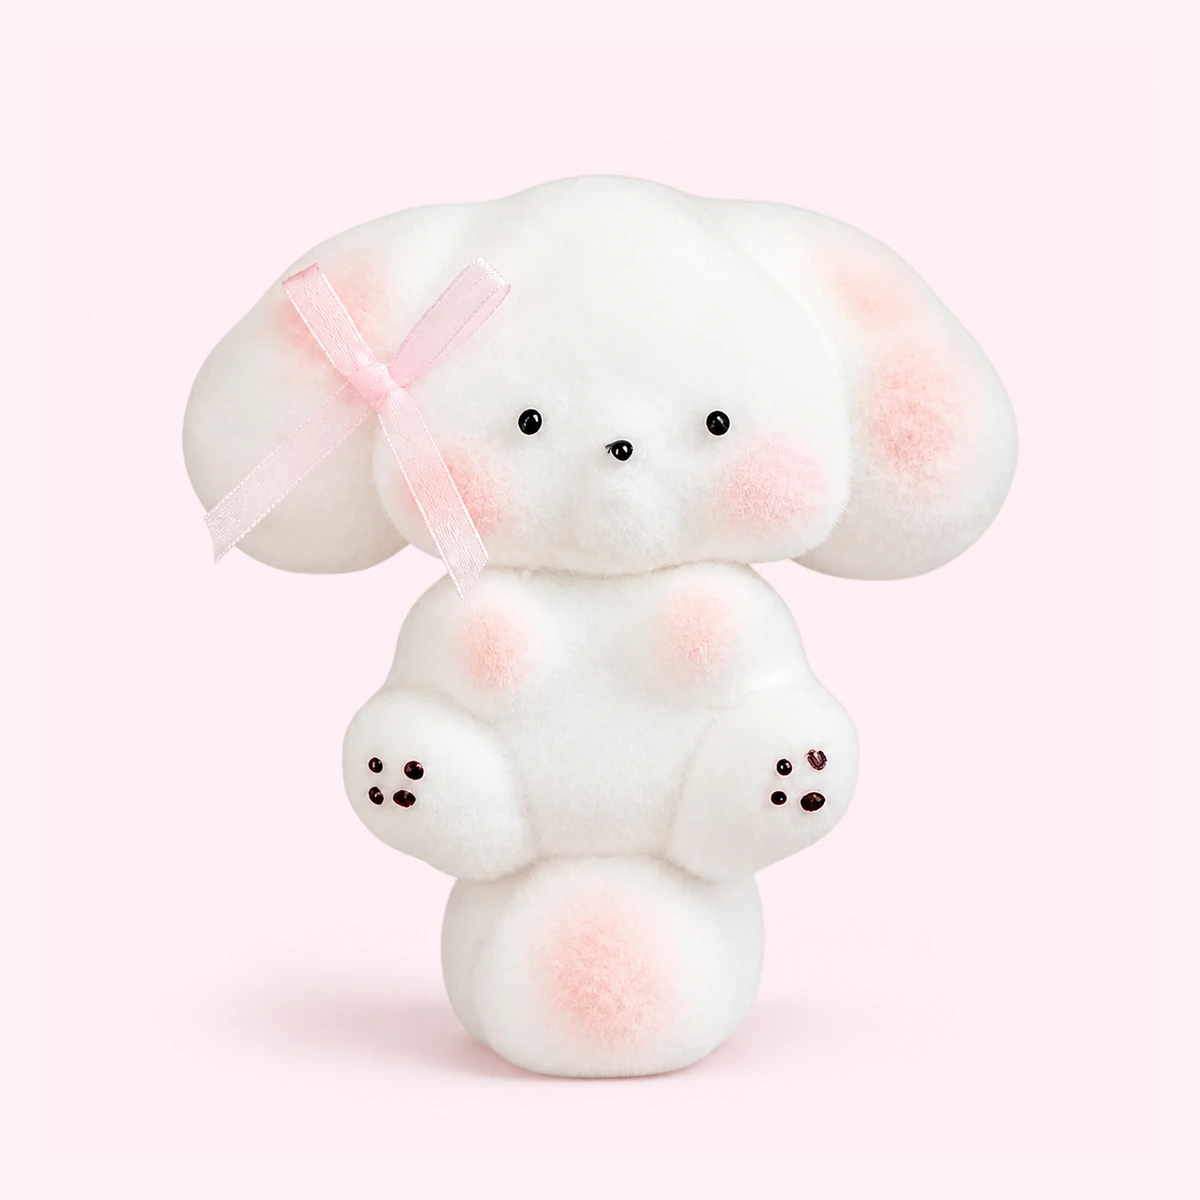


Most ripped squishies can be fixed at home: clean and dry the area, work a thin line of flexible, clear-drying glue along the tear, press the edges together, and give it a full day to cure. Knowing how to fix a squishy is half materials and half honesty — some tears heal well, and some are a goodbye.
Triage: Read the Tear Before You Grab Glue
Not every wound is the same wound. Before opening any adhesive, look at what actually happened — the type of damage decides the method, and sometimes it decides that there is no method.
| Damage | Fixable? | Approach |
|---|---|---|
| Surface nick or scuff | Yes, or ignore it | Leave it be, or a tiny dab to stop spreading |
| Clean split along a seam | Yes — the best case | Thin glue line, press, cure |
| Wide tear with a gap | Usually | Inner patch plus glue |
| Chunk missing | Sort of | Cosmetic patch at best; manage expectations |
| Crumbling, tearing everywhere | No | The foam itself is done — glue can’t fix chemistry |
Location matters as much as size. A tear right where your fingers land will keep reopening unless it’s reinforced, while a tear on the underside can heal in peace. And if the foam around the tear crumbles when pinched, stop — that’s end-of-life material, and how long squishies last explains why no adhesive changes that verdict.
Ripped Squishy Repair: The Basic Method
- Clean and dry. Wash the area gently and let it dry completely — glue and damp foam refuse to bond.
- Glue thin. Open the tear gently and spread a thin layer of flexible, clear-drying glue on both faces. Thin is the skill: puddles cure into a hard lump you’ll feel in every future press.
- Align and press. Hold the edges together for a minute. If the tear crosses the face, line up the printed smile first — a strong seam through a crooked face pleases no one.
- Cure fully. Park it somewhere safe for a full 24 hours, even if it looks done in two.
- First press, gentle. A fresh seam earns trust gradually. No full crush on day one.
One house rule: gluing is an adult job. Our squishies are 3+ toys, and a repaired one goes back to a kid only after the glue has fully cured and nothing feels tacky or flaky at the seam.
Glue Choices (and the One to Skip)
The seam has to do what the toy does — bend, squash, and come back. That means flexible, clear-drying adhesives: fabric glue and silicone-style craft adhesives are the collector standards, and anything labeled flexible after curing is in the right family. Test on a hidden spot first; some coatings react badly to some formulas, and the underside is where you want to learn that.
The one to skip is classic super glue. It cures rigid and brittle, so the stiff line cracks on the next deep press and usually tears fresh edges on its way out — you end up with a bigger wound and a crunchy scar. Hot glue is the other trap: thick, lumpy, and hot enough to damage soft foam. Flexible or nothing.
Big Tears: The Inner-Patch Trick
When a gap is too wide for edges to meet, bridge it from the inside. Some collectors slip a sliver of soft fabric or thin foam just inside the tear, glue each face of the tear to the patch, and let the patch carry the stress the way scar tissue does. Same rules as before — thin glue, careful alignment, full cure.
Set expectations honestly: the patched zone will press a little firmer than virgin foam. Think of it as a scar with a story. Visible mends are proof of a squishy that was loved hard, and there’s a whole quiet aesthetic of proudly repaired veterans — kintsugi, but foam.
Repair or Replace? An Honest Test
Three questions settle it. Is it rare, discontinued, or sentimental? Repair it, even imperfectly — that’s preservation. Is the surrounding foam still healthy? Then a seam will hold; if it’s crumbly or permanently sticky, it won’t. Is it a cheap daily driver? Replace it and spend the evening squishing instead of gluing.
A few boundary cases: a squishy that’s hardened and torn needs the revival guide for the stiffness half of the problem before any glue makes sense. A brand-new arrival that shows up torn isn’t a repair project at all — that’s what our 30-Day Squishfaction Guarantee exists for, so just reach out. And when replacement wins, you can pick the successor deliberately at the shop, restock the whole bench with a bulk assorted butter set, or hand the decision to fate with a mystery box — replacement roulette has healed many a collector’s grief.
FAQ
What glue works on squishies? Flexible, clear-drying adhesives — fabric glue and silicone-style craft glues are the usual picks. The seam must flex with the press, so anything that cures rigid is out.
Will a repaired squishy feel normal again? Close to it. A well-glued seam holds through regular squishing, though you’ll feel a faint firmer line at the repair. Slow-rise behavior mostly returns everywhere except right at the seam.
Is a repaired squishy safe for kids? Once fully cured, with nothing tacky or flaking at the seam, it can rejoin a 3+ kid’s rotation. When in doubt, promote it to the display shelf — repaired veterans make great decor.
When is a squishy not worth repairing? Crumbling foam, a missing chunk, permanent stickiness, or a seam that keeps reopening. At that point the kind move is a photo, a thank-you, and a successor.