



Memory foam is viscoelastic polyurethane — the same broad foam family as a store-bought slow-rise squishy, which is why a memory foam squishy is the only DIY that genuinely rises in slow motion. Cut it from a mattress topper or travel pillow, shape it, paint it right, and you get a real squish, not a paper stand-in.
Why Memory Foam Slow-Rises
Two things have to be true for a foam to rise slowly, and memory foam has both.
The cells are open. Squeeze the foam and air doesn’t get trapped — it gets pushed out through a maze of connected pockets, then has to wander back in through the same maze when you let go. That air traffic jam is a big part of the delay.
The polymer itself is viscoelastic, which is a materials-science way of saying it acts partly like a spring and partly like honey. The spring part wants its shape back; the honey part insists on taking its time. Press a thumb in, and the dent fills back like the foam is deciding whether it can be bothered.
Store-bought slow-rise toys use soft PU foams tuned hard toward that lazy end. Memory foam sits close enough on the same spectrum that your DIY genuinely creeps back instead of snapping — the difference the slow rising vs fast rising guide is entirely about.
Choosing Memory Foam for Squishies
Not all scraps are equal, and you can audition foam with your thumb before cutting anything.
- Mattress topper offcuts are the sweet spot: soft, thick enough to carve a fat shape from, and often free if someone in the house recently upgraded a bed.
- Travel and contour pillows work, though some are firmer — press one; if your thumbprint vanishes instantly, it will fidget like a car seat, not a squishy.
- Craft-store memory foam sheets are convenient but often thin, so plan flatter designs or glue layers.
- Skip anything ancient or crumbly. Old foam that’s yellowed and sheds powder has degraded, and it will keep degrading in your hands.
The thumb test is the whole selection science: press, release, and count. A slow, visible refill means you’ve found squishy material. Instant spring-back means keep shopping.
Shaping Without Shredding
Memory foam cuts badly under hesitant scissors — long, confident strokes matter more than sharp blades, though sharp helps.
Work in stages: rough block first, then round the corners, then details. Compressing the foam gently while you cut gives cleaner edges than sawing at fluff. For big straight cuts, an electric kitchen knife is the community’s worst-kept secret; it glides where scissors chew.
Design rule: everything rounded, nothing skinny. Ears, tails, and limbs thinner than a finger will tear off within a week of real squeezing. This is why the classic DIY shapes are loaves, blobs, buns, and butter sticks — fat geometry survives.
Paint, and the Sealing Step Everyone Skips
Here’s where most memory foam builds die, so slow down for this part.
Ordinary acrylic paint dries into a rigid shell on a surface that’s designed to compress. First serious squeeze: the shell cracks, then flakes, and the toy suddenly looks like peeling sunburn. Use a flexible fabric paint, thin coats, fully dry between each.
Then the skipped step: seal it. A flexible, clear sealer over the paint does two jobs — it stops color rubbing off onto hands, and it gives the surface that smooth, slightly tacky skin real squishies have instead of raw foam’s dry sponginess. Builds that skip sealing shed color at the grip points and pick up dirt in the open cells, and a stiff crusted coat is exactly the failure mode our hardened squishy revival guide exists for.
One safety note: use kid-safe craft paints, and keep DIY builds — which have no age grading or testing — away from small children. The materials rundown in are squishies safe? TPR vs PU foam is worth a read before you improvise.
DIY vs. Store Slow-Rise: The Honest Gap
A well-made memory foam build gets you maybe most of the way to the real thing. The remaining gap is texture and tuning: factory toys use foam formulated softer than any pillow, with a molded skin, consistent density, and a rise speed chosen on purpose.
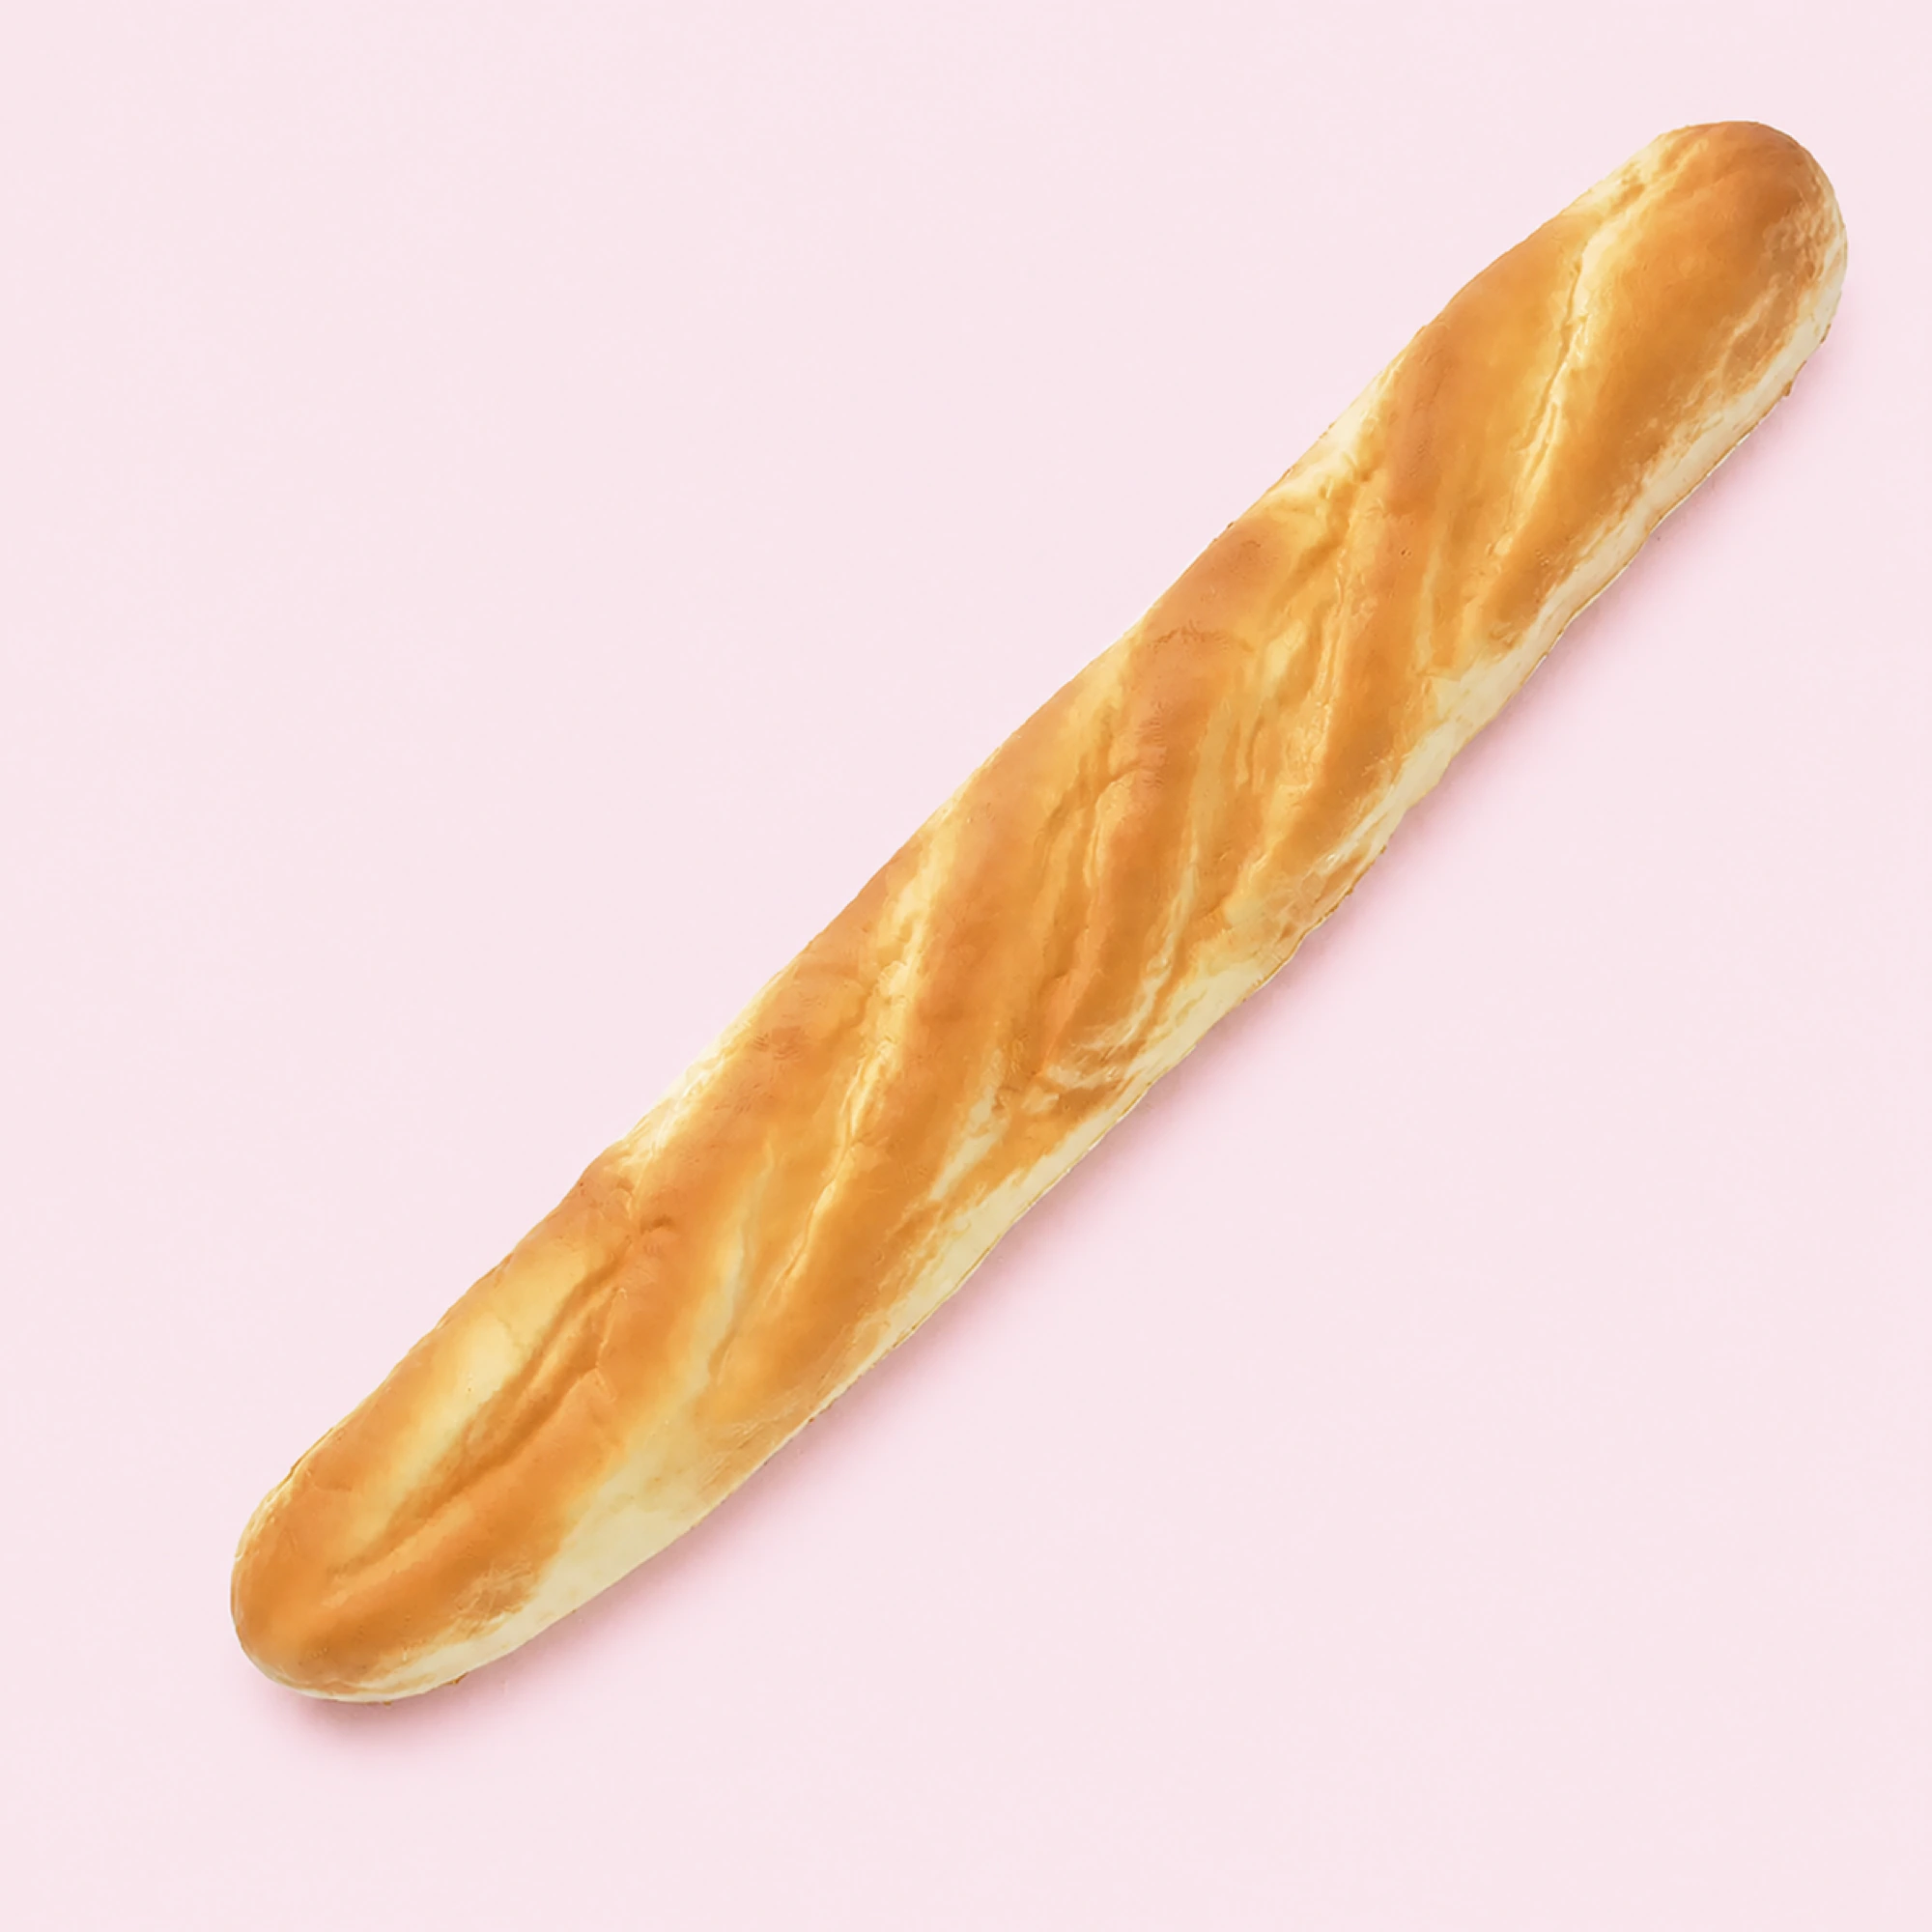
Side-by-side, a butter squishy feels denser going in and lazier coming back than pillow foam can manage. If the household DIY project sparks a real habit, the assorted butter set restocks everyone at once, and the full squishies collection covers every shape you don’t feel like carving. Orders of $49 or more ship free worldwide, with a 30-Day Squishfaction Guarantee on all of it.
Make the DIY anyway. Squeezing a slow-riser you carved yourself has a satisfaction no factory can mold.
FAQ
Is memory foam the same material as squishy foam? Same broad family — both are soft polyurethane foams with open cells. Toy makers tune theirs much softer and slower than bedding foam, which is why your DIY will feel firmer and rise a bit quicker than a store squishy.
Where’s the cheapest place to get memory foam for squishies? An old mattress topper, contour pillow, or seat cushion already in the house. Thrift finds work too if the foam is clean and hasn’t gone yellow and crumbly with age.
What paint won’t crack on a memory foam squishy? Flexible fabric paint, applied in several thin coats with full drying between them, then topped with a flexible sealer. Anything that dries rigid — standard acrylic included — will crack at the first hard squeeze.
Can I wash a memory foam DIY squishy? Gently and rarely: a light wipe with a barely damp cloth on sealed surfaces. Open foam soaks water like it’s paid to, and a waterlogged build takes ages to dry and can get musty inside.