




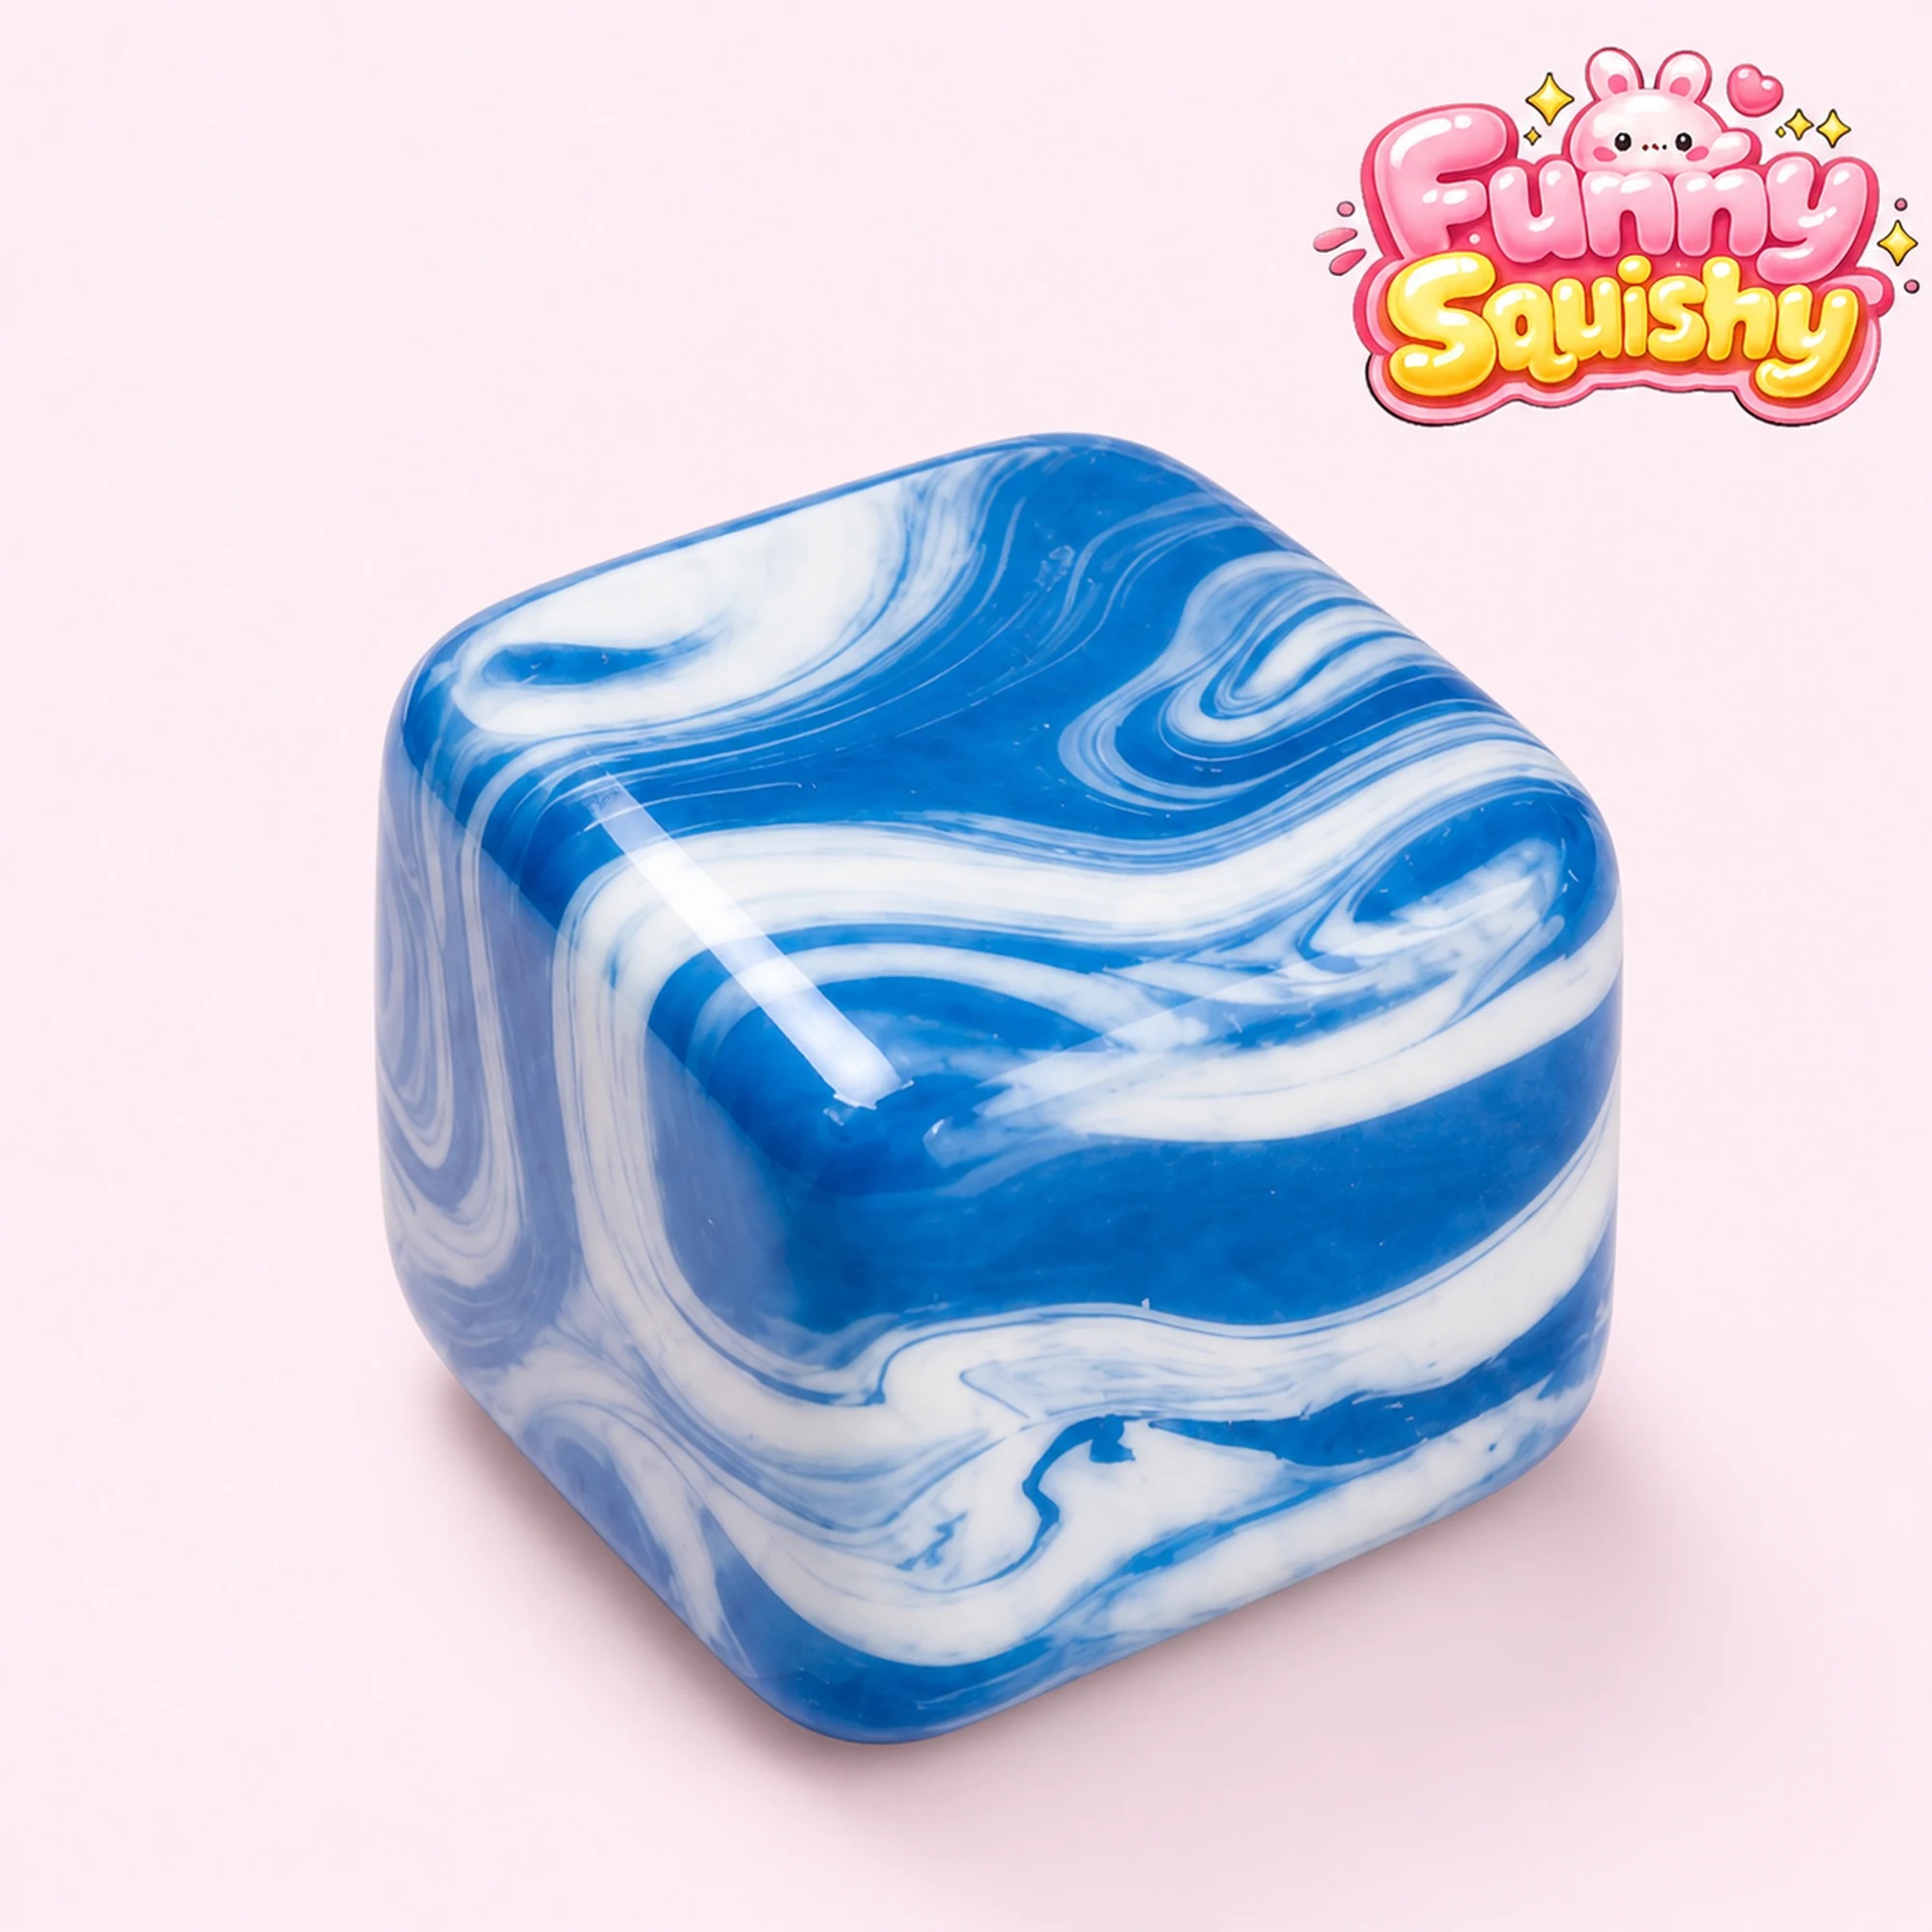
Squishy photography is mostly a lighting problem wearing a cute disguise. Put the toy in soft window light, give it a background color that fights back a little, and press the shutter while your fingers are still sunk in the foam — that combination turns any phone snapshot into the kind of photo people want to reach through the screen and squeeze.
Light First: The Window Rule
Skip the overhead room light — it flattens texture and drops odd little shadows into every smile line. Put the squishy beside a window instead, with the light coming in from the side. Side light rakes across the surface and shows what makes foam foam: the fine pores, the soft matte skin, the gentle paint gradients.
Harsh direct sun is too much of a good thing; it blows out pastels and turns seams into trenches. A sheer curtain fixes it. If one side of the toy goes too dark, prop a piece of white paper opposite the window as a bounce card. That’s the entire lighting kit: window, curtain, paper.
Toy Photography Tips That Foam Actually Needs
Most toy photography advice was written for action figures. Foam has its own rules:
| Shot | What it proves | How |
|---|---|---|
| Hero at 45° | Overall cuteness | Window light, low angle, clean backdrop |
| Texture macro | The surface feel | Macro mode, strong side light |
| Mid-press | Density and softness | Press, hold, shoot burst |
| Rebound trio | The slow rise | Burst during release, pick three frames |
| Scale shot | True size | A hand or coffee mug in frame |
| Group flat lay | The collection | Overhead, tidy grid |
Get low — eye level with the toy, the way you’d shoot a portrait. Tap to focus on the printed face, because that face is the subject. And always include one scale shot; foam photographs bigger than it is, and nobody enjoys the “it’s how small?” unboxing surprise.
The Mid-Press Money Shot
One photo sells softness better than any caption: fingers sunk in, crater visible, surface bunched around your fingertips. Press, hold, and shoot — burst mode if your grip hand gets tired of posing. This is the shot that answers the only question that matters about a squishy, which is what it feels like.
Timing takes three attempts, tops. Press on an exhale, hold still, shoot — the crater’s edges should look soft and bunched, never blurred. If the frame keeps escaping you, film the whole press as video and pull a screenshot of the exact moment you want. Completely legitimate technique, and how half the great mid-press shots you’ve admired were actually made.
The sequel is the rebound trio. Fire a burst as you release and pick three frames — crushed, halfway, fully risen. Three stills that tell the slow-rise story without a single second of video. Two practical notes: clean hands photograph better than you’d think they need to, and your hand is a co-model, so give it the same grooming standards as the toy.
Backgrounds and Color Blocking
Backgrounds make or break squishy photos, and the fix costs almost nothing: a sheet of poster board, curved gently up a wall so there’s no horizon line. Then play complementary colors. Orange pops hardest on deep purple or teal — our orange trick-or-treat butter squishy was practically born for a purple backdrop. Pastels sing on plain white; darker pieces need a light ground.
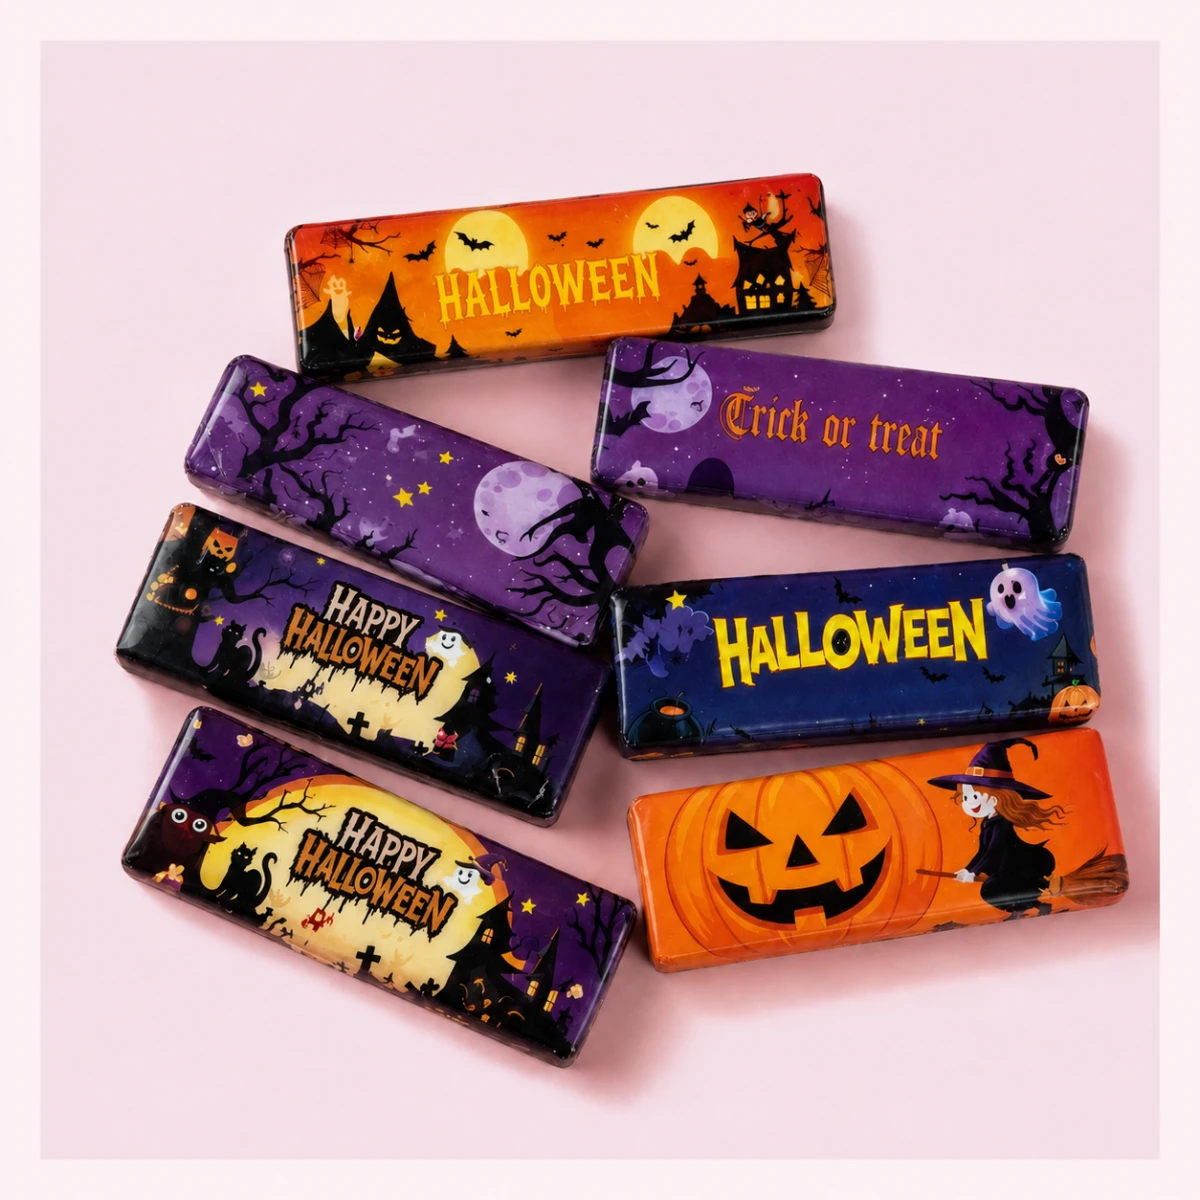
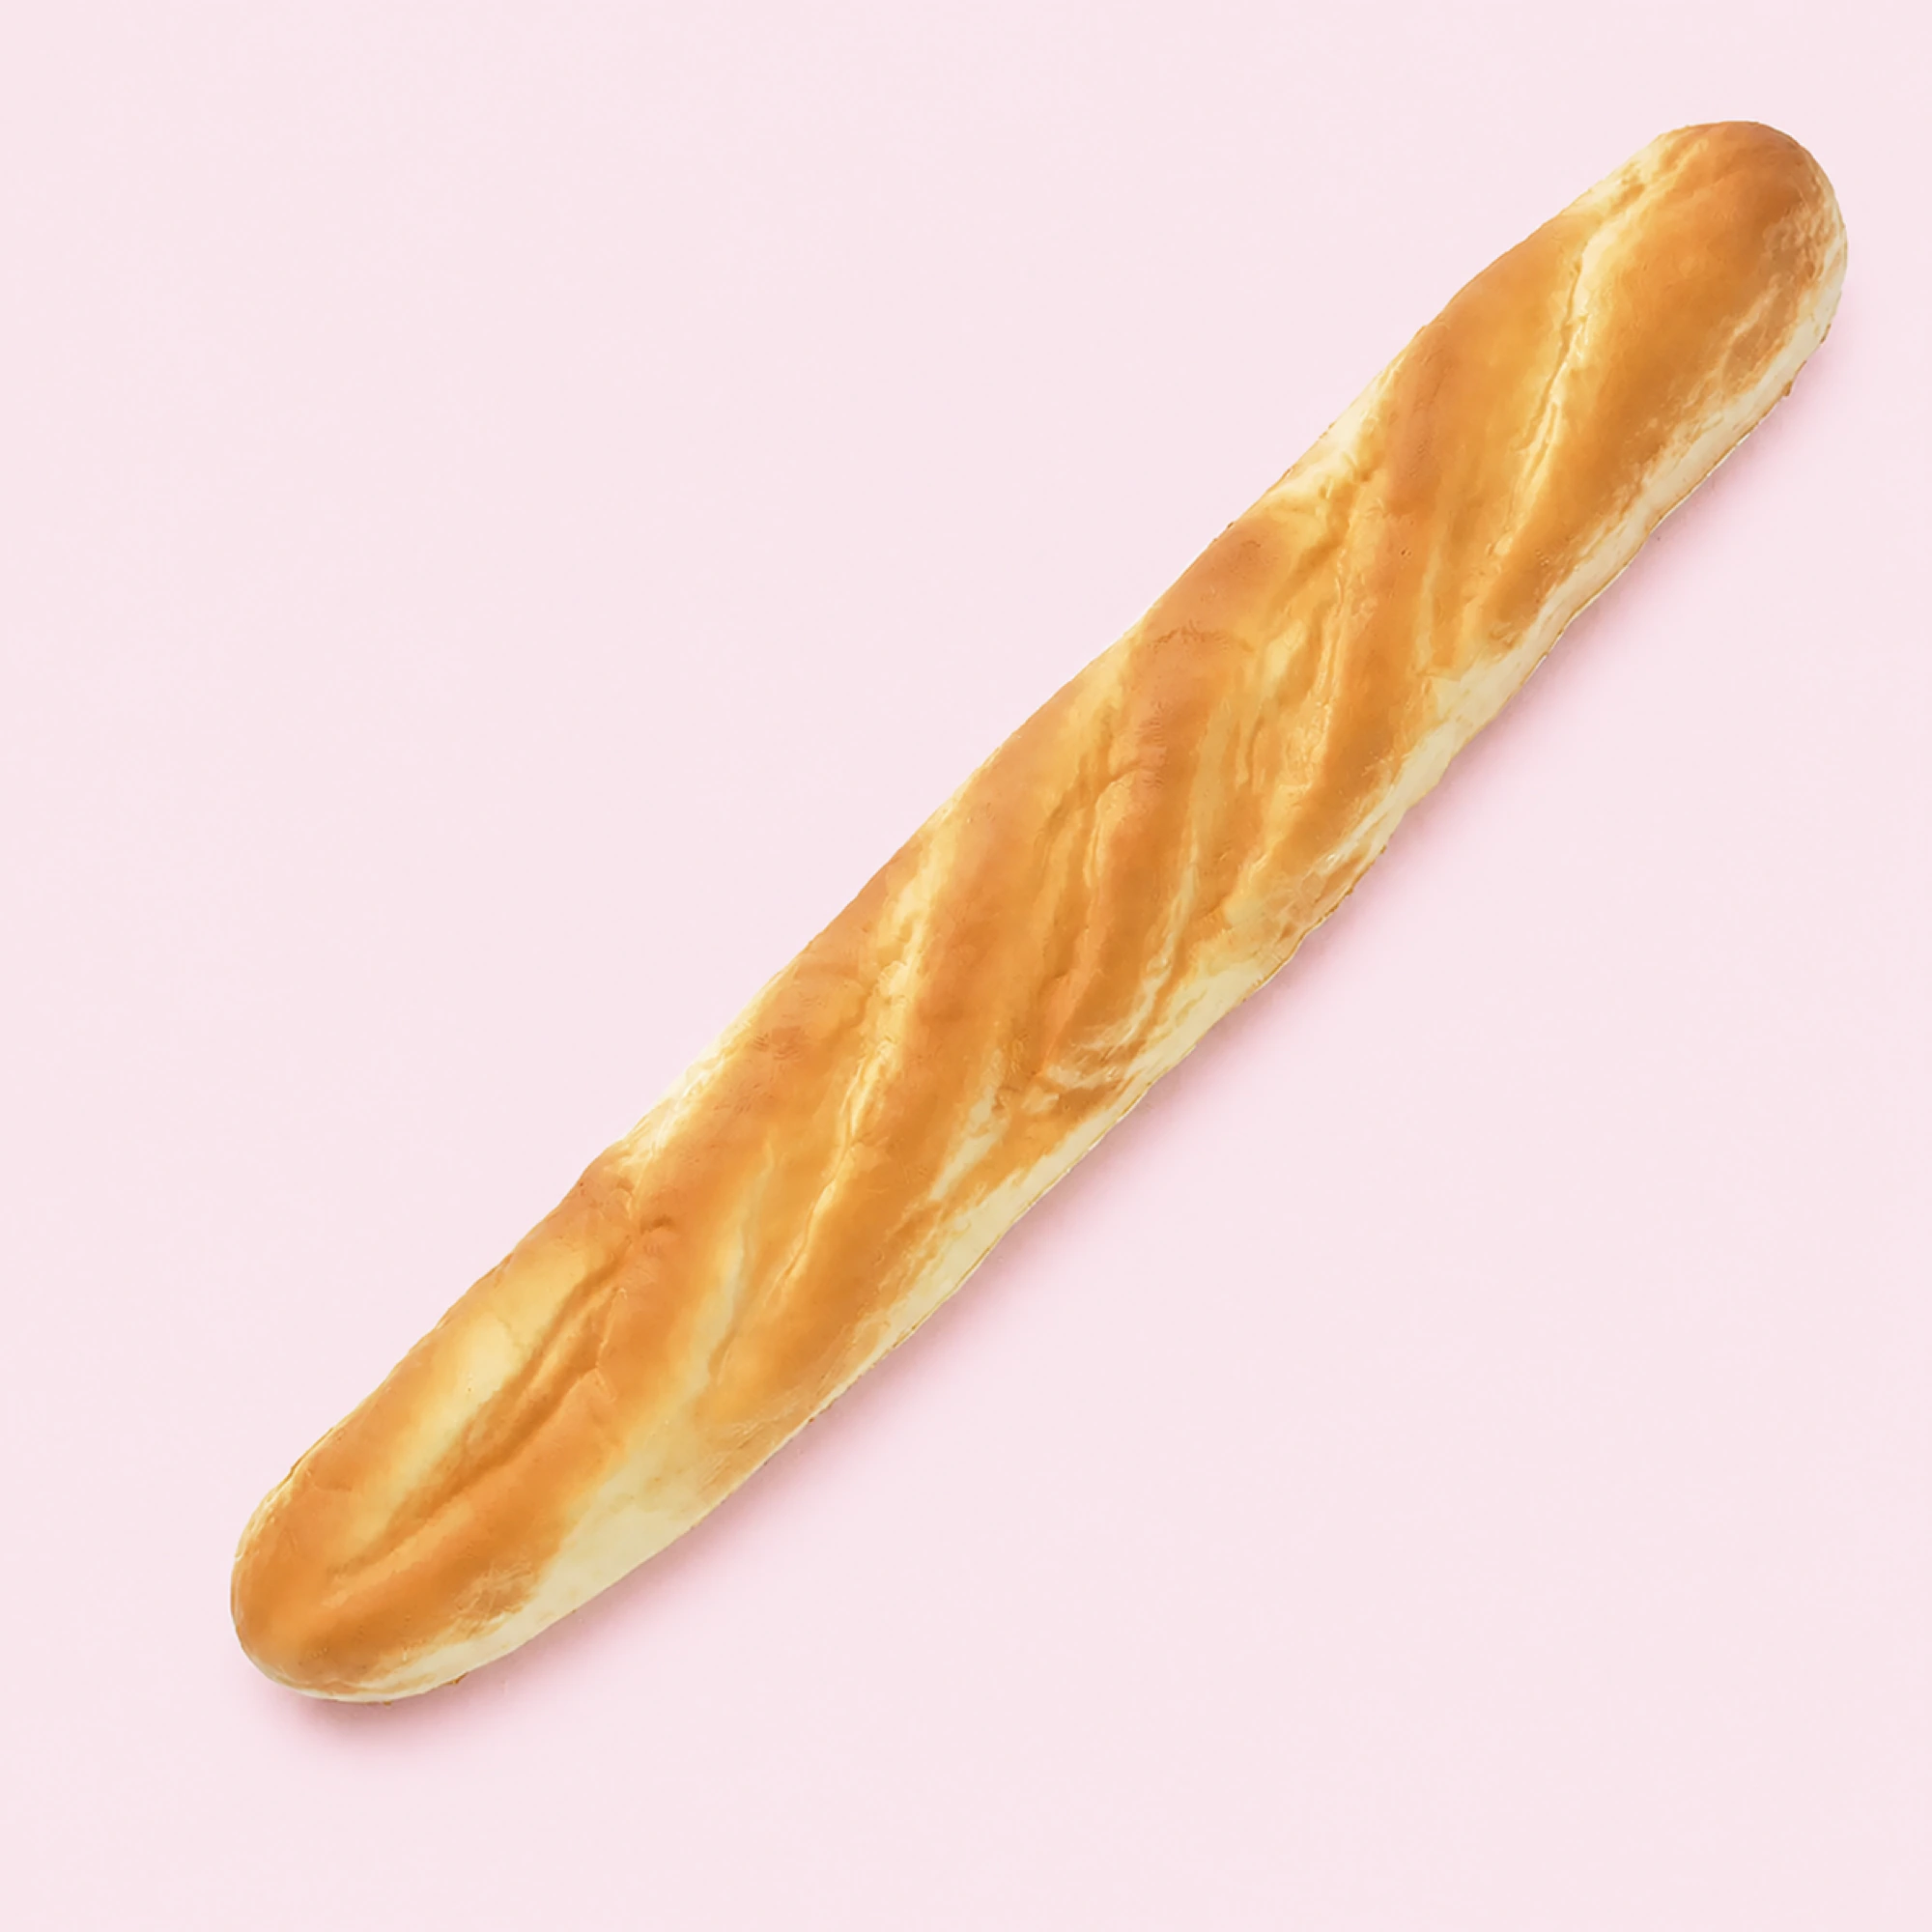
Texture contrast is the quiet third trick: matte foam pops against glossy tile, and a fuzzy surface begs for smooth paper behind it. Props stay minimal: one pumpkin, not a farm. For group shots, a tidy grid flat lay works every time — a 12-pack display box is basically a pre-composed photo waiting for overhead light. And if you’re styling food squishies, plates and parchment paper do wonders; the realistic food squishies guide is full of pieces that photograph like a bakery case.
Phone Settings and Tiny Edits
Wipe the lens. It’s the single biggest upgrade in phone photography and everyone skips it. Then: tap to focus on the face, drag the exposure slider down a touch to protect highlights, and never pinch-zoom — step closer instead, because digital zoom eats exactly the texture you’re trying to show.
Crop with the destination in mind, too. Square frames want the toy dead center; vertical formats want it in the lower two-thirds with breathing room up top. Shoot slightly wide and decide later — pixels are free, reshoots are not.
Edit with a light hand. A small bump of contrast and warmth is plenty; oversaturating a pastel squishy makes it look like a sticker instead of foam. Honest color matters double if you’re shooting for a review, since the next buyer decides based on your photo. Part of why butter-texture squishies took over feeds is that they photograph like dessert with zero effort — we broke that down in why butter squishies went viral. If you want a subject that flatters the camera, start with the curated picks and let the toy carry the shoot.
FAQ
What’s the best lighting for photographing squishies? Indirect window light from the side, softened by a sheer curtain if the sun is strong. Side light reveals the surface texture; overhead light erases it.
How do I show the slow rise in a still photo? Shoot a burst while releasing your press, then present three frames — crushed, halfway, risen. The trio reads instantly, even as thumbnails.
Do I need a real camera for squishy photos? No. A phone with a clean lens, window light, and a poster-board backdrop beats an expensive camera used carelessly, every single time.
Why do my squishy photos look dull? Usually one of four culprits: overhead lighting, a busy background, digital zoom, or a smudged lens. Fix those before touching any editing slider.